4. Create a Project
Labeling activities are organized and managed in Projects. It brings together Datasets, which store the data to be labeled, and Ontologies, which define the concepts and relationships to be annotated. Within a Project, admins oversee the labeling process, annotators perform the labeling, and reviewers ensure the accuracy of the labels.
Step 1: Project details
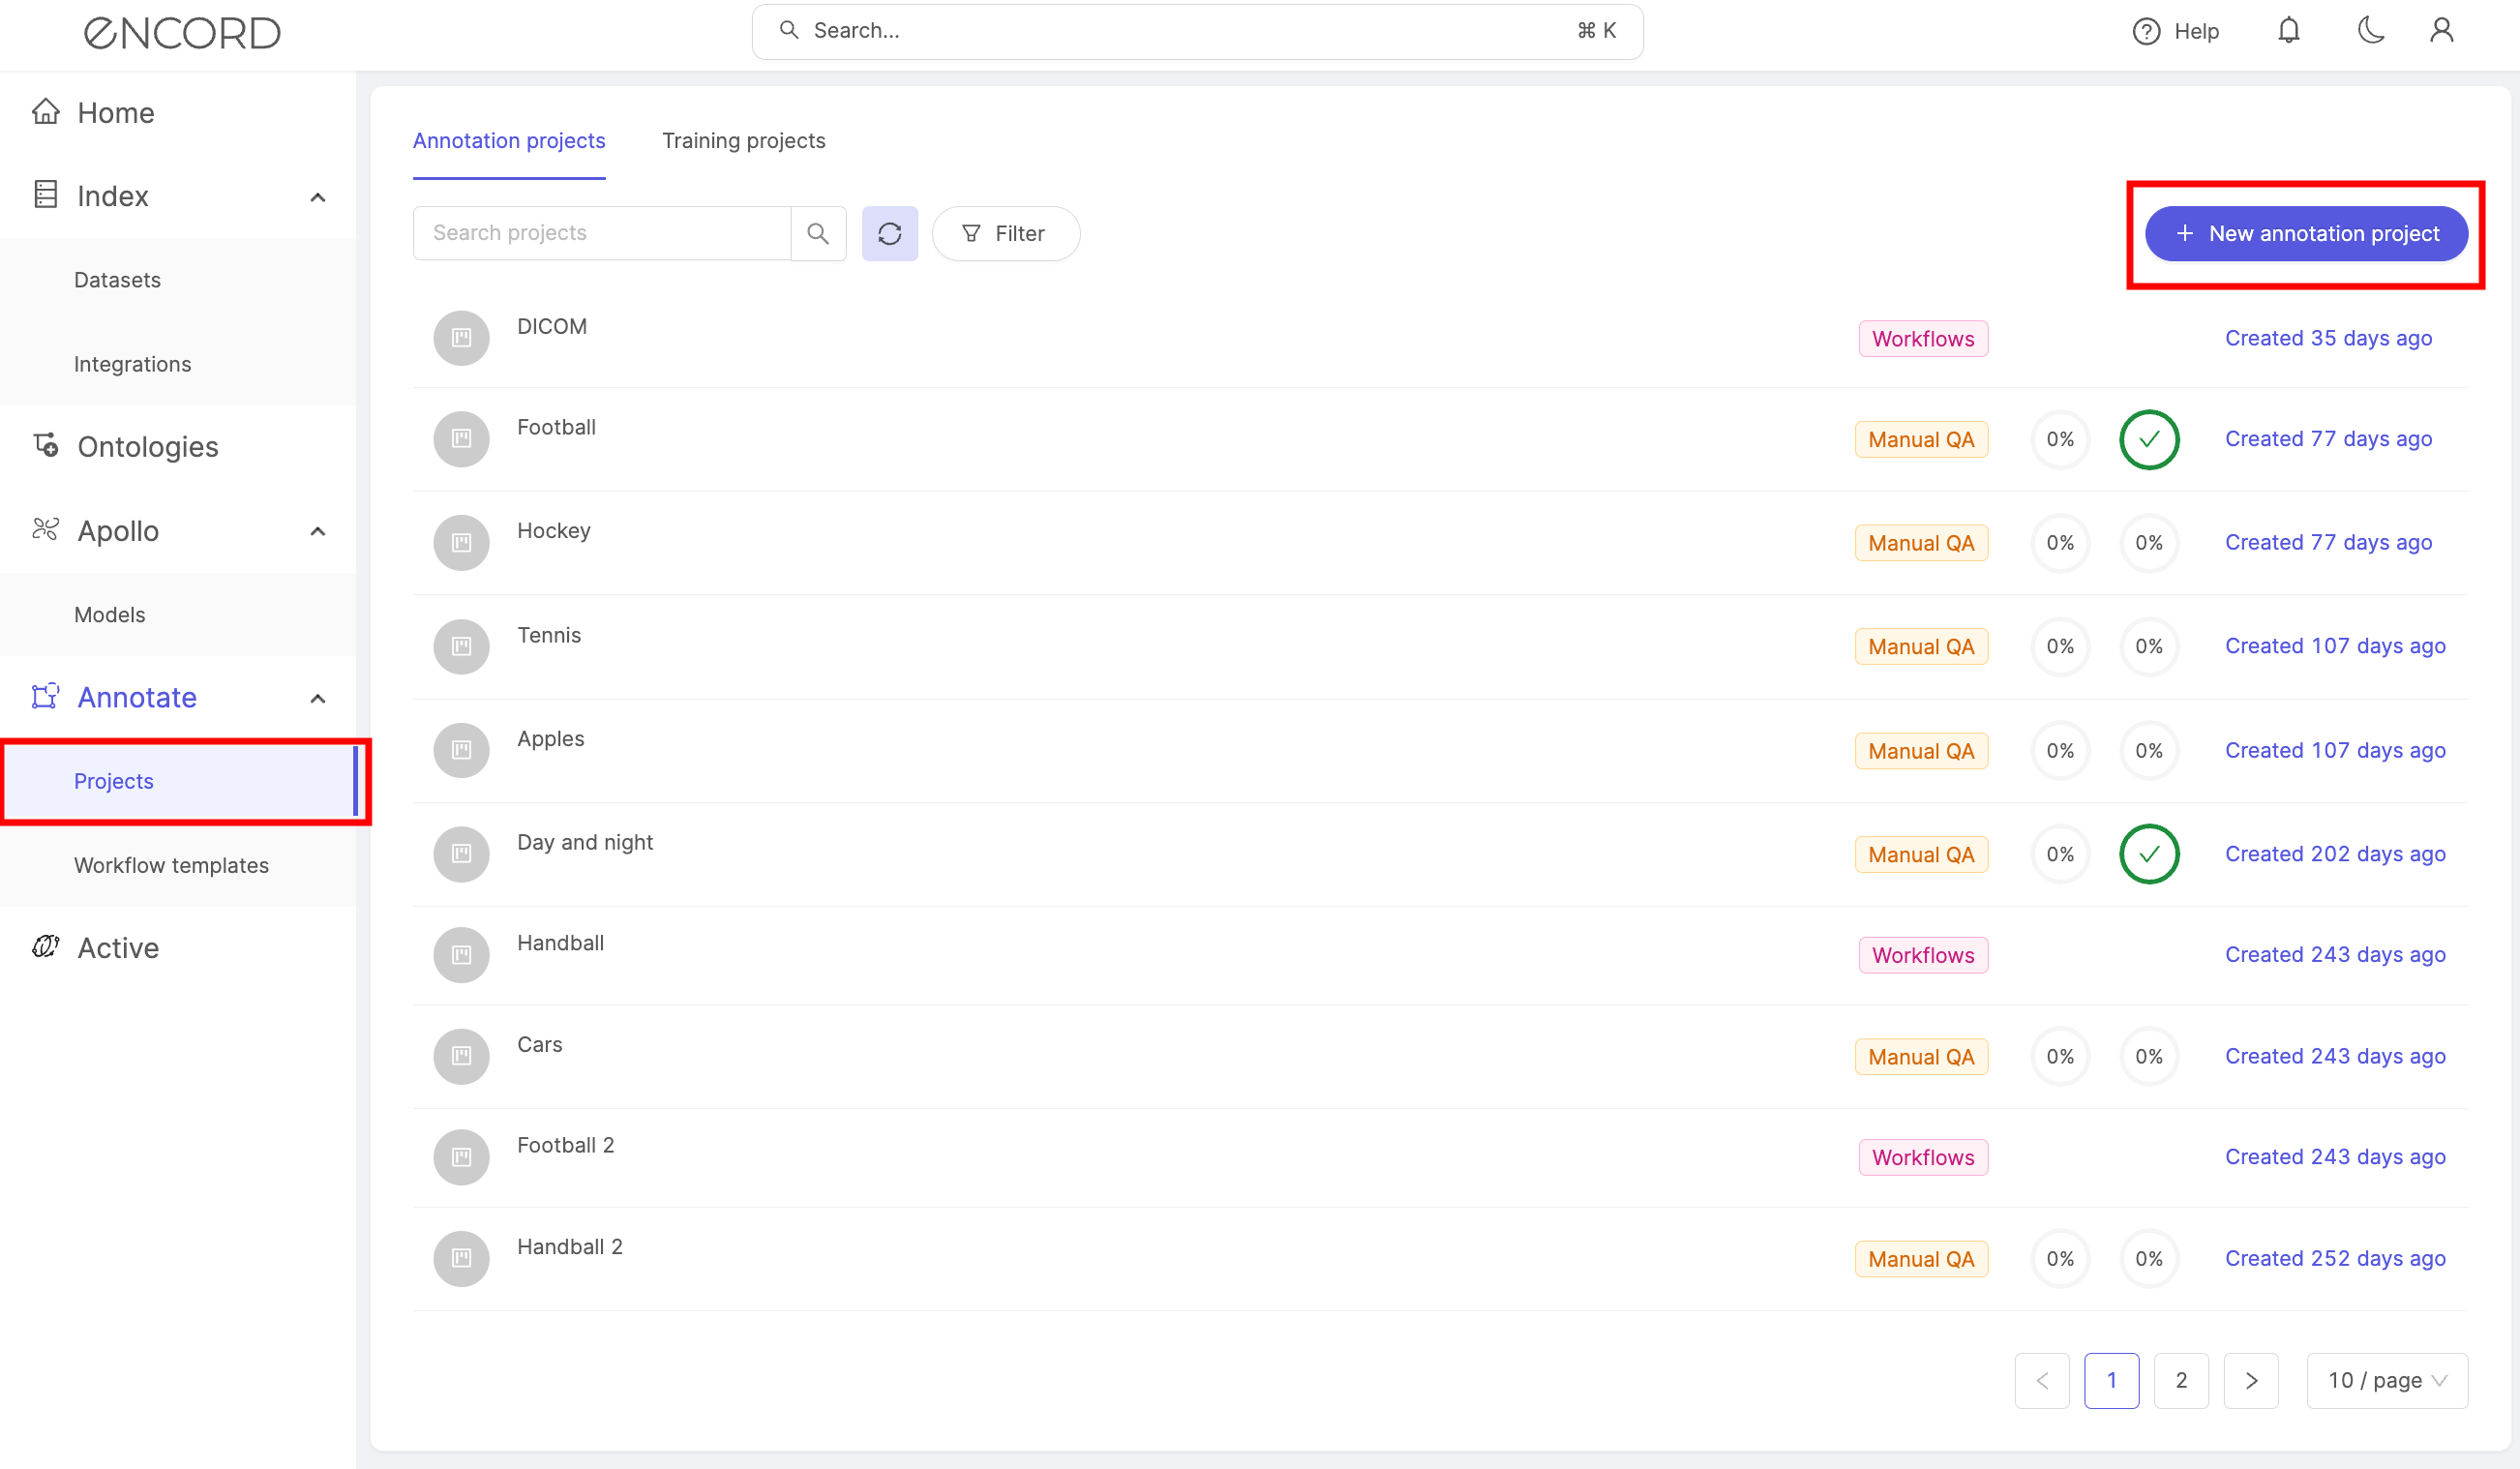
- In the Encord platform, select Projects under Annotate.
- Click the + New annotation project button to create a new Project.
- Give the Project a meaningful Project title and description.
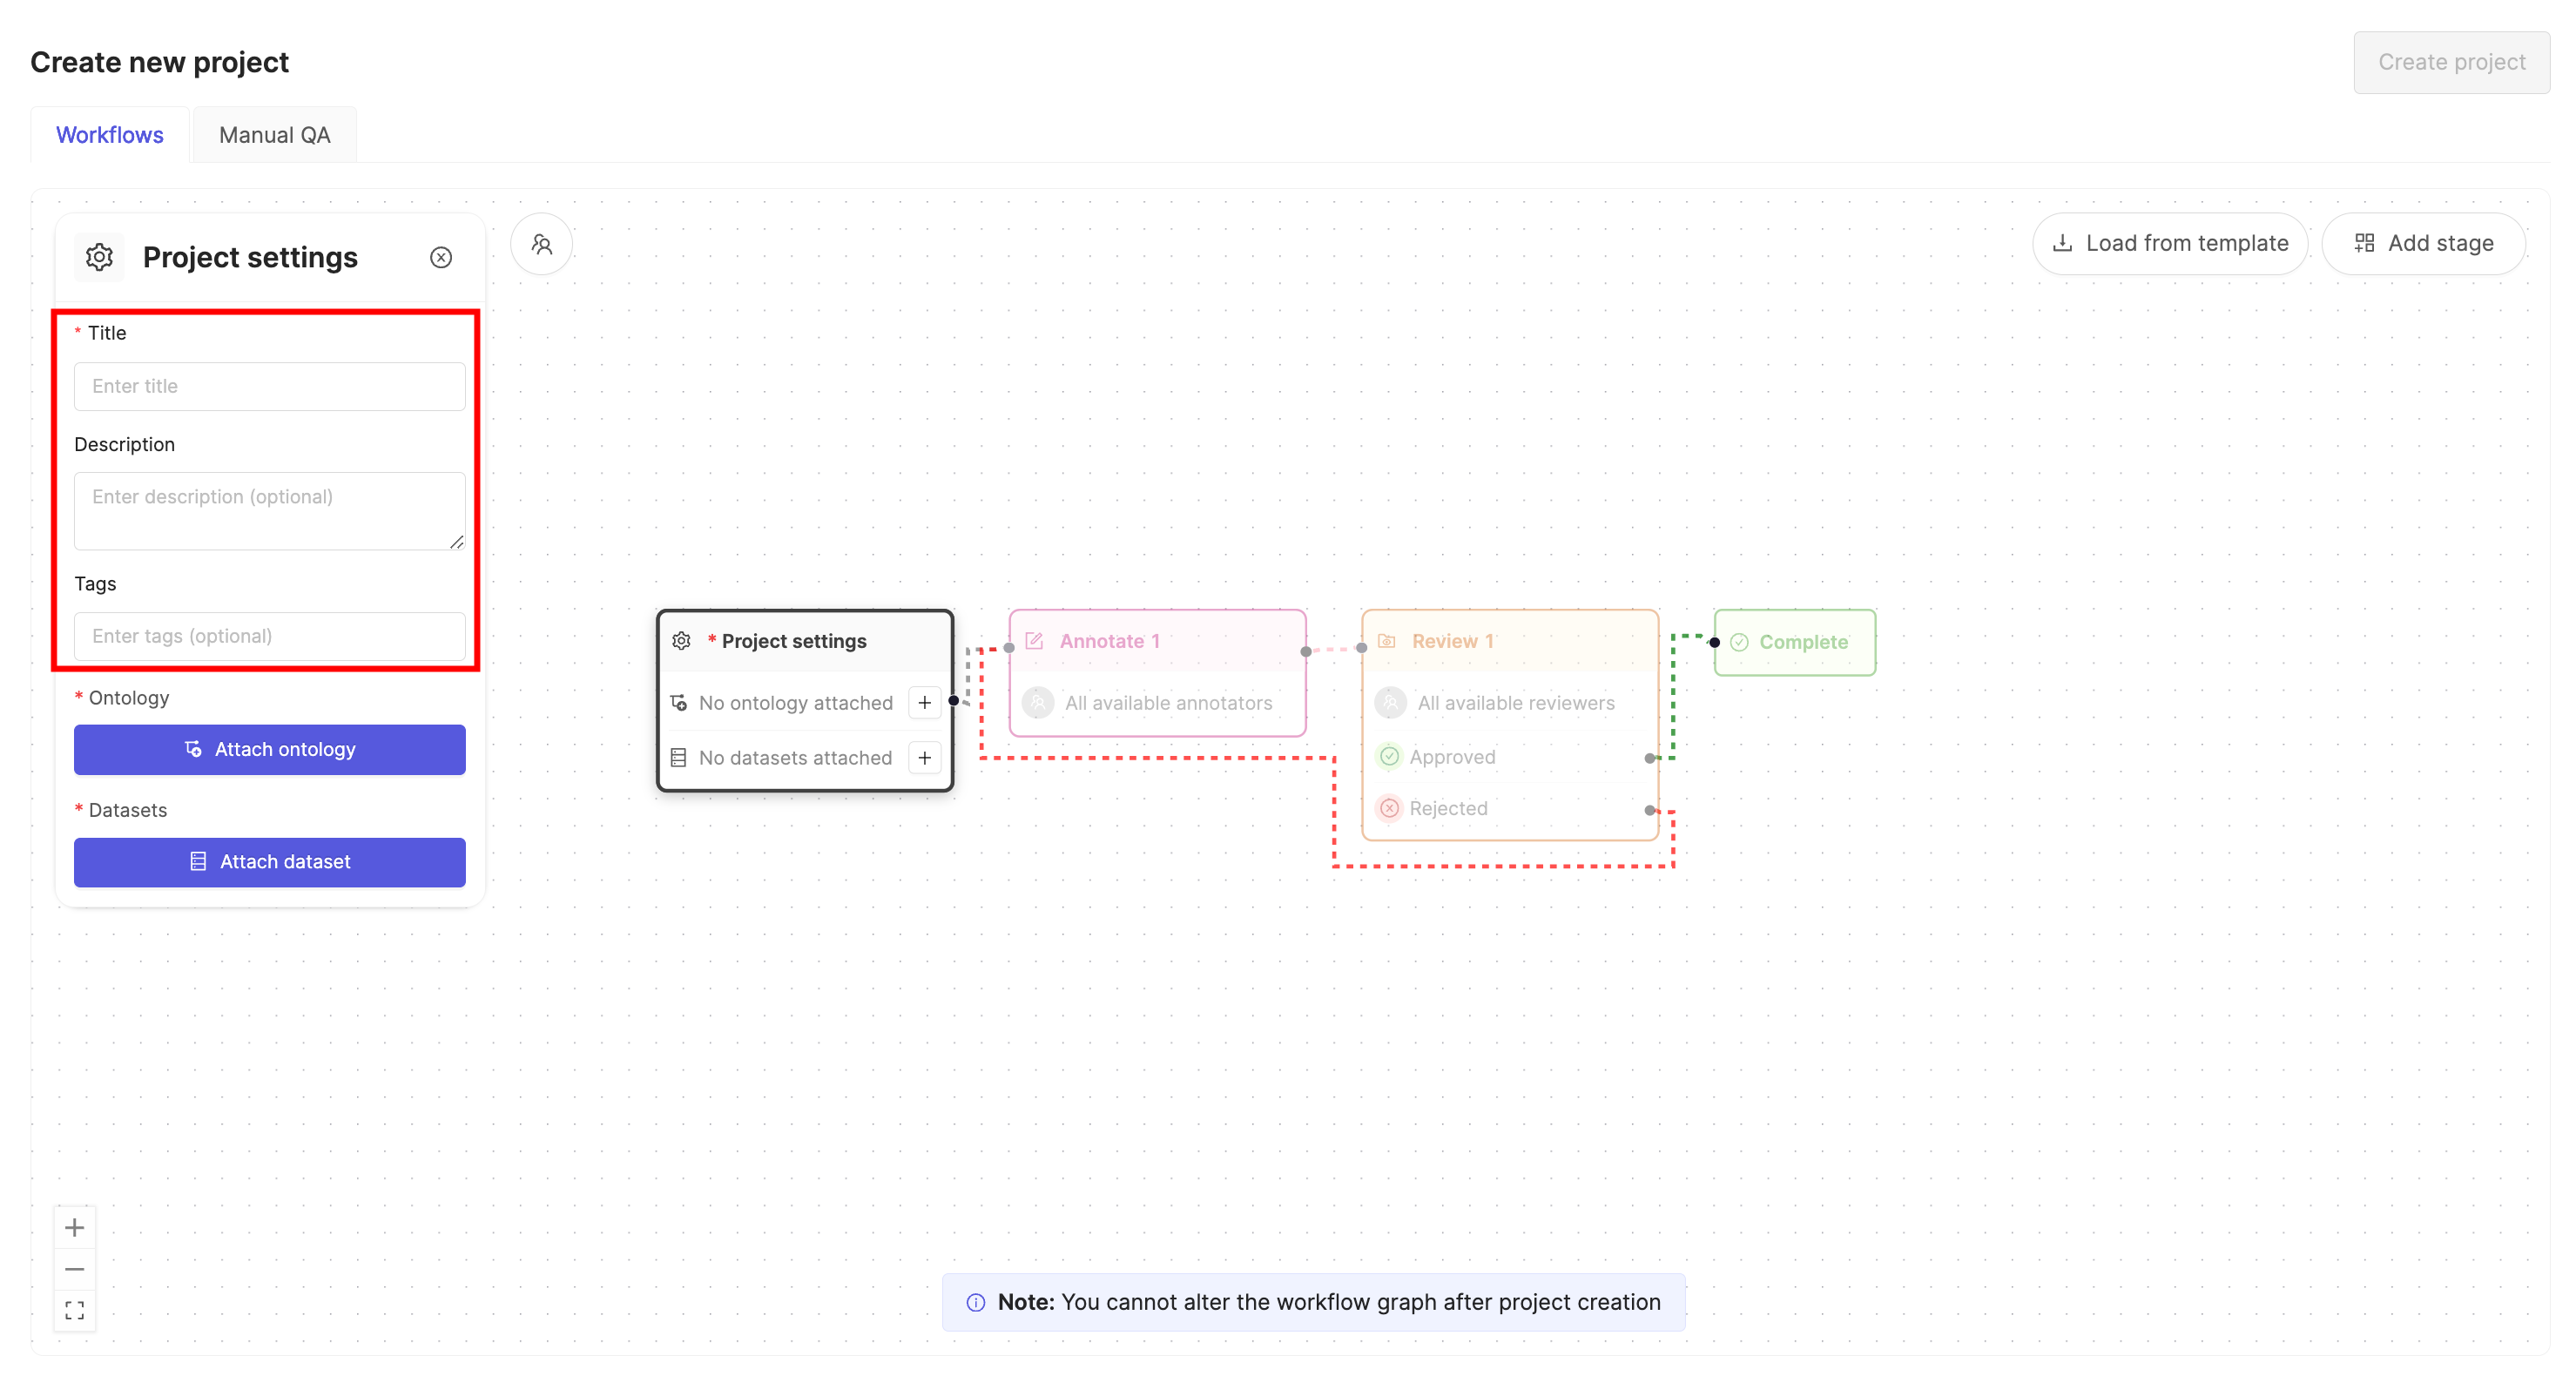
If you are part of an Organization, an optional Project tags drop-down is visible. Project tags are useful for categorizing and finding your Projects. Select as many tags as are relevant for your Project.
Step 2: Attach your Ontology
-
Click the Attach ontology button.
-
Select an existing Ontology from the list using the Select button, or create a new Ontology by clicking the + New ontology button.
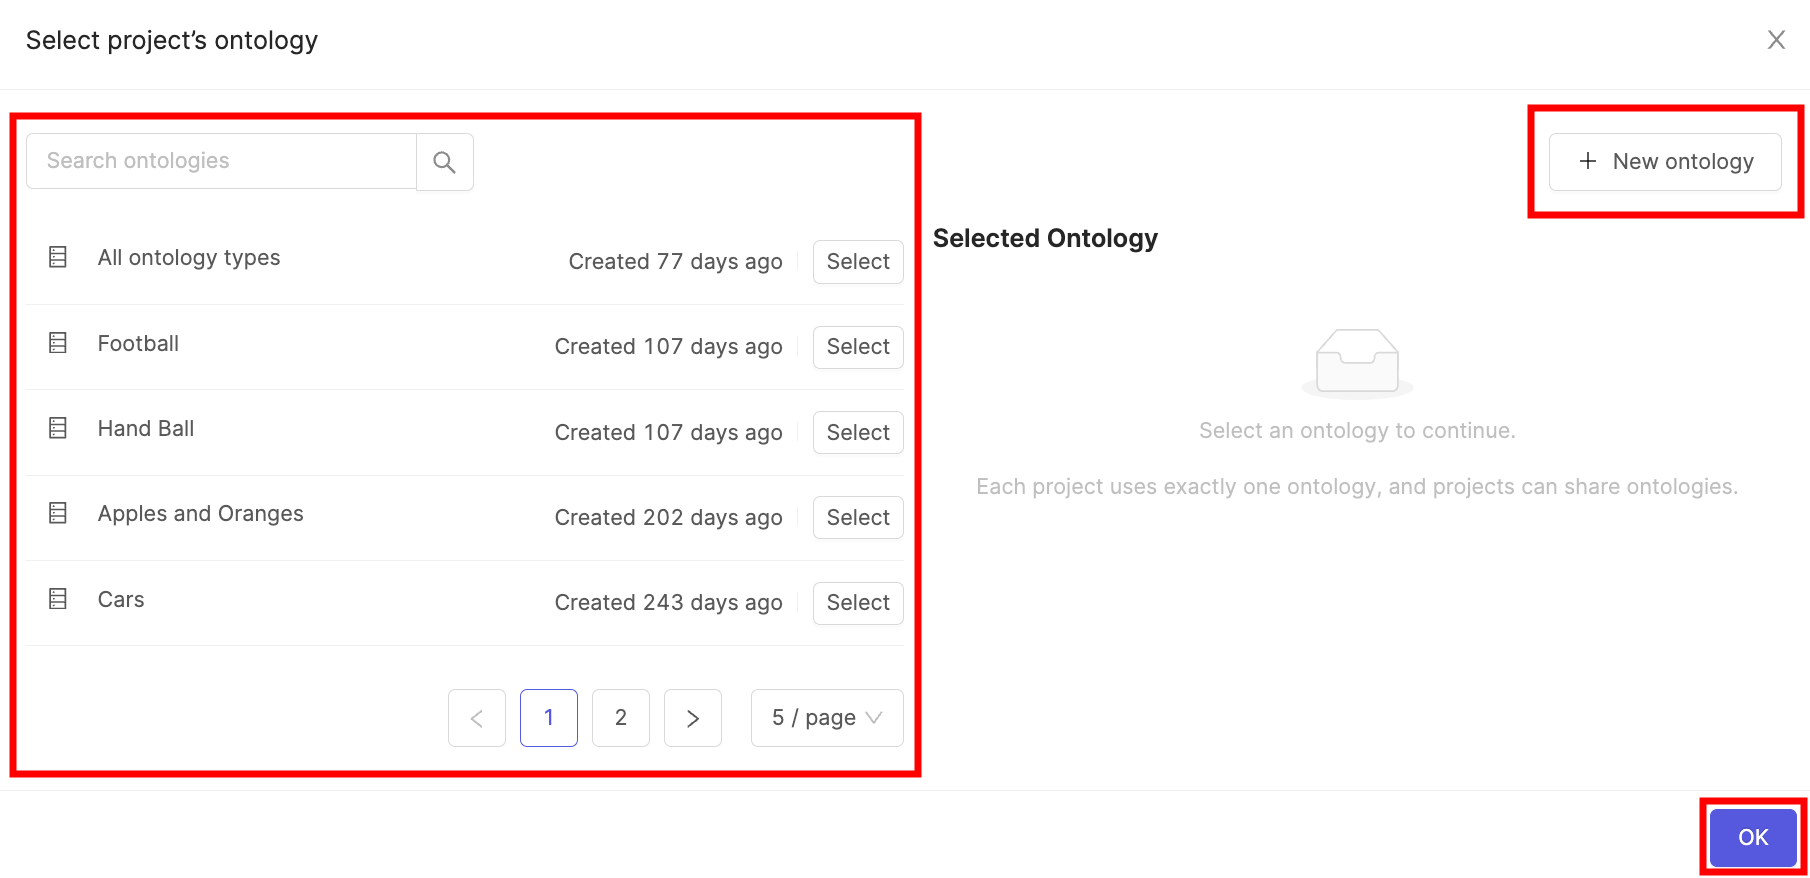
- Click OK to attach the Ontology to the Project.
Step 3: Attach Dataset
-
Click the Attach datasets button.
-
Select the Dataset you want to attach to the Project by clicking the Attach button next to the Dataset name, or create a new Dataset by clicking the + New Dataset button.
Tip
Multiple Datasets can be attached to the same Project.
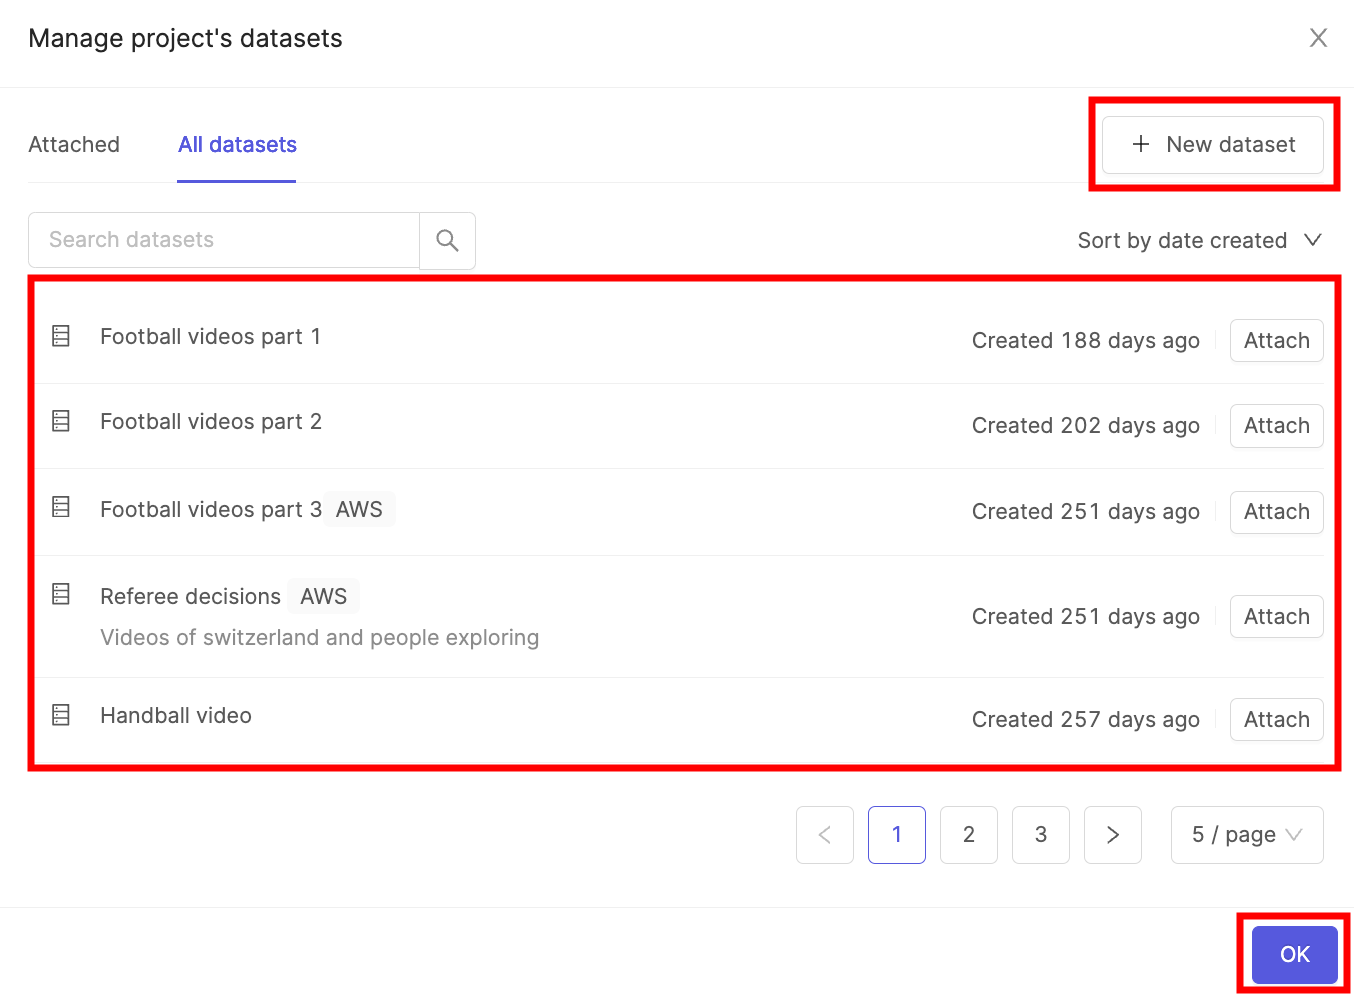
- Click OK to attach the Dataset(s) to the Project.
Step 4: Add users
Add users to the Project and assign them roles such as Team Managers, Annotators, and Reviewers. As the Project creator, you are automatically assigned the role of Administrator.
Note
A full list of permission / user-based access controls can be found here.
To add users to your Project:
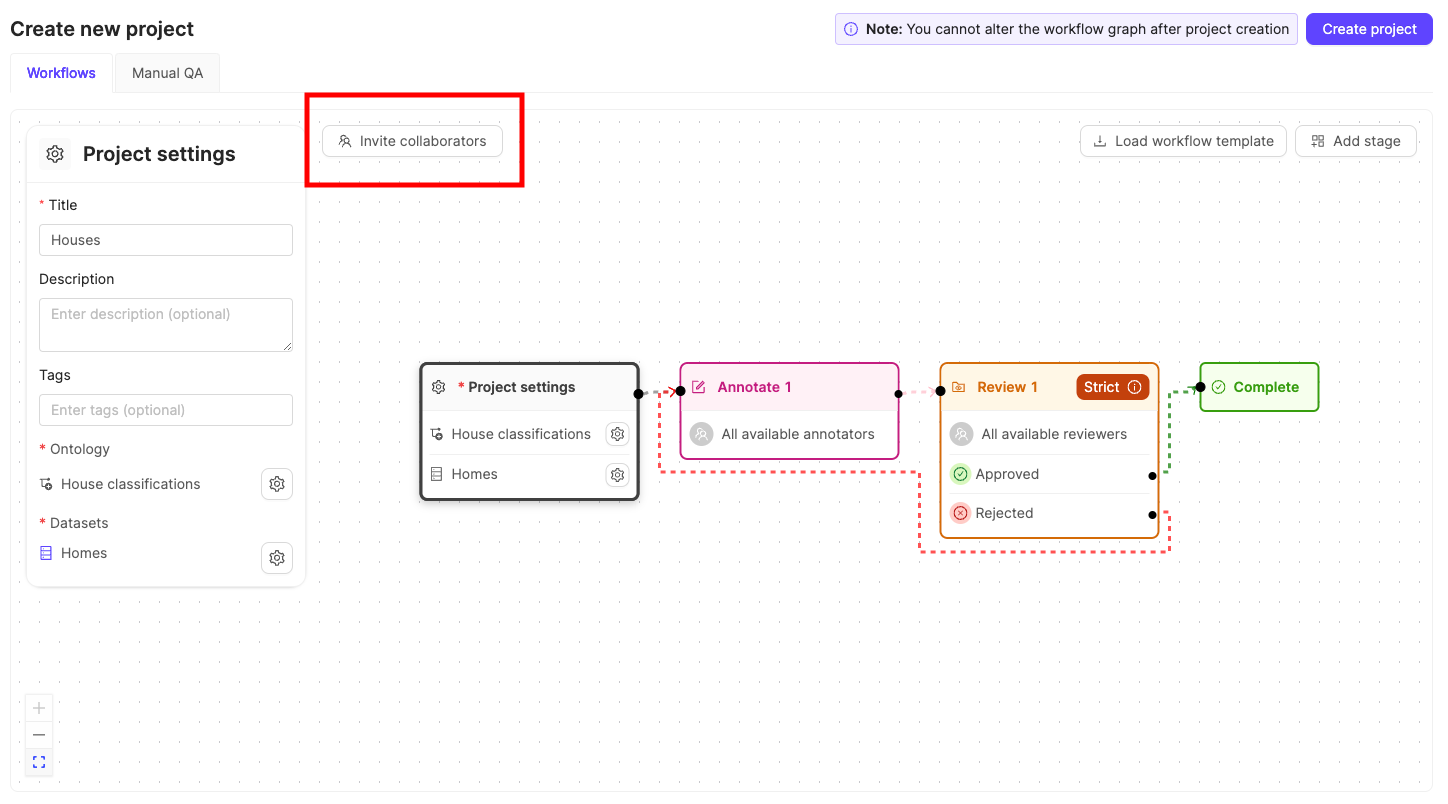
- Click the Invite collaborators button .
A dialog appears. - Type in the email addresses of users you want to add to the Project.
- Select the role you want to give to the users.
- Click Add to add the users to the Project.
- (Optionally) repeat this for all user roles your Project requires.
- Close the dialog when you're done adding users to the Project.
Tip
You can add more users and manage all users after Project creation.
By default, all available annotators are assigned to the annotation stage, and all reviewers are assigned to your review stage(s). However, you can specify which annotators or reviewers should be available at each Workflow stage.
Note
Admins and Project managers can see task in any stage of the Workflow.
To add users to specific Workflow stages:
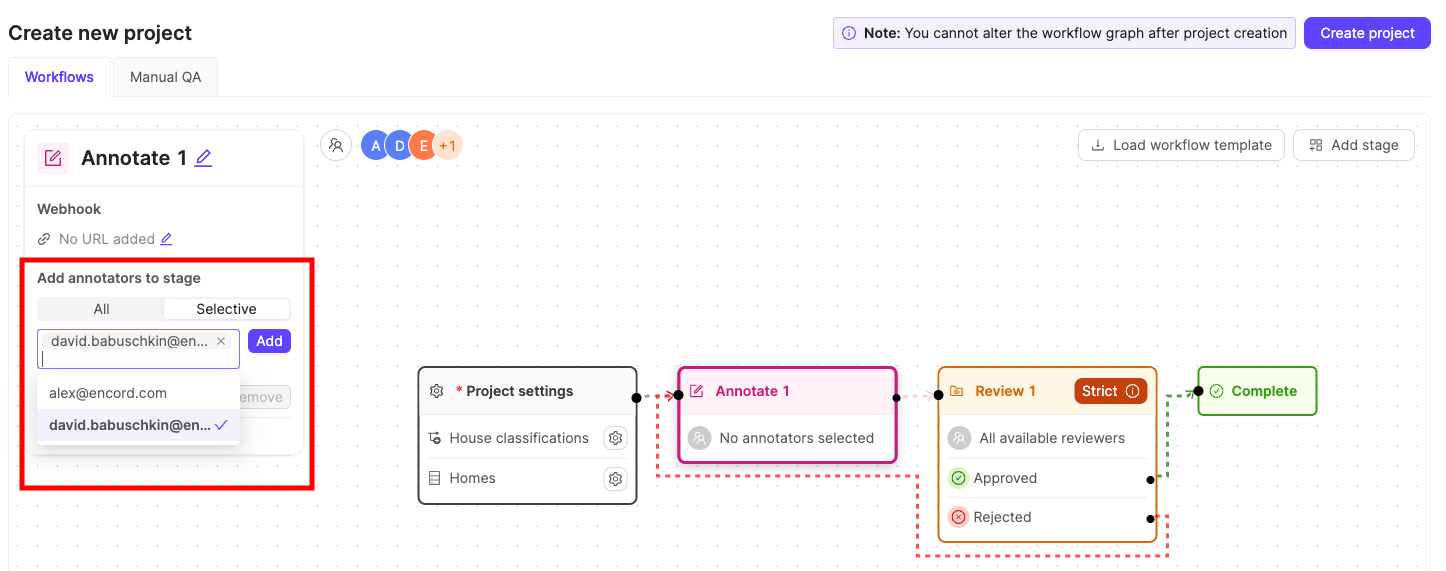
- Click the Workflow stage you want to specify users for.
- Click Selective under the Add annotators to stage heading.
- Click the search bar and select the users you want to add to the stage from the list of available users.
- Click Add to confirm.
Note
Only users who have been added to the Project are available for selection. For annotation stages, you can select users with the Annotator or Annotator + _Reviewer roles. For review stages, you can select users with the Reviewer or Annotator + Reviewer roles.
(Optional) Step 5: Specify a Workflow
The Workflow determines how tasks move through your Project from annotation to completion. A simple Workflow containing one Annotation stage and one Review stage is provided by default.
See our documentation on Workflows to:
- Learn how to customize Workflows.
- Learn how to create Workflow templates that can be seamlessly added to any Project you create.
Step 6: Create Project
Once you are ready, click the Create Project button to finish creating your Project. For documentation on managing and administering your Project see our documentation here.
Updated 2 months ago