Documentation Index
Fetch the complete documentation index at: https://docs.encord.com/llms.txt
Use this file to discover all available pages before exploring further.
Edit Ontologies
You can edit any Ontology by updating its structure in the same way you did during the creation process. To edit an Ontology, simply select it from your list of Ontologies.Required Settings for Global Features
When working with global objects and classifications in your Ontology, you can now modify the Required setting directly in the Ontology editor. This allows you to control whether global features must be completed during annotation, even after they’ve been shared across multiple projects.The Required setting determines whether annotators must complete this feature before submitting their work. This applies to both global objects and global classifications.
Archive and Delete Entries
All Ontology entries can be either archived or deleted. The process is the same, but entries are archived when the Ontology is attached to Projects and can only be deleted when it is not.
Duplicate Entities
During Ontology creation and modification, you can duplicate objects, classifications, and attributes. This can streamline creation of Ontologies that contain similar objects, classifications, and attributes. When you duplicate an object, Encord automatically assigns a random color from the color palette to help distinguish it from the original object. Duplicated objects have (copy) appended to their name.
Reorder Ontology
During Ontology creation and modification, you can adjust the order of objects, classifications, and attributes by dragging and dropping them.
View Edit History
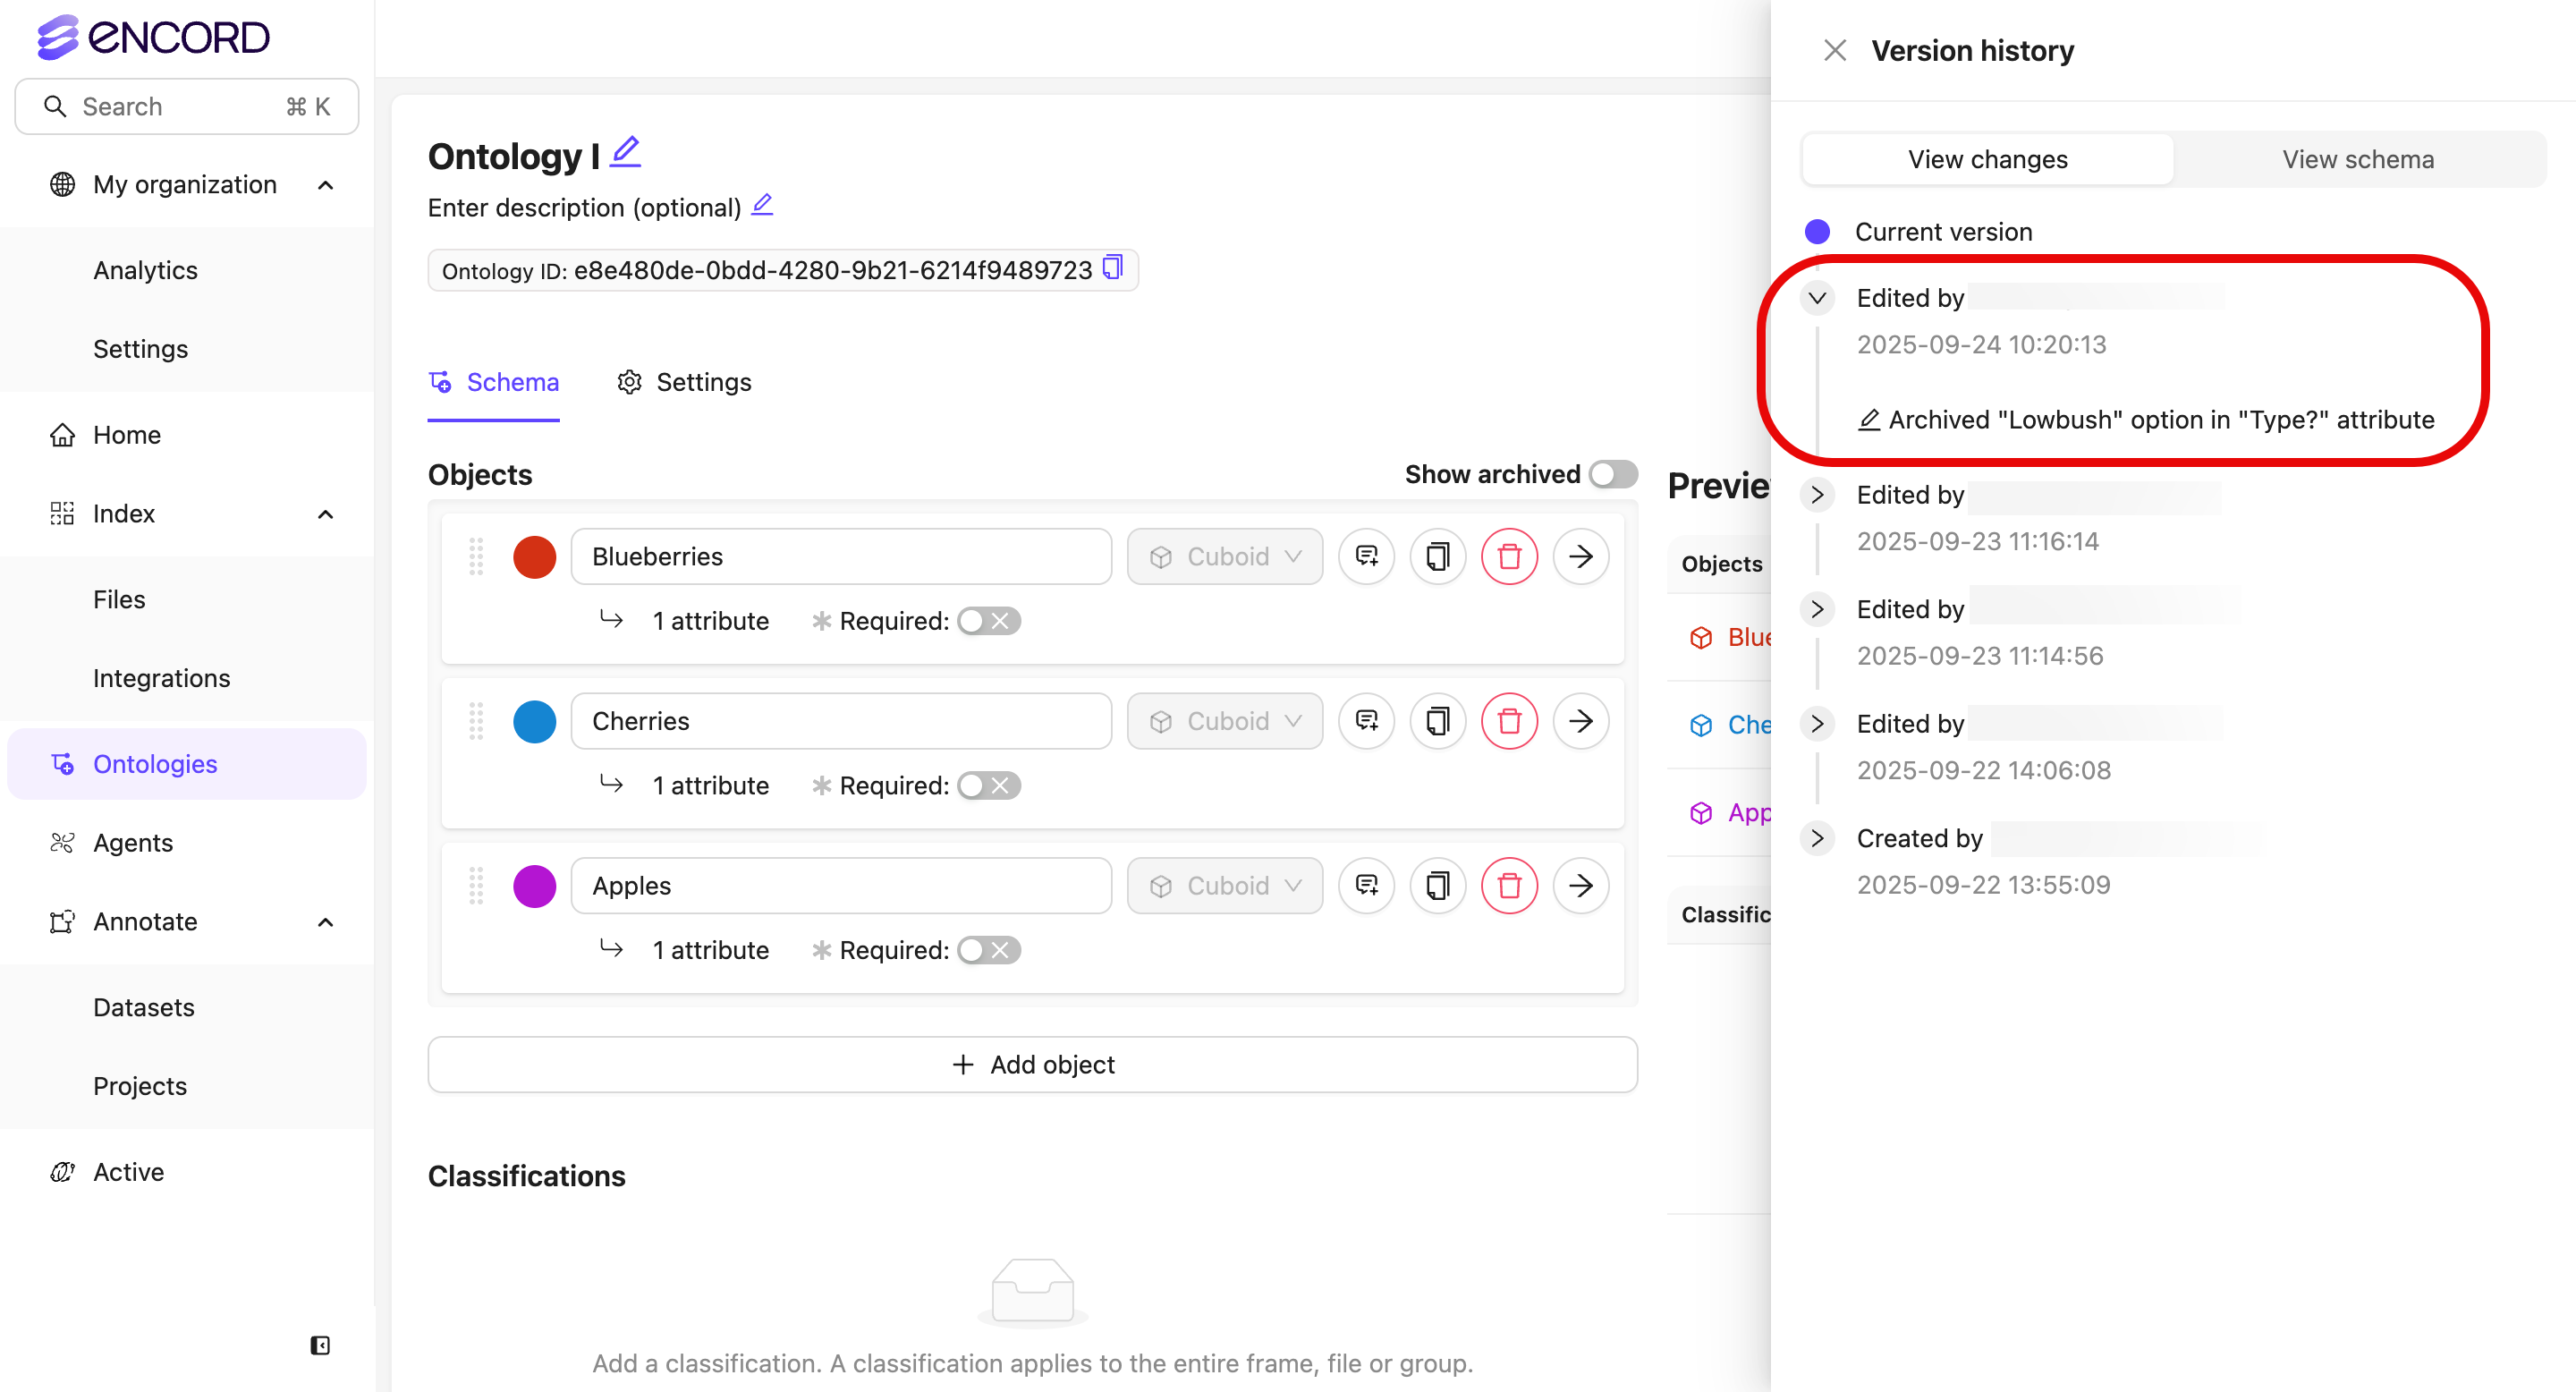
Encord tracks changes made to Ontologies each time the Ontologies are saved. Use the Show version history button on the Ontology’s Schema page. To view an Ontology’s edit history:-
Go to Ontologies > [select an Ontology].
The Schema page for the Ontology appears.
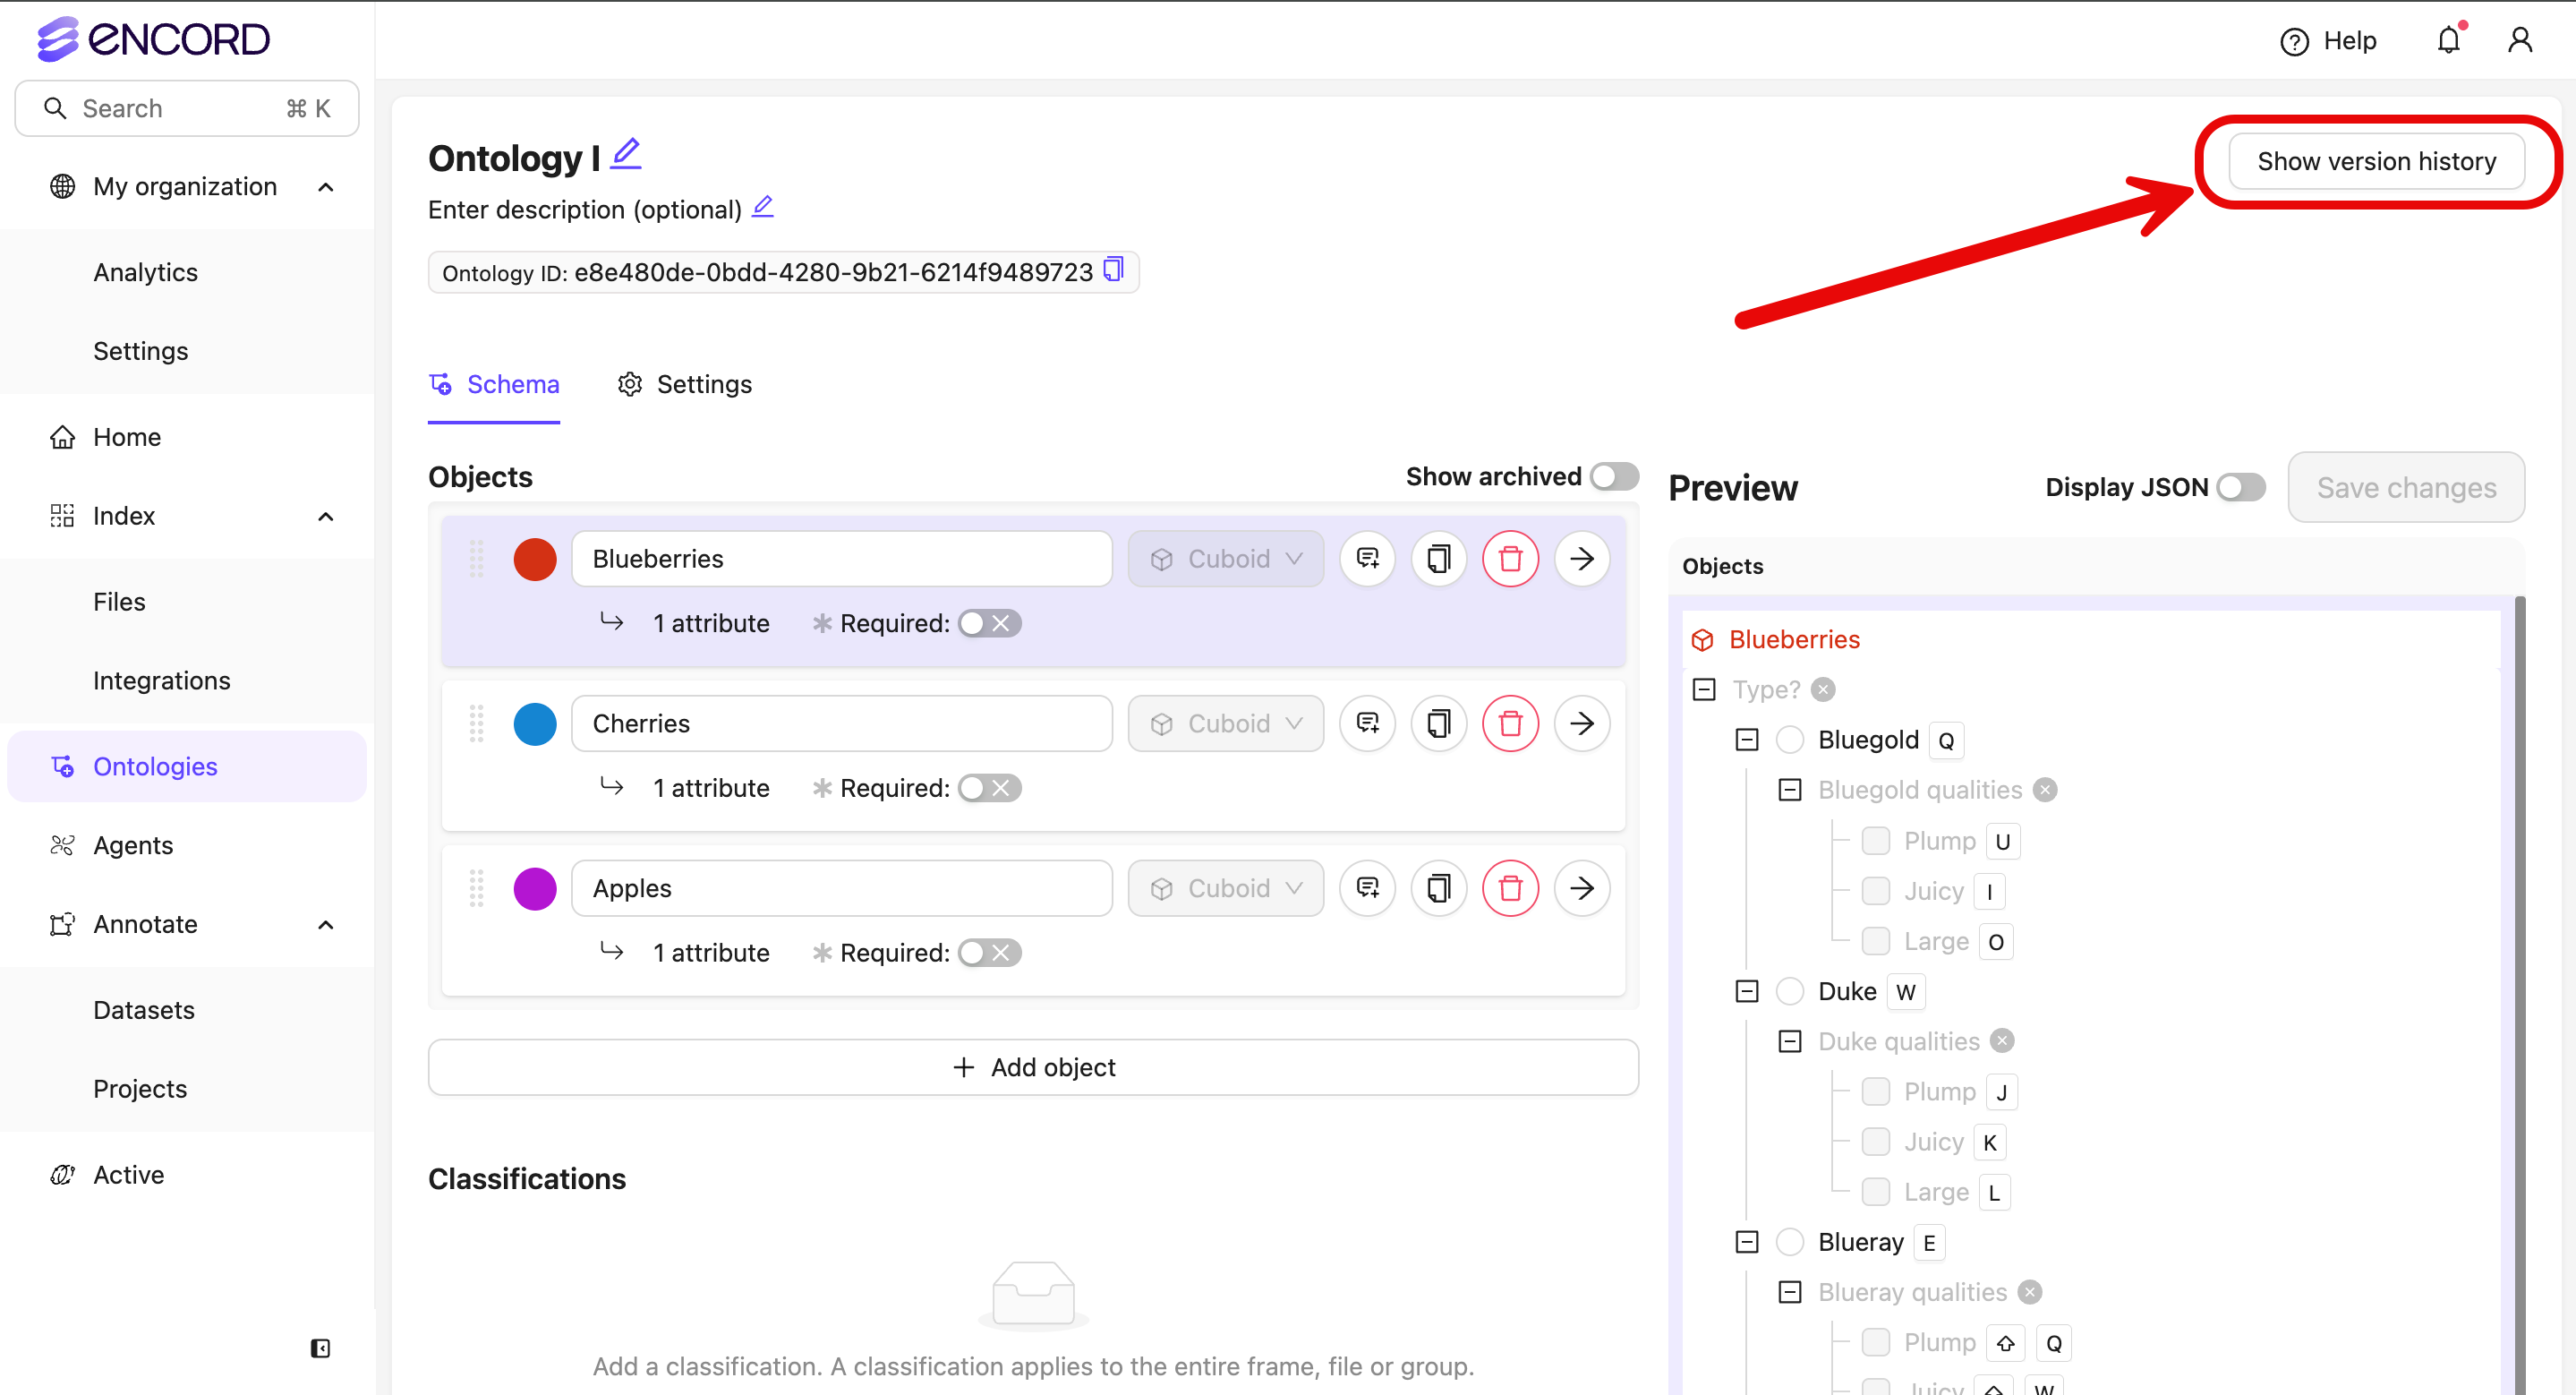
-
Click the Show version history button.
The Version history panel appears from the right side of the screen.
The View changes tab displays the following:
- Name of the user that made an edit
- Date and time an edit was made
-
Expand an entry in the View changes list.
The edits made for an entry appear.
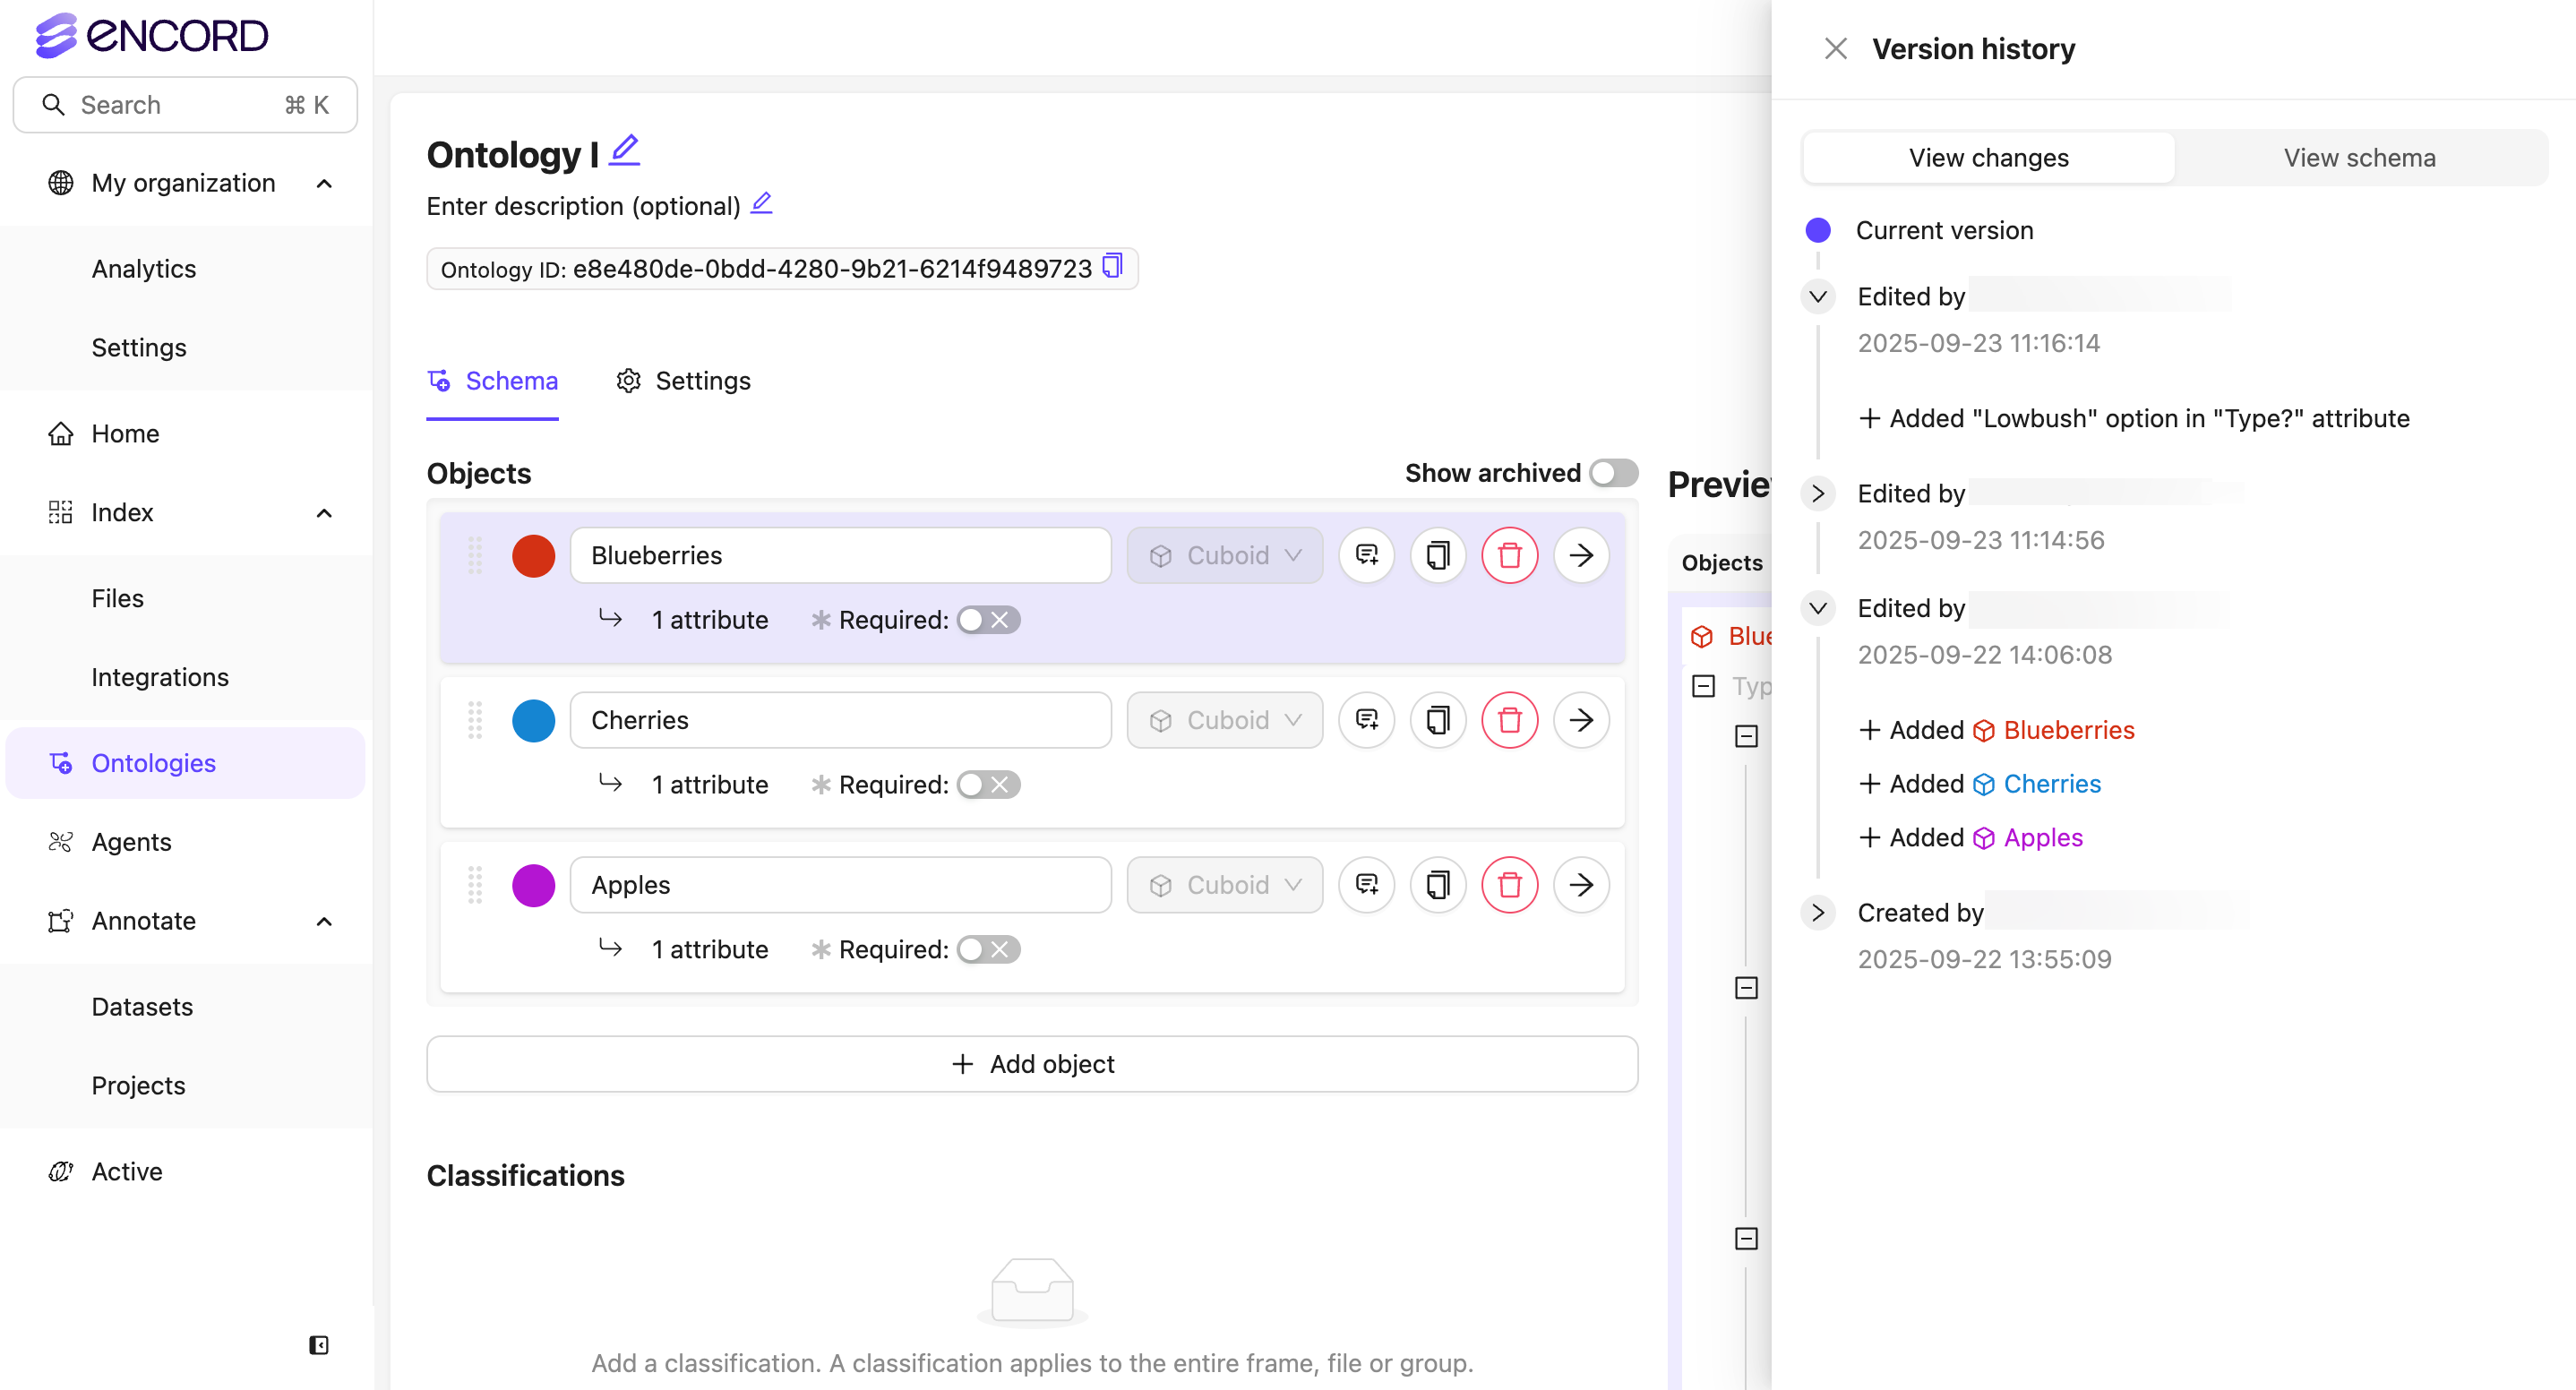
- Click View schema to see a JSON of the entry version of the Ontology.
Revert Ontology Edits
Encord tracks changes made to Ontologies. You can undo specific changes, while other changes need to be manually changed back.An Ontology used by a Project provides a soft deletion (Archive) mechanism for objects, classifications, attributes, and options. Ontologies not used by a Project do not provide a soft deletion mechanism.
-
Go to Ontologies > [select an Ontology].
The Schema page for the Ontology appears.
-
Click the Show version history button.
The Version history panel appears from the right side of the screen.
The View changes tab displays the following:
- Name of the user that made an edit
- Date and time an edit was made
-
Expand the entry you need to revert in the View changes list.
The edits made for an entry appear.
-
Turn on Show archived.
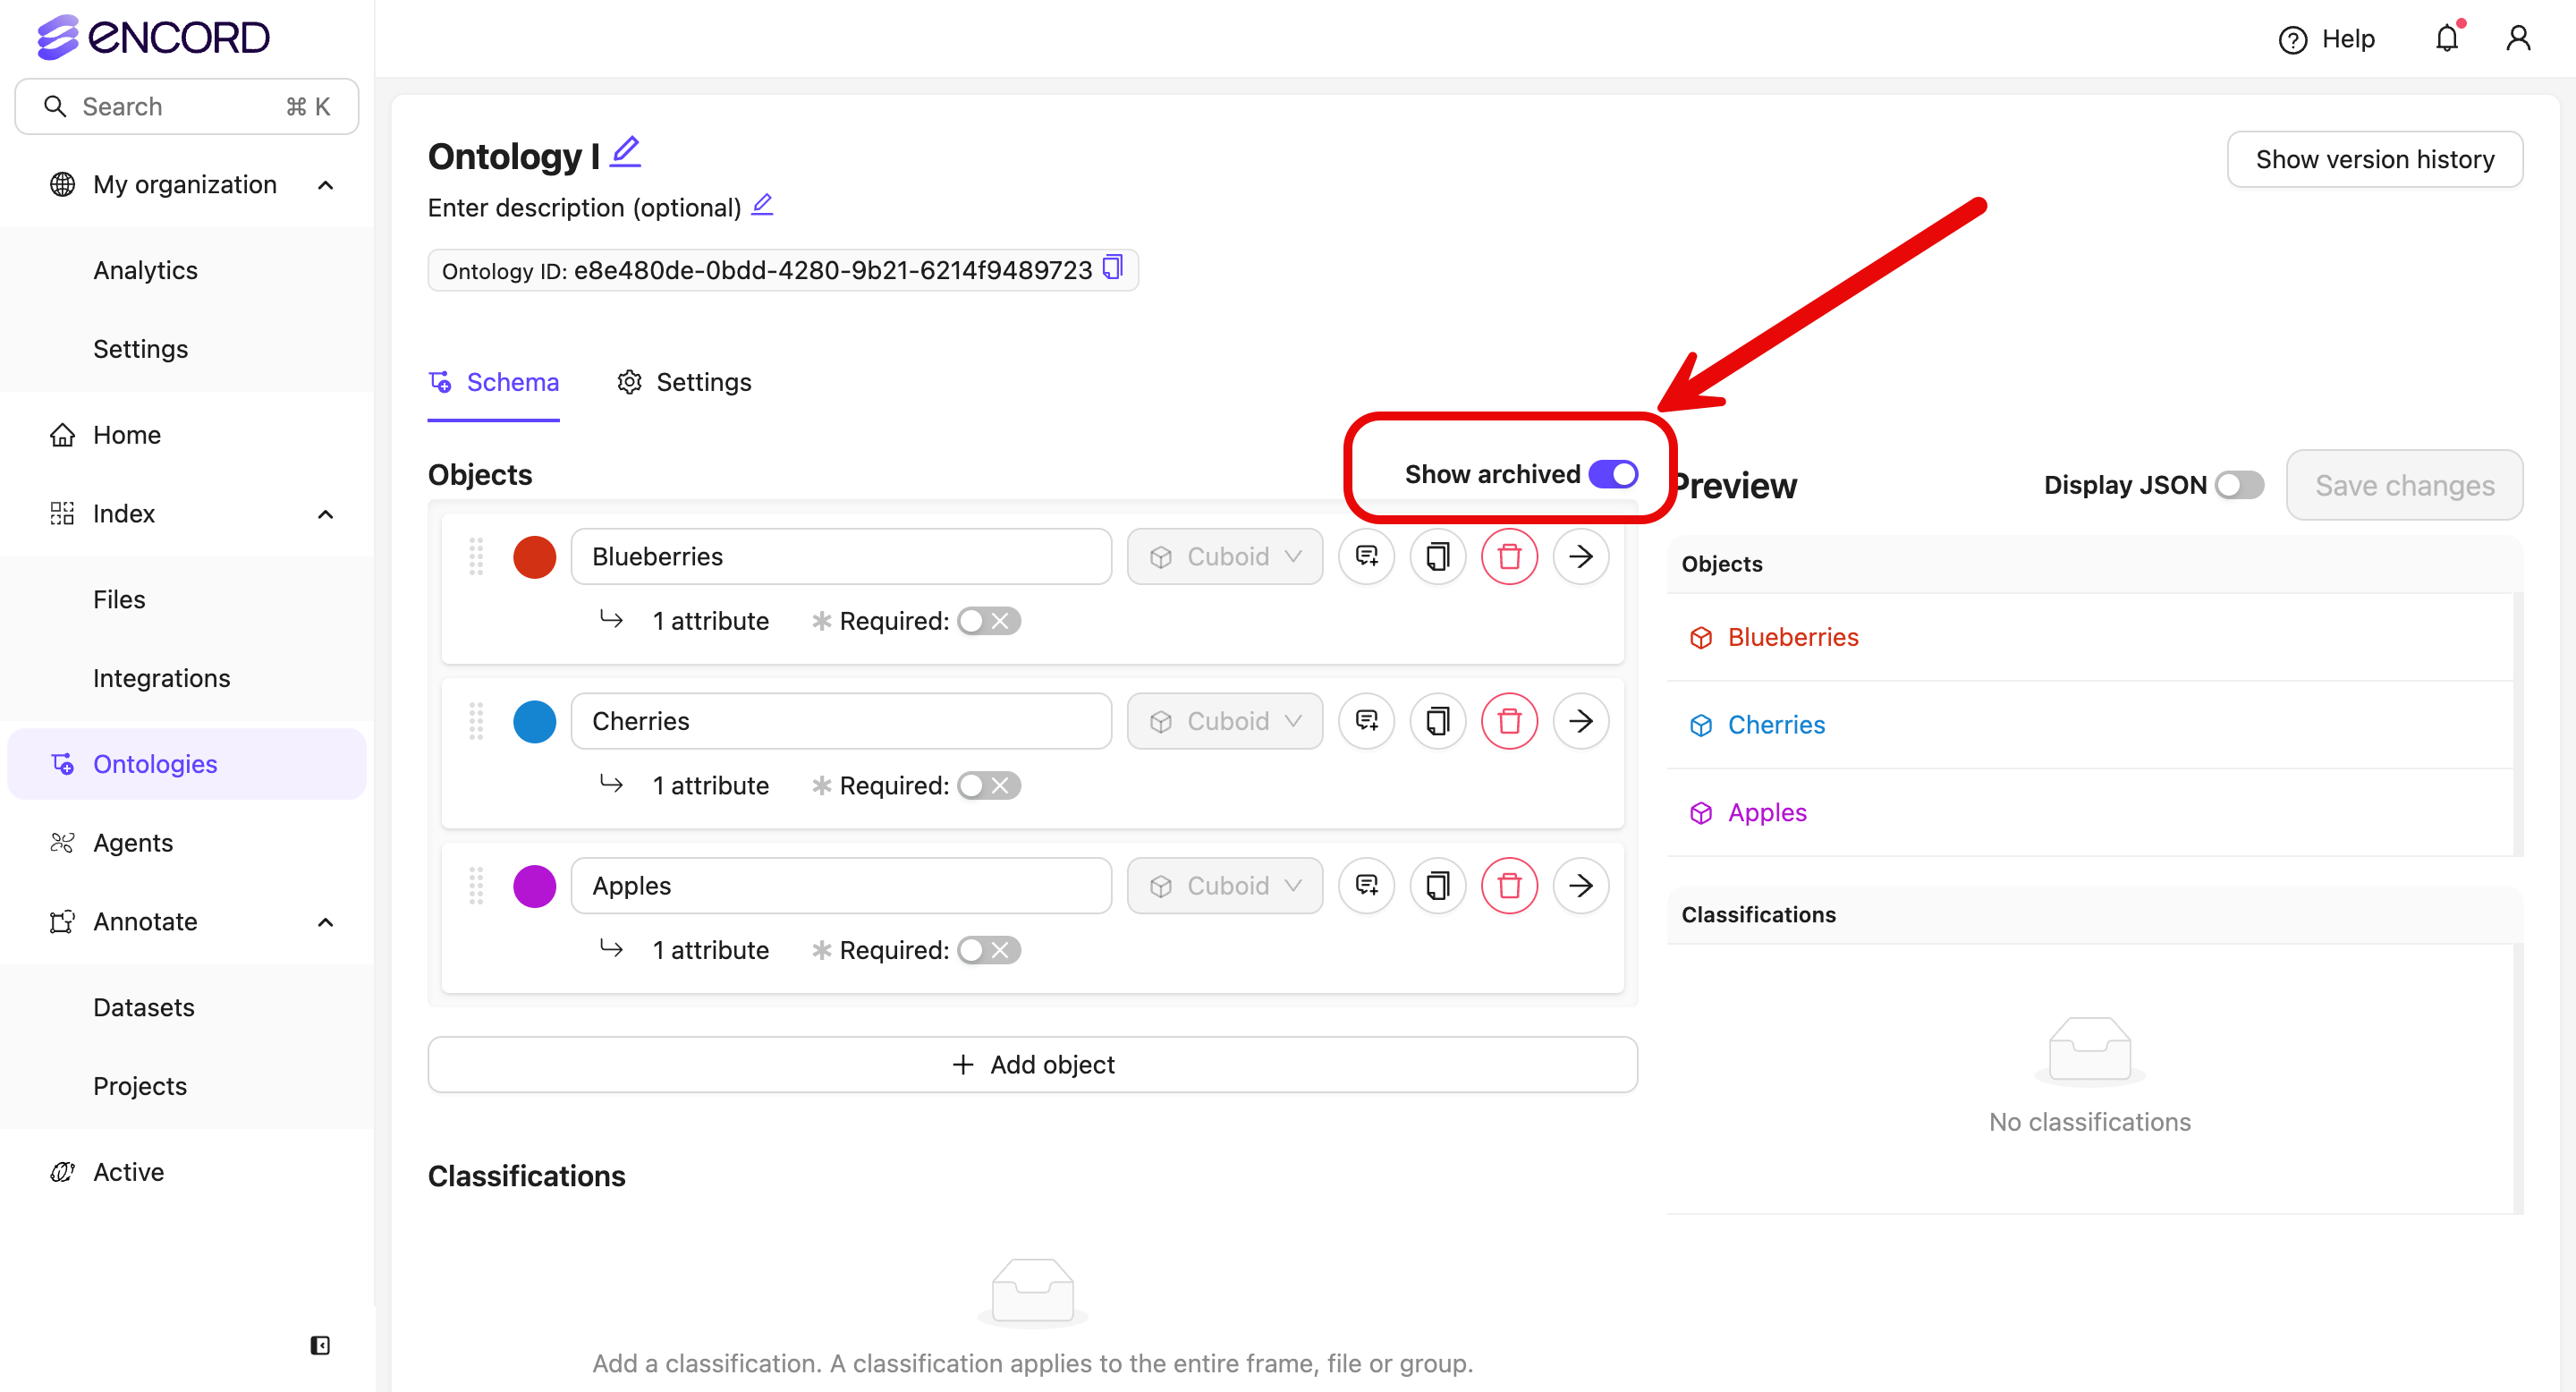
-
Go to the Ontology setting.
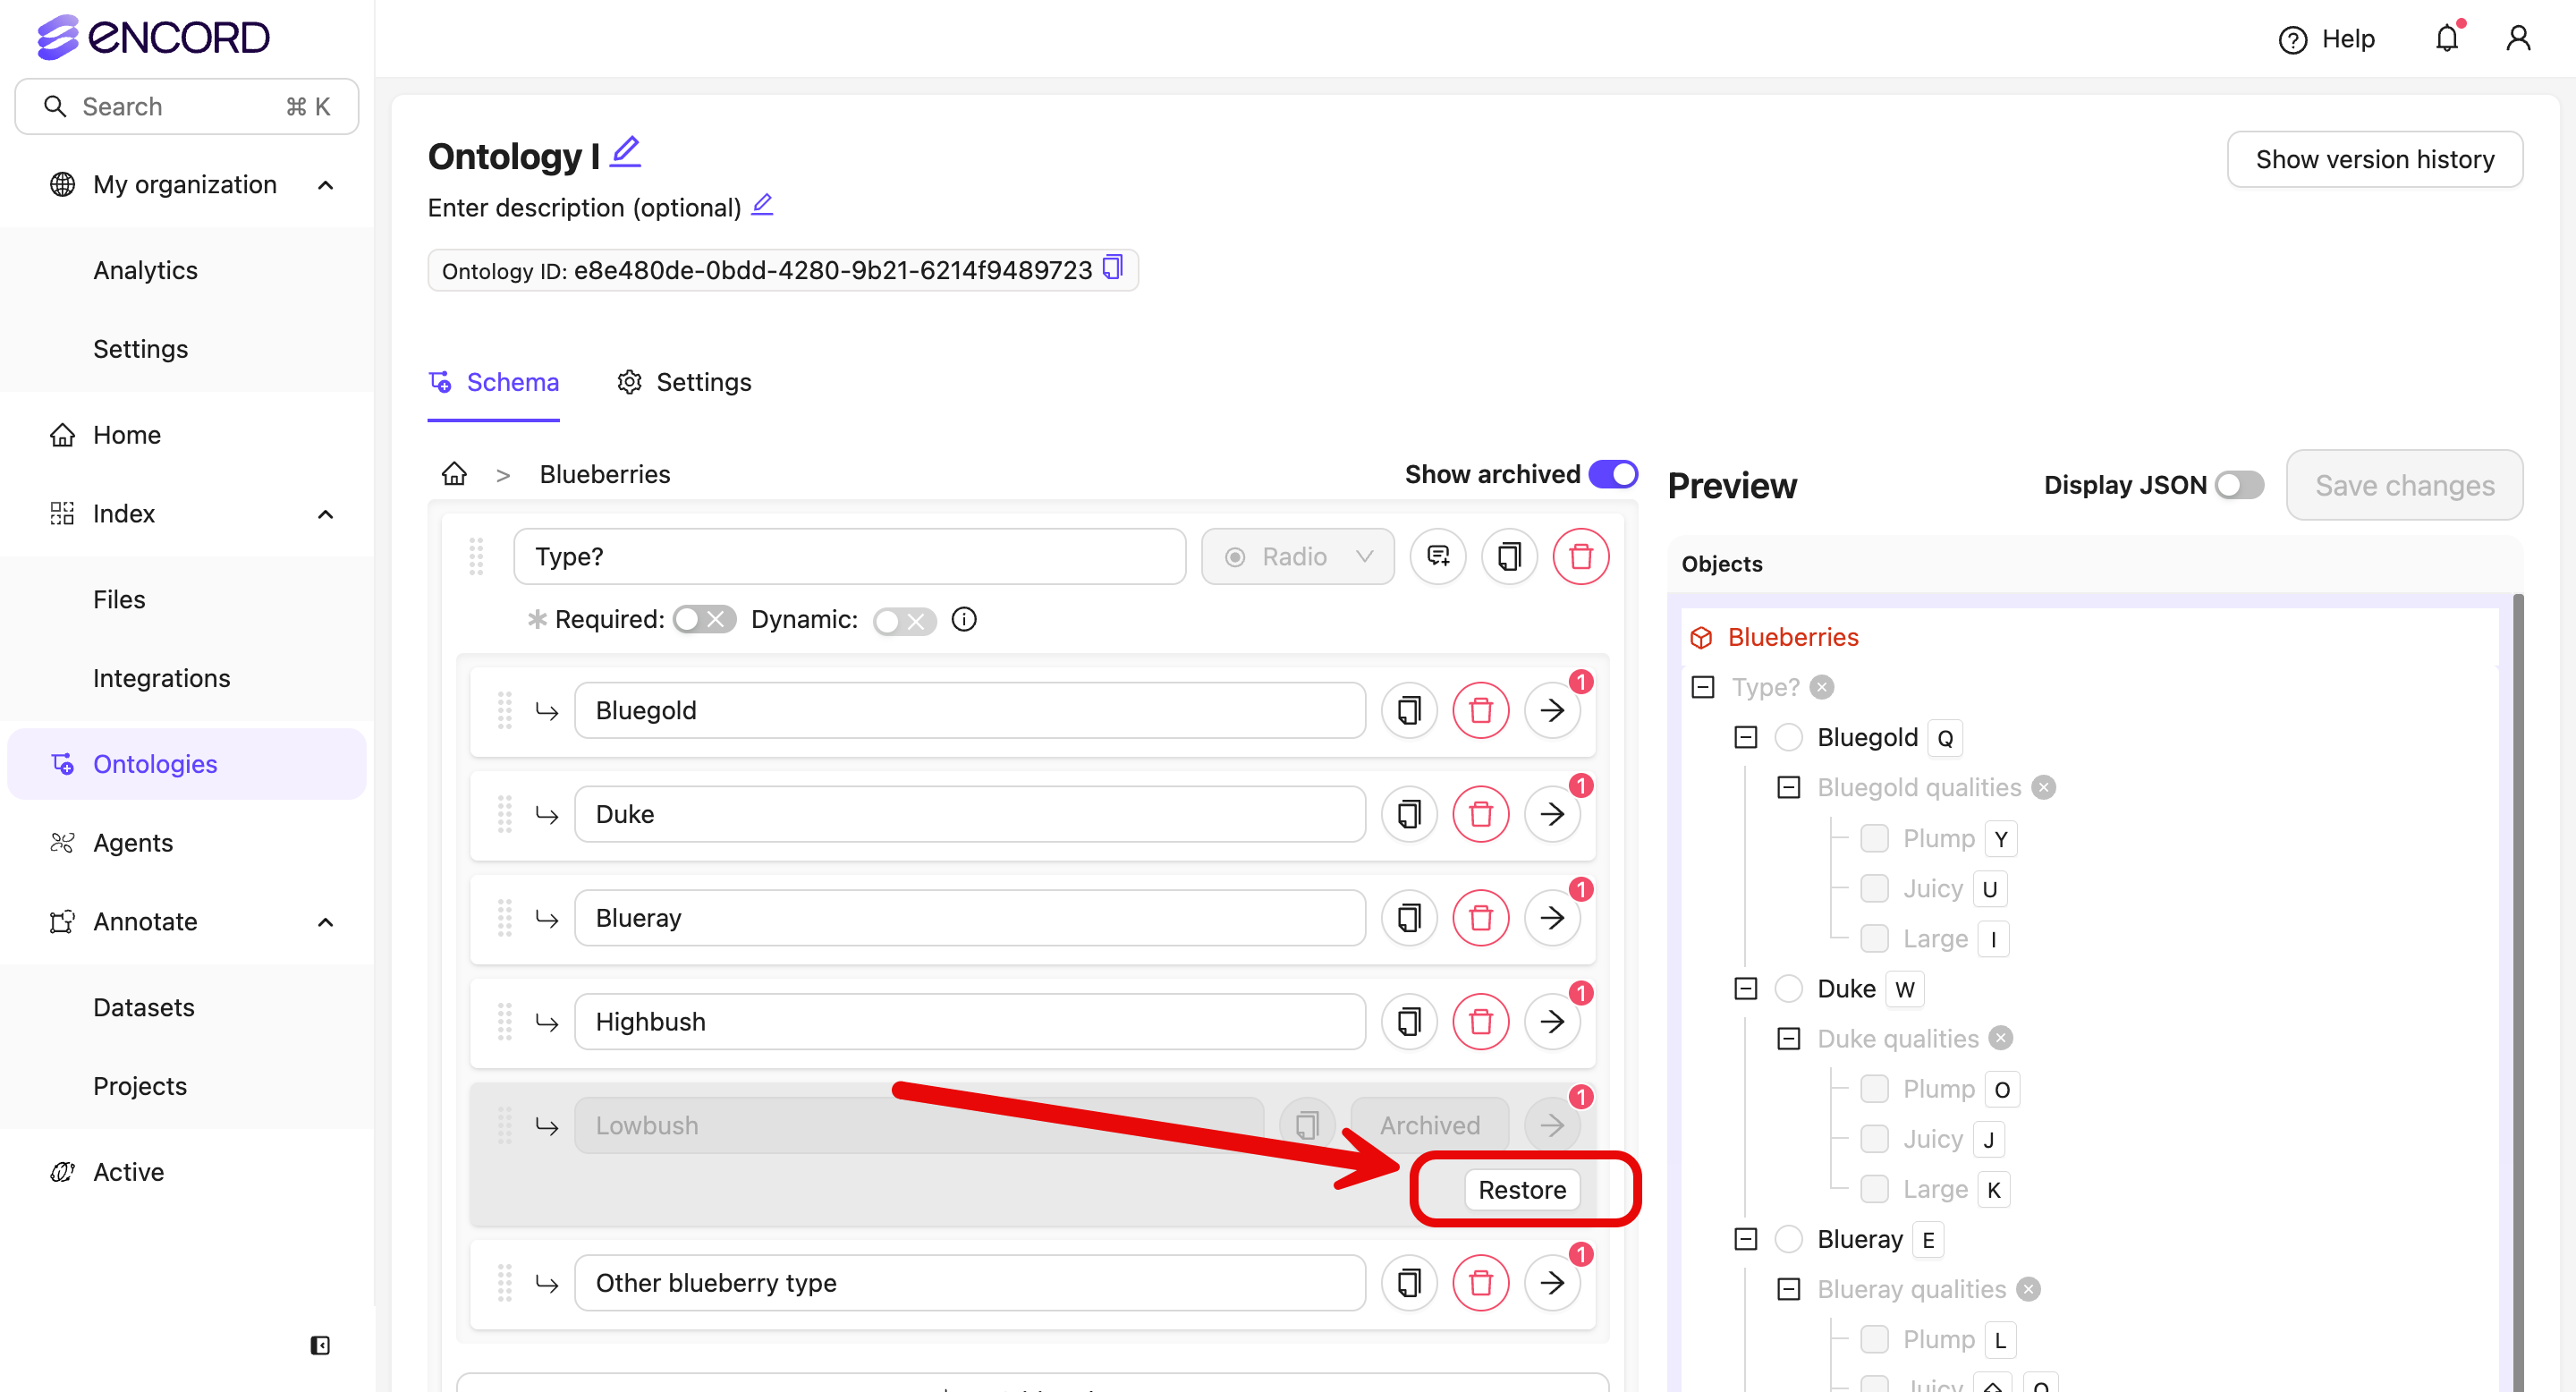
- Click Restore.
- Continue as needed.
Ontology Settings
Select an Ontology, and navigate to the Settings tab to access the Ontology’s settings.Copy Ontologies
An Ontology can be copied in the Options page of the Ontology’s settings. Click the Copy ontology button to copy the Ontology.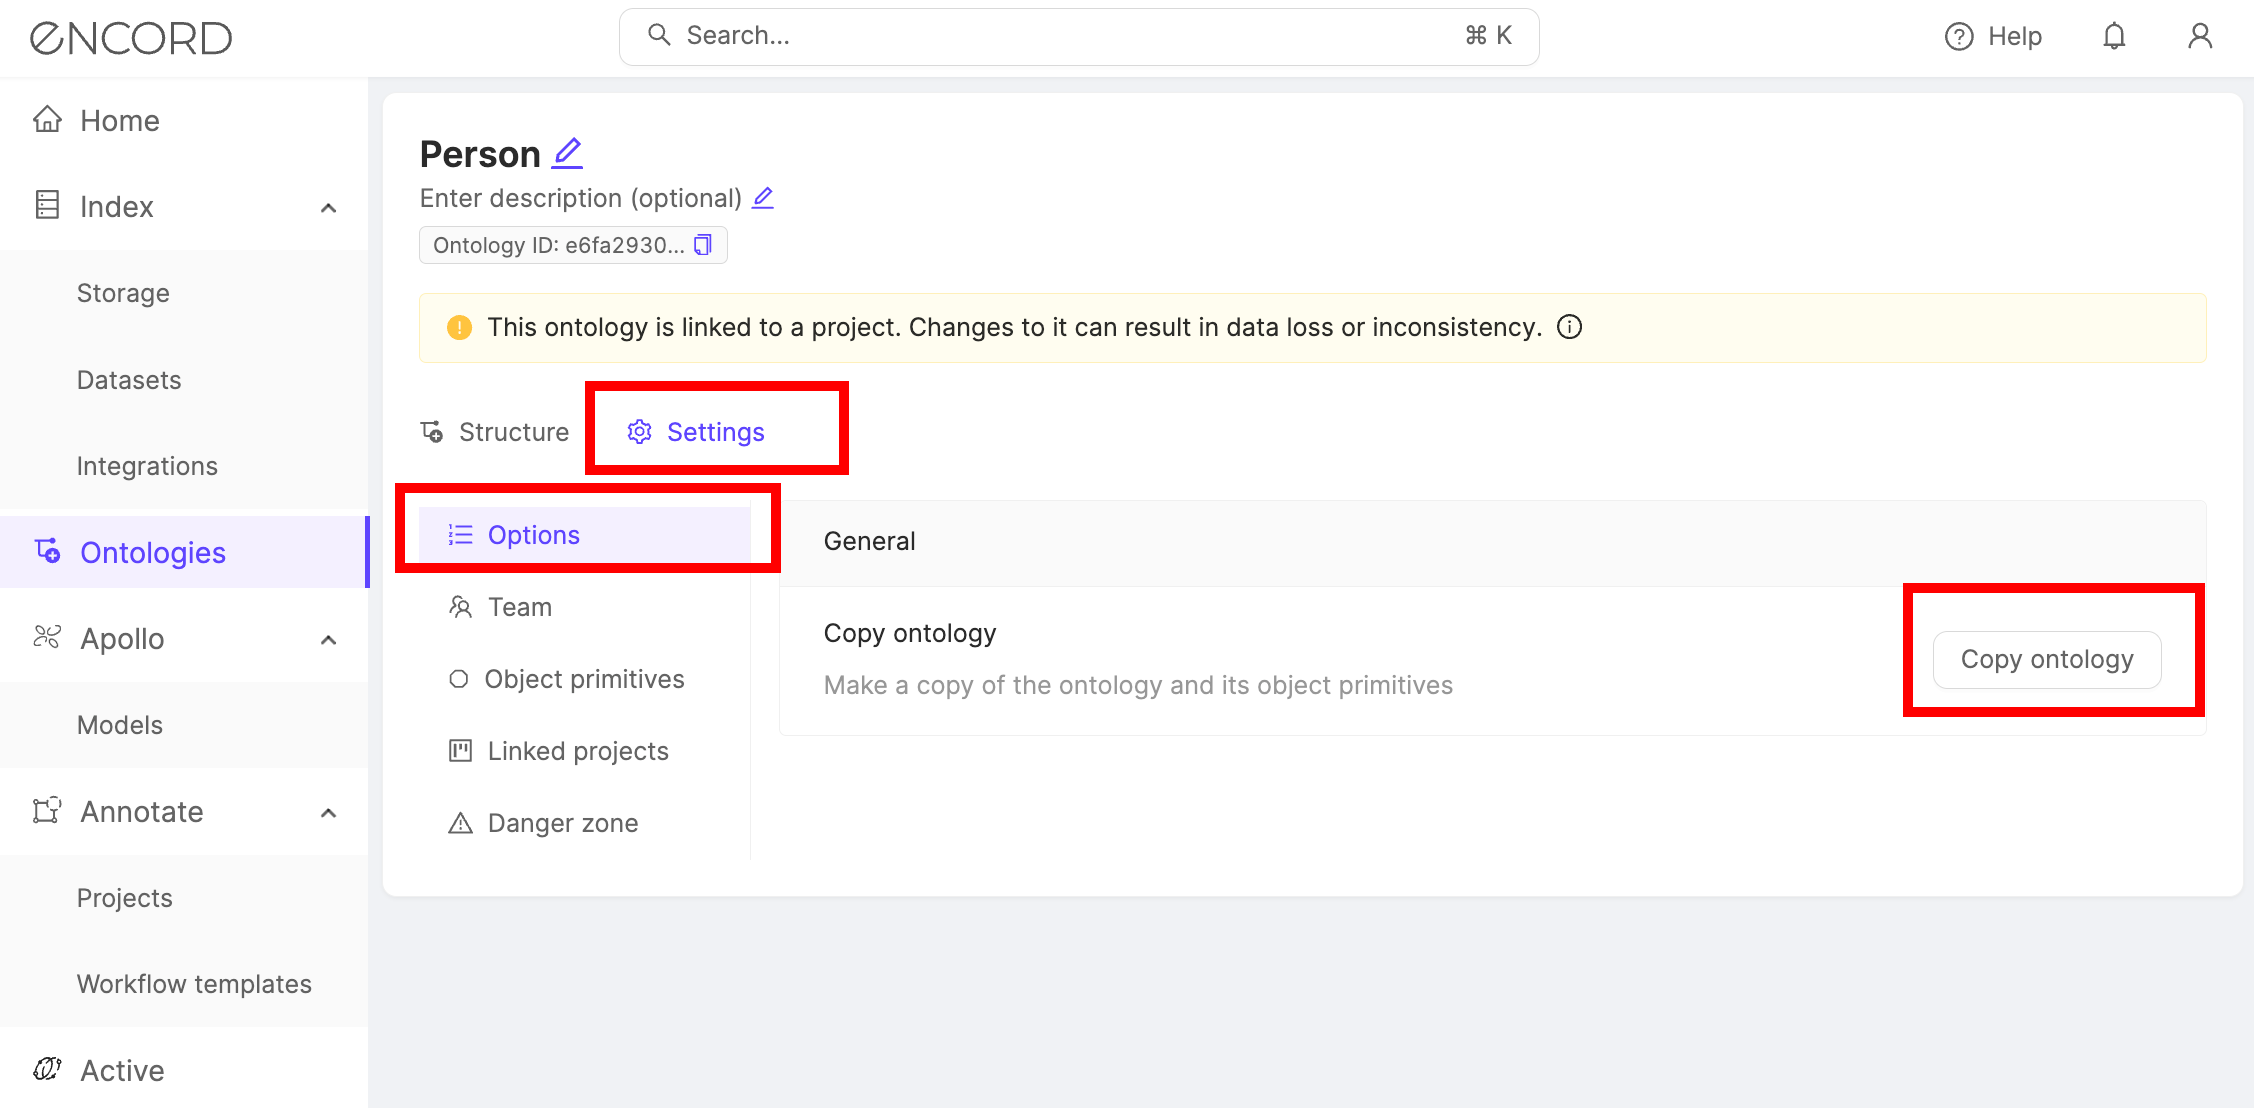
User Management
users associated with the Ontology are managed in the Team pane of the Ontology’s Settings. To add collaborators to the Ontology:
- Search for the collaborator or the group you want to add. Multiple collaborators and groups can be added at once.
Only group members are added when a group is assigned to a Project. Group managers are not included.
- Select a user role.
- User: Can view the Ontology and attach it to Projects.
- Admin: Grants full administrative control over the Ontology.
- Click Add to ontology.
- Change a user’s role by clicking their role in the Role column and selecting a new one.
- Remove users by clicking the Delete icon in the Unassign column.
Object Primitives
Object primitives (formerly called Skeleton templates) are customizable Ontology class. Video Tutorial - Creating and using Skeletons
Video Tutorial - Creating and using Skeletons

- A. ‘Add a primitive’: Start creating a new object primitive template.
- B. ‘Names hidden’: Show or hide the vertex names in the canvas.
- C. ‘Add a point’: Add more points on the canvas. Points are added to the list of points as they are made.
- D. ‘Add an edge’: Add more edges. Mouseover the first point and click once before clicking over the
end point of the edge. Edges are added to the list of edges as they are created. - E. ‘Move/edit’: Move vertices. Mouseover the vertex you wish to move. Click and drag to move the target vertex to the new desired location.
- F. ‘Save current state’: Save the template. If you exit the editor screen without saving all your work will be lost.
- G. ‘Name’: Enter a name for this object primitive. This name will be displayed in the ontology structure object annotation type selection.
- H. ‘Delete template’: Delete this object primitive. Please ensure you’ve removed this object primitives from
all connected objects before deleting, or the ontology structure may enter an unstable state. - I. ‘Points’: List of points with their coordinates and names. Coordinates are defined as (0, 0) in the
upper left. You can also add points using the + Add a point button at the bottom of the list. - J. ‘Edges’: List of edges. You can also add edges by using the + Add an edge button at the bottom of the list.
- Click Add a primitive (A).
- Give your primitive a meaningful name.
- Click Add. You are now ready to set up your primitive.
- Click Add a point (C). Add as many points as you need.
- Click Add an edge (D). Connect your points as needed.
- Click Save current state (F) to save your primitive.
- Return to the Schema tab of your Ontology.
- Click + Add object.
- Select your object primitive from the list of Object classes.
- Save your Ontology.
Linked Projects
The Linked projects pane shows a list of Projects using the Ontology. You can jump to any of the projects displayed by clicking the View link.
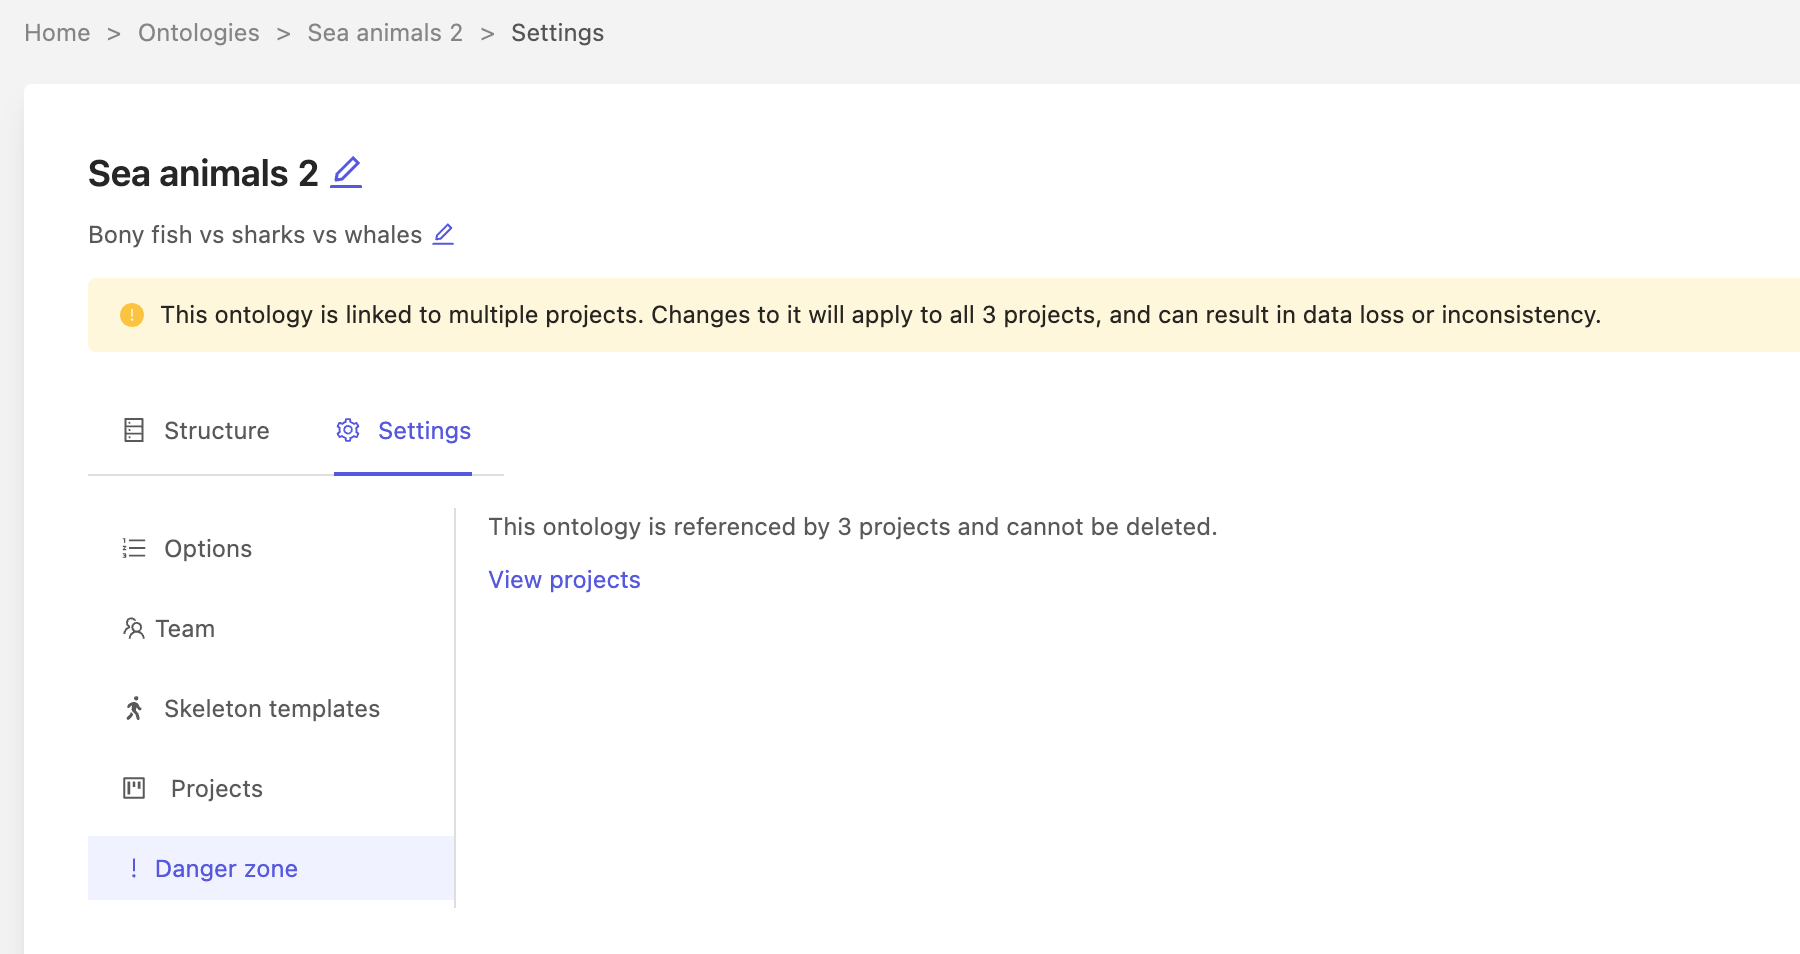
Delete Ontology
Use the Danger zone pane to delete an Ontology.Ontologies that are attached to one or more Project cannot be deleted. To delete an Ontology, it has to be removed from all Projects it is attached to.
View and join Ontologies in your Workspace
Workspace Admins can search for and join any Ontology that exists within the Workspace.- Navigate to Ontologies in the Encord platform.
- Select the All Encord ontologies tab.
- Find the Ontology you want to join.
- Click Join ontology to join the Ontology.
