Documentation Index
Fetch the complete documentation index at: https://docs.encord.com/llms.txt
Use this file to discover all available pages before exploring further.
Data added prior to the release of Index is stored in Mirrored Datasets. Learn more about Mirrored Datasets here.
Creating Datasets
- Click the New dataset button in the Datasets section in Annotate.

- Give your Dataset a meaningful title and description. A clear title and description keeps your data organized.
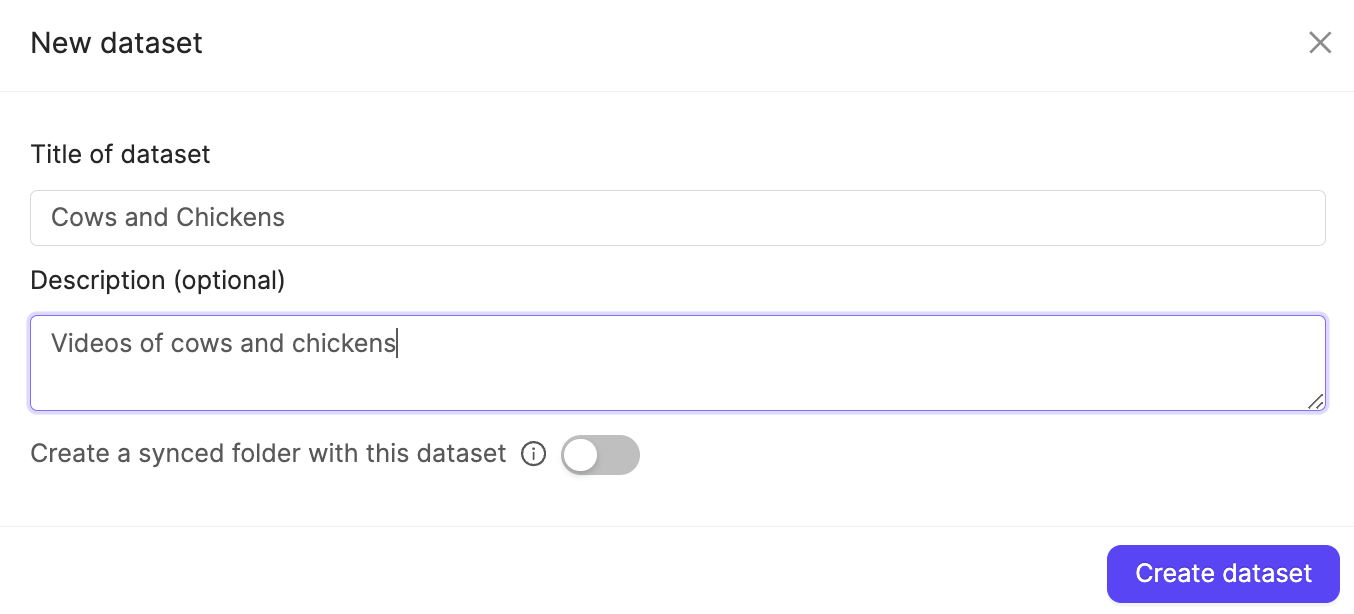
- Click Create dataset to create the Dataset.
Attach Data
After a Dataset has been created, you can attach data.- Navigate to the Datasets section under the Annotate heading.
- Click the Dataset you want to add data to.
- Click +Attach existing files.

- Select the folders containing the files you want to attach to the Dataset. To select individual files, double-click a folder to see its contents, and select the files you want to add to the Dataset.
- Click Attach data to attach the selected files to the Dataset.
Attach Dataset to Project
You can attach Datasets (mirrored and static) to Projects, you own, directly from the summary page for the Dataset.Empty Datasets can be added to Projects you own.
- Navigate to Annotate > Datasets.
- Click the Dataset you want to attach to a Project you own.
- Click the Attach to project button. A list of the Projects you own appears.
- Search for a Project from the Project list.
- Click the Project you want to attach the Dataset to. A popup appears confirming the Dataset attached to the Project.
Register Cloud Data to Datasets
- Create a Dataset.
- Select the Dataset you want to add data to.
- Click +Upload files.

- Select a folder to store the files in, or create a new folder.
- Select the Import from private cloud tab and select the integration you want to use.

- Click Add JSON or CSV files to upload a JSON or CSV file specifying the cloud data that is to be added to the Dataset. Turn on the Ignore individual file errors toggle to ignore errors caused by files not supported by Encord.

- Click Import to add your cloud data to the Dataset.
The data is fetched from your cloud storage and processed asynchronously. This involves fetching appropriate metadata and other file information to help us render the files appropriately and to check for any framerate inconsistencies. We do not store your files in any way.
Mirrored Datasets
Mirrored Datasets provide a continuity solution that retains the organization of data prior to the release of Index. With the transition to Index, all existing data within Datasets has been transferred to Files in the form of Mirrored Datasets. Mirrored Datasets can be managed using both the Files and Datasets sections of the Encord platform. For example, moving a file named “chicken.mp4” from a mirrored Dataset titled “Animal videos” to another mirrored Dataset called “Chicken videos”, results in “chicken.mp4” being visible in all Projects associated with “Chicken videos”.Entity Relationships
The following diagram illustrates how Datasets relate to other entities in Encord. The following diagram shows how entities in Encord are organized.- Projects bring together Ontologies, Datasets, Workflows, and collaborators.
- A Project can have multiple Datasets attached to it, but only one Ontology.
- One Ontology can be attached to multiple Projects.
Roles and Permissions
Manage Files and Users
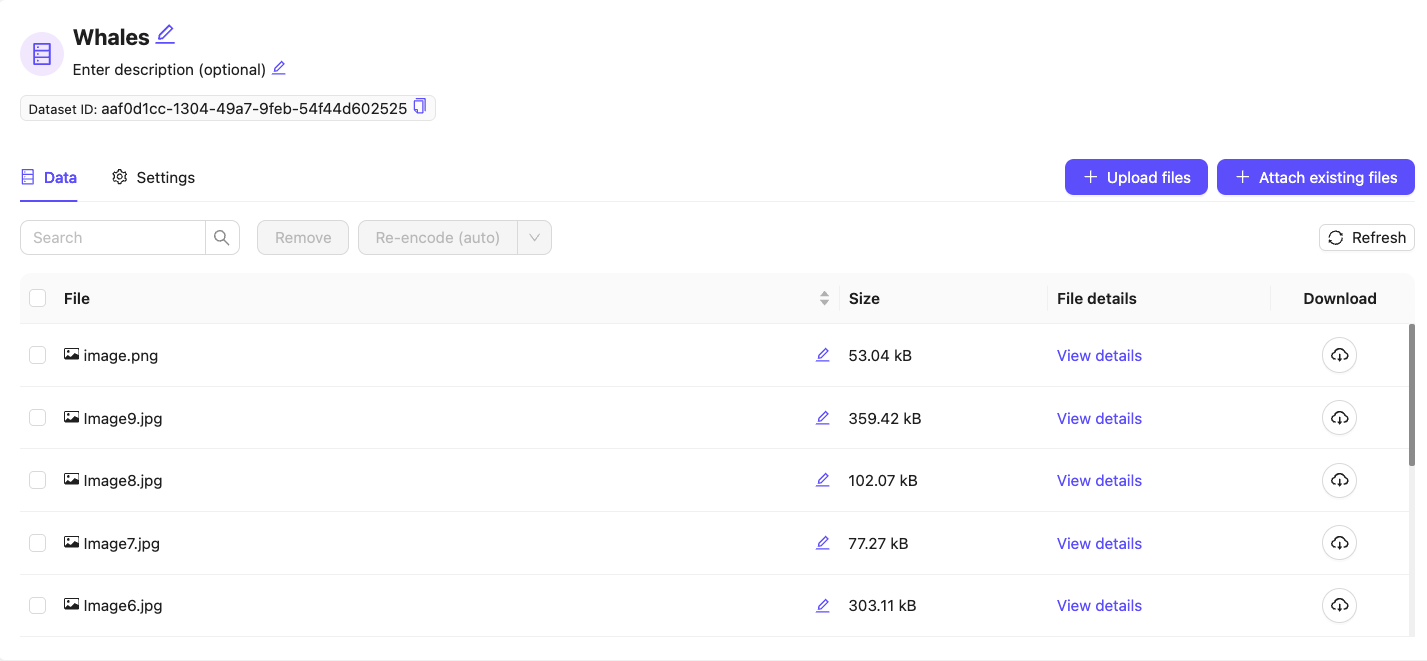
To manage a Dataset’s files and users, select it from the list.
- The Data tab handles file management and displays the exact count of items in your Dataset
- The Settings tab is for user management, viewing linked Projects, and deleting the Dataset.
Data tab
Data tab
1,234 items instead of 1.2k items.Settings tab
Settings tab
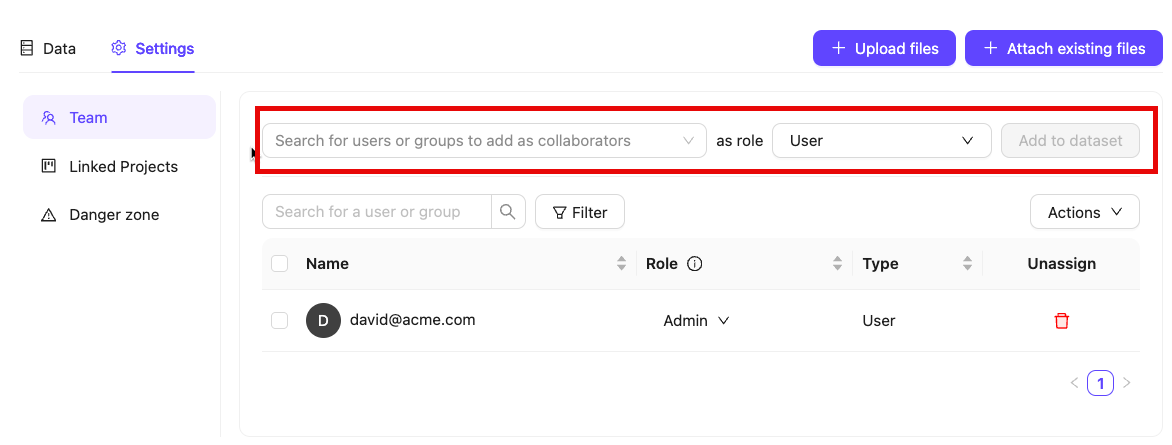
- Search for the collaborator or the group you want to add. Multiple collaborators and groups can be added at once.
Only group members are added when a group is assigned to a Project. Group managers are not included.
- Select a user role.
- User: Can view the Dataset and attach it to Projects.
- Admin: Grants full administrative control over the Dataset.
- Click Add to dataset.
- Change a user’s role by clicking their role in the Role column and selecting a new one.
- Remove users by clicking the Delete icon in the Unassign column.
Delete Dataset
Use the Danger zone pane in Settings to delete Datasets. Click the Delete dataset button to delete the entire Dataset. You are prompted to type the word ‘delete’ into the resulting pop-up to delete the Dataset.
Joining Datasets in your Workspace
Workspace Admins can search for and join any Datasets that exist within the Workspace.- Navigate to Datasets under the Annotate heading in the Encord platform.
- Select the All Encord datasets tab.
- Find the Dataset you want to join.
- Click Join dataset to join the Dataset.
