Index Audio Support
Index supports the following audio formats:| Support | Description |
|---|---|
| Codec | .mp3, .wav, .flac, .eac3 |
| Container | .mp4, .m4a |
| Sample rate | 8k to 96k |
| Bit depth | 16bit to 32bit |
Quick Tour
Use the Audio tab to natively view all the audio files available in your Folders. From the Audio tab you can sort and filter all of your audio files based on Audio Quality Metrics. If only audio files are in your Folders, no Audio tab displays. Your audio files display in the Index Explorer. If there are a mix of file types (images, videos, and audio files), tabs display for the various file types (Video, Frames, Audio).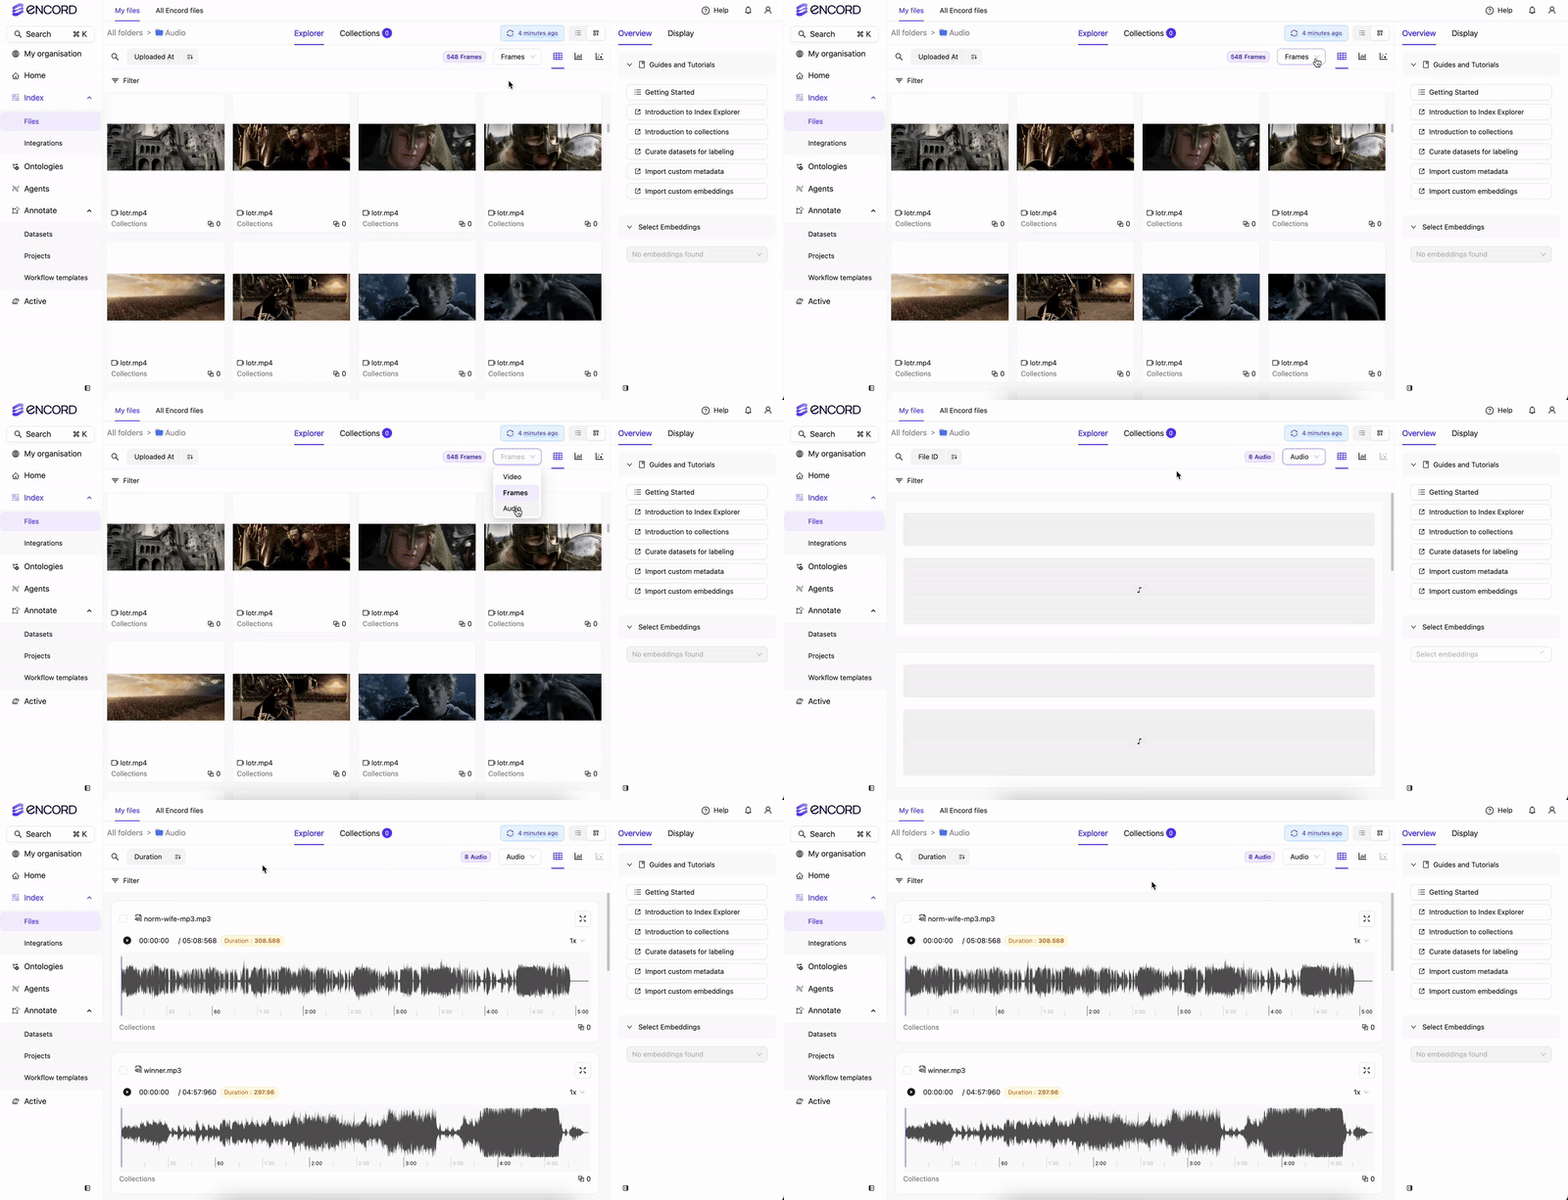
- Audio Quality Metrics for sorting and filtering your audio files.
- Waveform playback controls to move through audio files.
Use Index Audio Quality Metrics
Use Audio Quality Metrics to sort and filter your audio files. Sort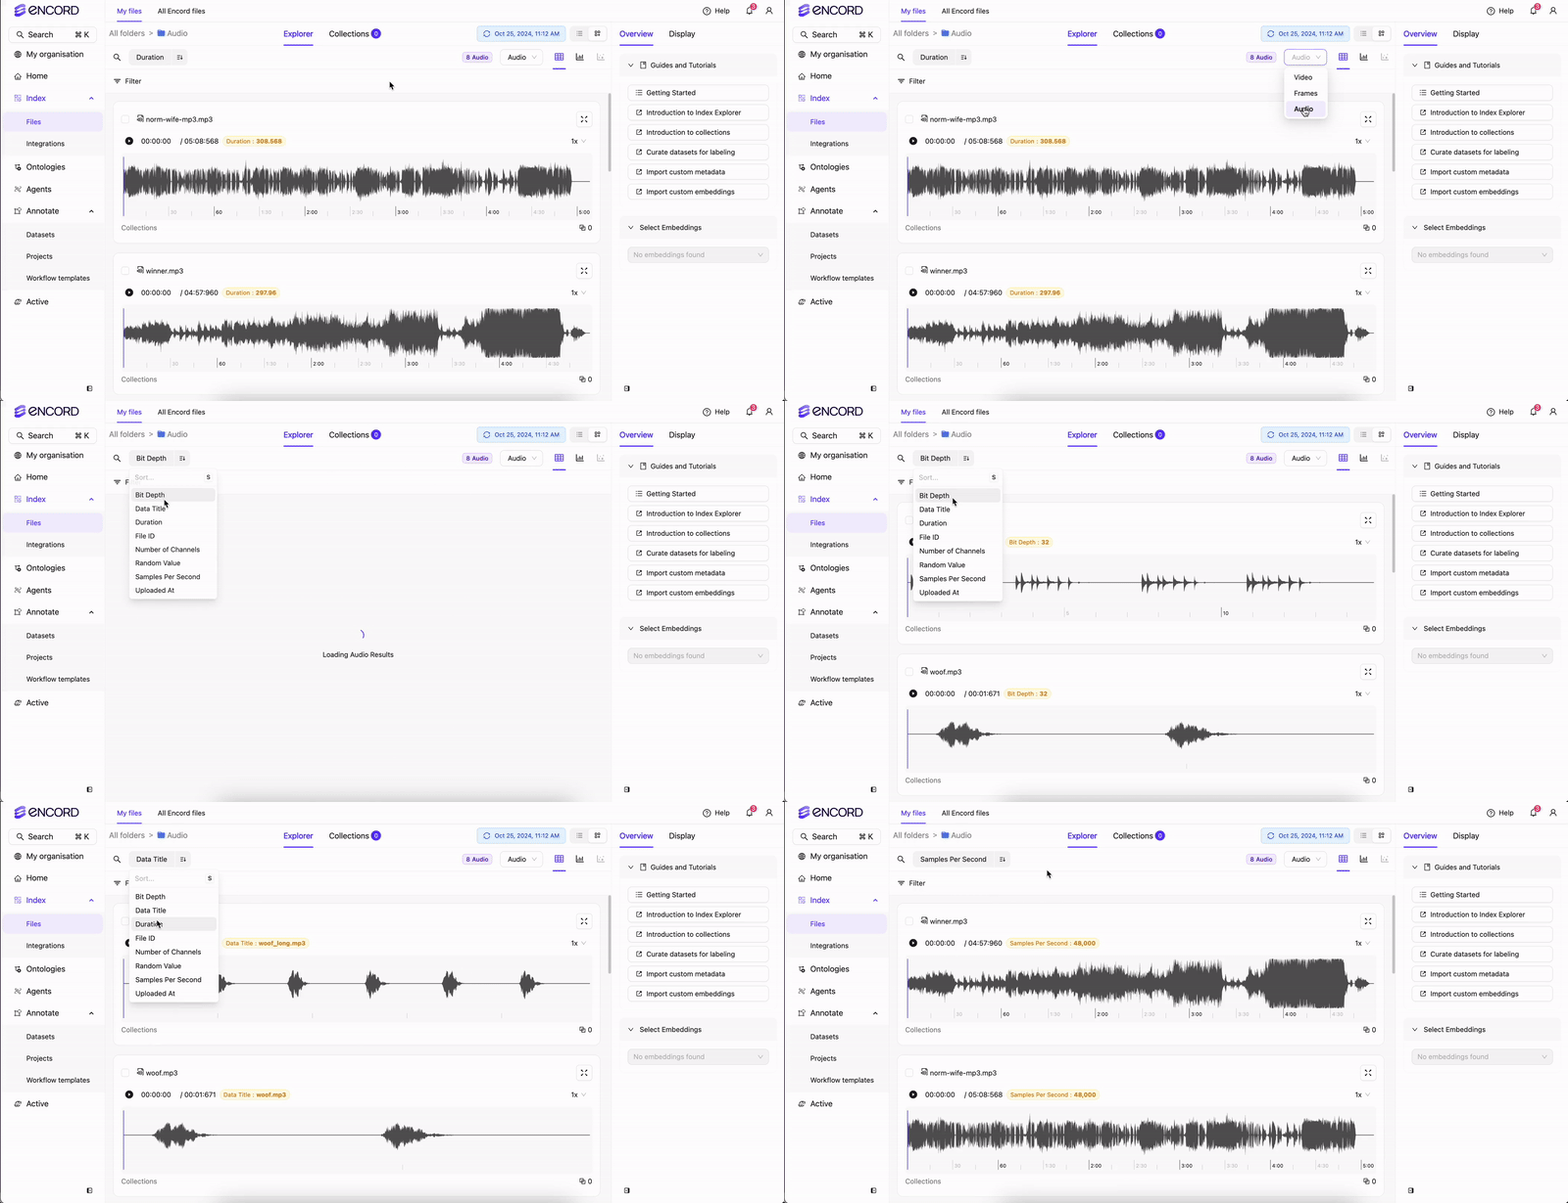 Filter
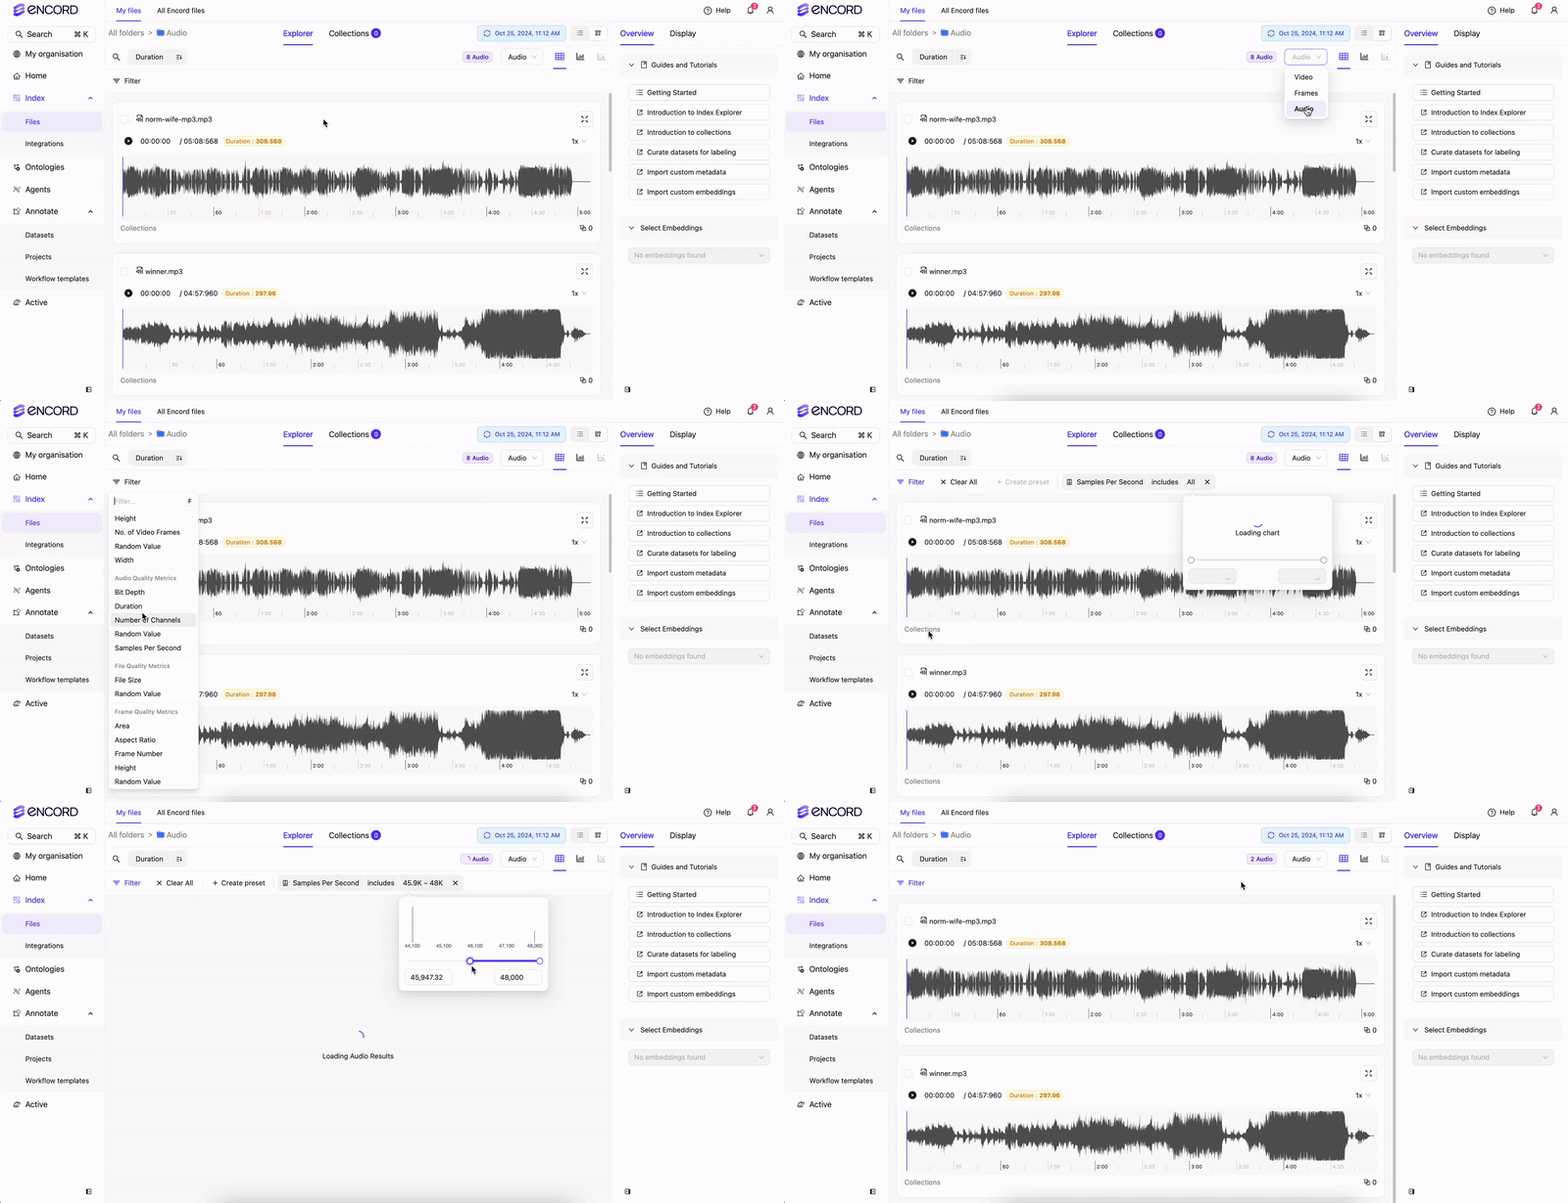
Audio Quality Metrics
Index supports filtering your audio files using the following audio quality metrics:- Bit depth: Size of each sample (int) in bits.
- Duration: The duration of the audio file.
- Number of channels: Number of audio channels in an audio file.
- Random value: A random number assigned to each audio file.
- Samples per second: The number of samples per second.
Transcription for Audio Files
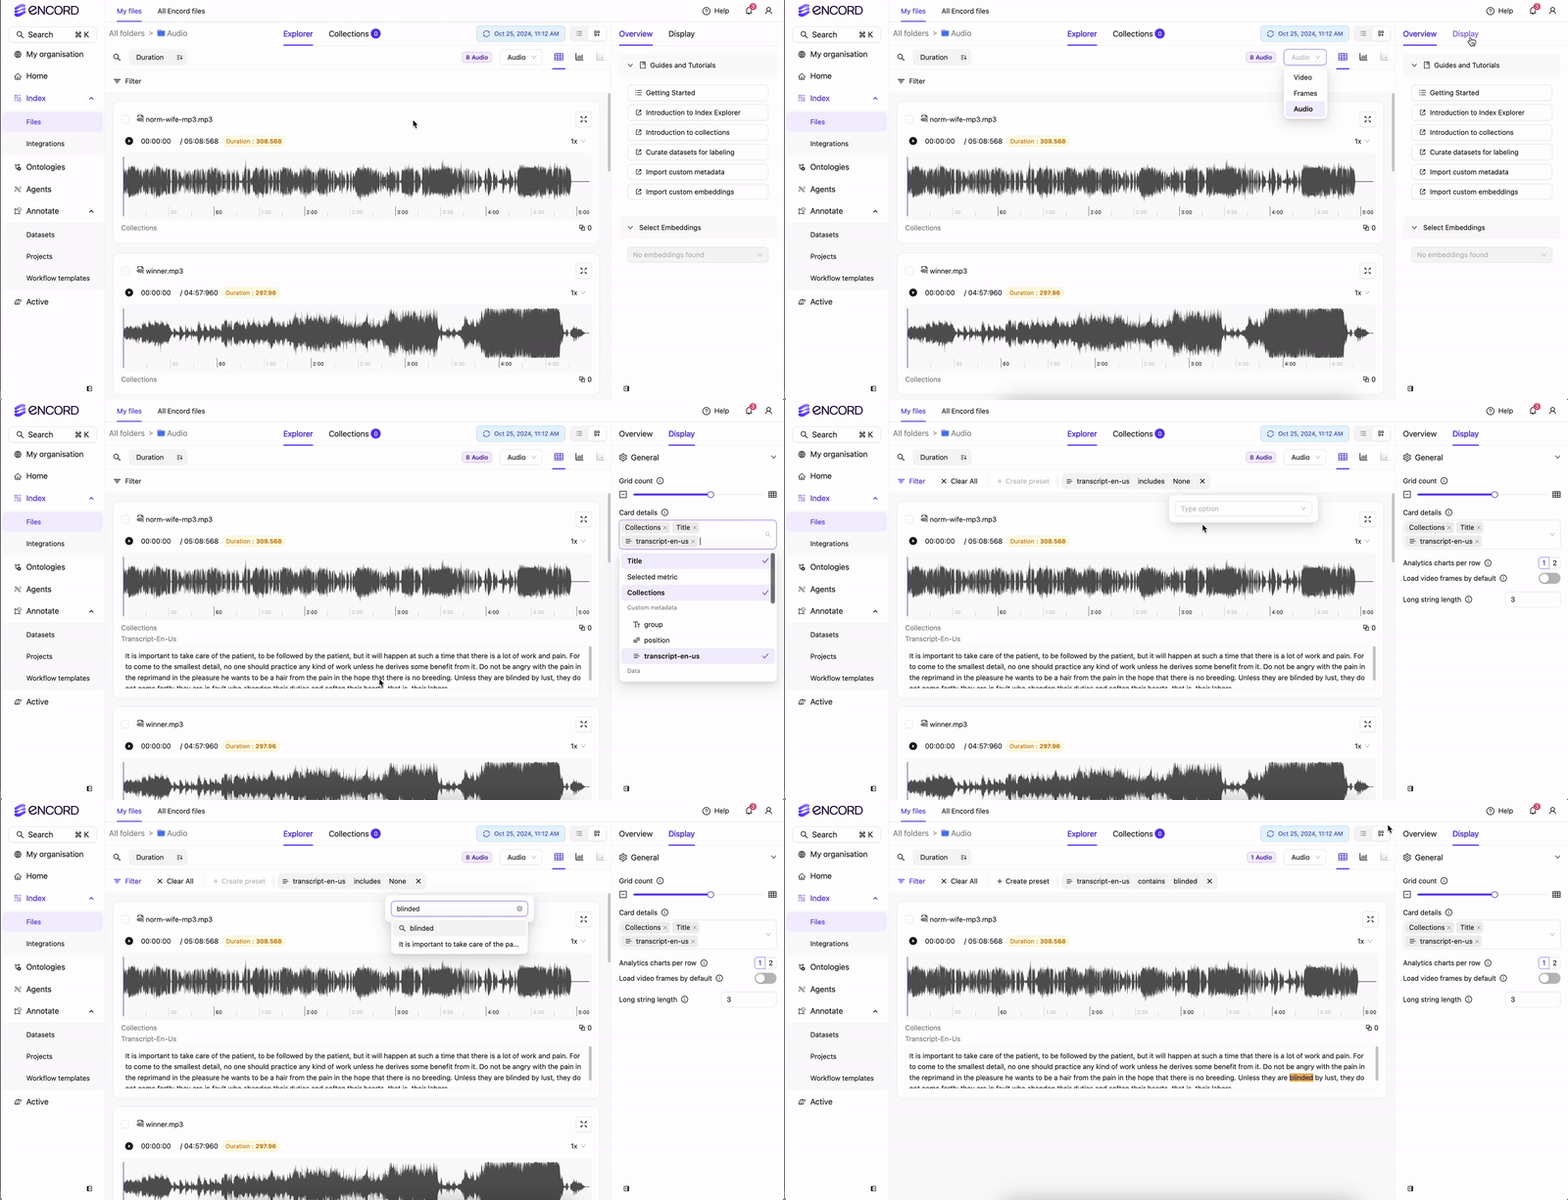
First update the custom metadata schema to include atext (formally long_string) data type for your transcripts. Then register data with the appropriately named metadata field. When you display that field, using the Display control section of the app, a resizable text field displays, so transcripts can be previewed directly under the relevant audio waveform.
Step 1: Add Transcript Key to Schema
Before adding transcripts to your audio files, make sure you add a transcript key withlong_string specified as the type to your custom metadata schema.
Add Transcript Key to Schema
Step 2: Import Transcript
After updating your custom metadata schema, you can import your transcripts to your audio files.Import your Transcript
Step 3: View/Filter in Index
In Index, you can filter and view the transcripts applied to your audio files. View with audio files To view transcripts:- Click Display.
- Click the field under Card details. A menu appears.
- Select your transcript under Custom metadata. Transcripts appear under your audio files.
 Filter using transcripts
To filter using transcripts:
- Click Filter.
- Click Add filter. A menu appears.
- Select Custom metadata. A field appears.
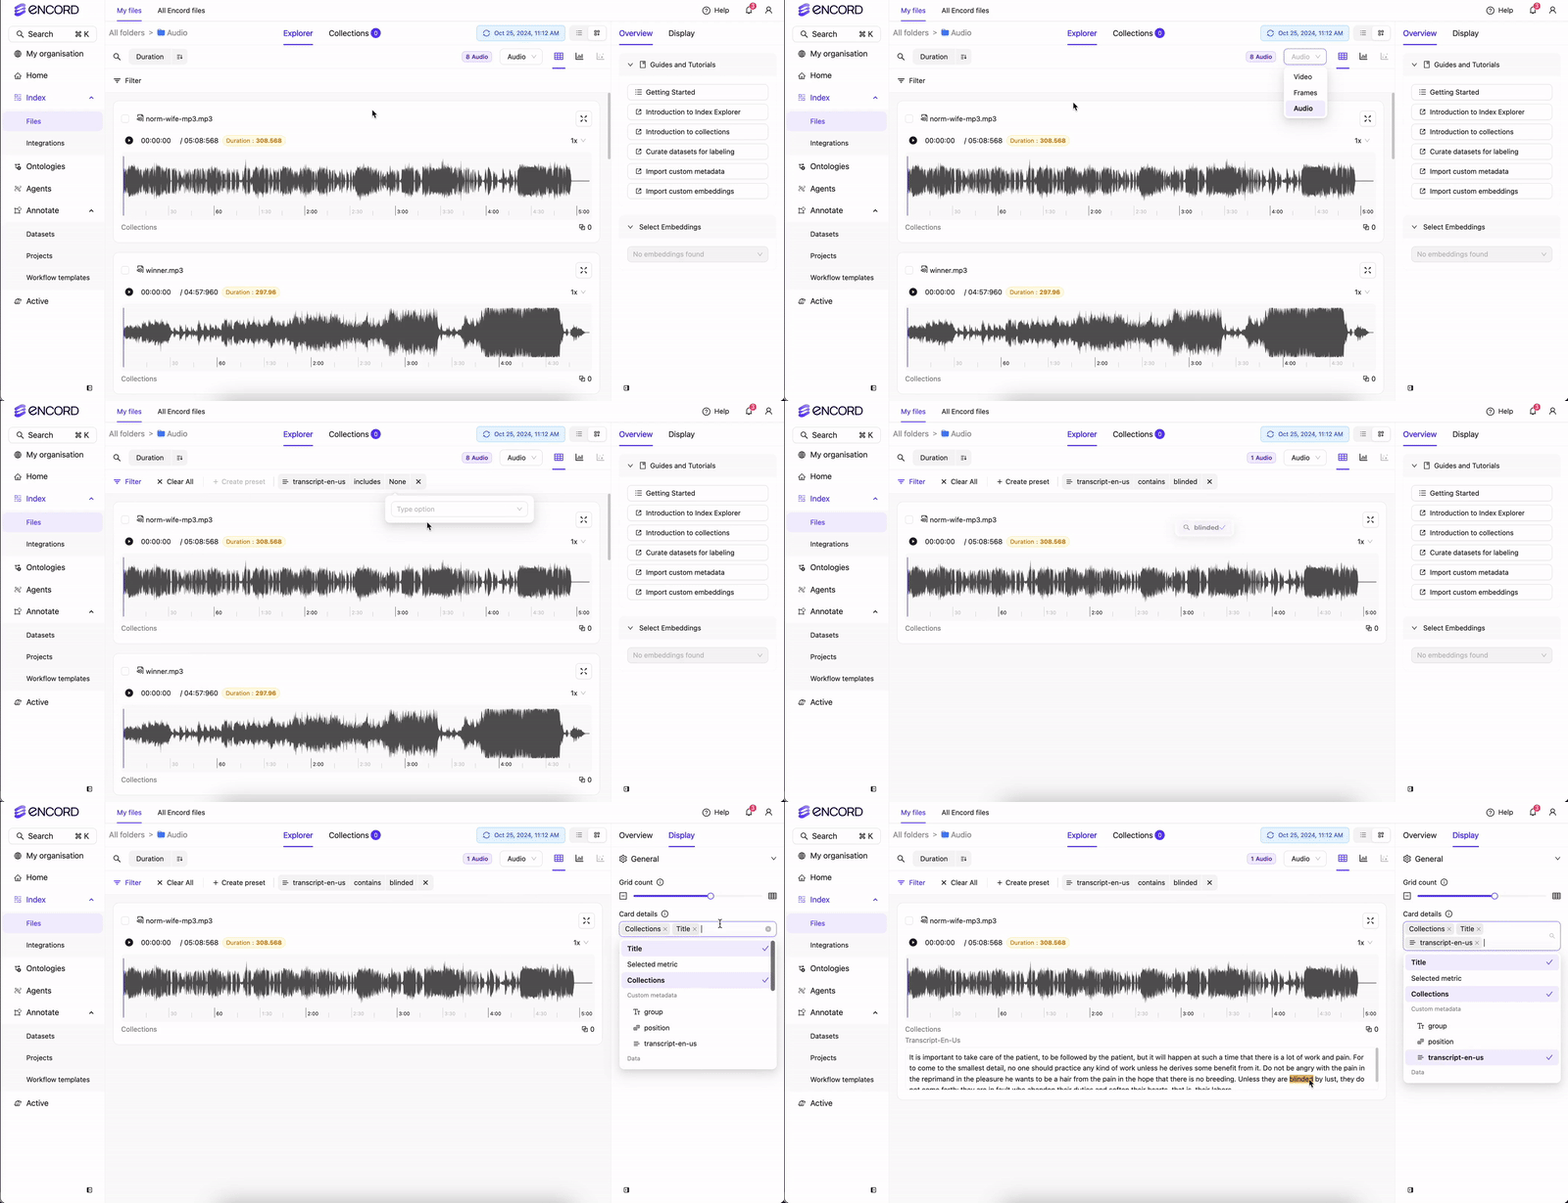
- Select your transcripts from the field.
- Type the text you want to search for.
- Click Display.
- Click the field under Card details. A menu appears.
- Select your transcript under Custom metadata. Transcripts appear under your audio files with the filtered text highlighted.
Long Audio Files
When audio files in your cloud storage are longer than an hour, the Label Editor may take extra time to load their waveforms. To significantly reduce load times, you can generate a JSON file containing the waveform data and store it alongside your audio file.- Install audiowaveform.
- Use the following command to generate a JSON file of your waveform:
The name of the JSON file must exactly match the name of your audio file. Only the file extensions differ.
- Upload the JSON file to the location of your audio file.
The JSON file MUST reside in the same cloud storage location as your audio file.For example:
- Audio File Path in Bucket : “/my-bucket/all-audio/my-favorite-song.mp3”
- Audio Waveform File Path in Bucket: “/my-bucket/all-audio/my-favorite-song.json”

