This page documents features and optimizations specific to mammography workflows. For working with other DICOM modalities, please check the general DICOM guide here
Annotating in different views
You can switch the slice that is being annotated in a hanging protocol by switching out the tile being annotated, or by changing which tile can be annotated. To select a tile for annotation- Click the Switch tiles icon highlighted in the image below.
- Click the three dots icon highlighted in the image below and select Annotate from this file.
- Click the three dots icon highlighted in the image below
- Select Annotate and swap tiles.

Expand tile
You can expand the tile currently being annotated for a better view of the anatomical features, and more precise labels. How to expand the tile currently being annotated depends on the tile layout currently being used.- Click the Expand tile icon on the tile currently being annotated to expand the tile.
- If the Expand tile icon is not visible above the tile currently being annotated, click the three dots icon and select Expand tile.
Hanging protocols
Hanging protocols only apply to the current task. Learn how to set the editor layout for the entire Project here.
Presets
You can save presets for a given layout by typing a meaningful name after making a protocol selection, and clicking the + button. Click the tick icon next to a preset name to select the preset as your default layout.Default layouts
You can specify any preset, including Auto layout, as the default layout for studies in the Label Editor. Click the tick icon next to a preset in the hanging protocols menu, to select the preset as your default layout. You can reset the Label Editor to the default layout by clicking the Reset layout to default icon.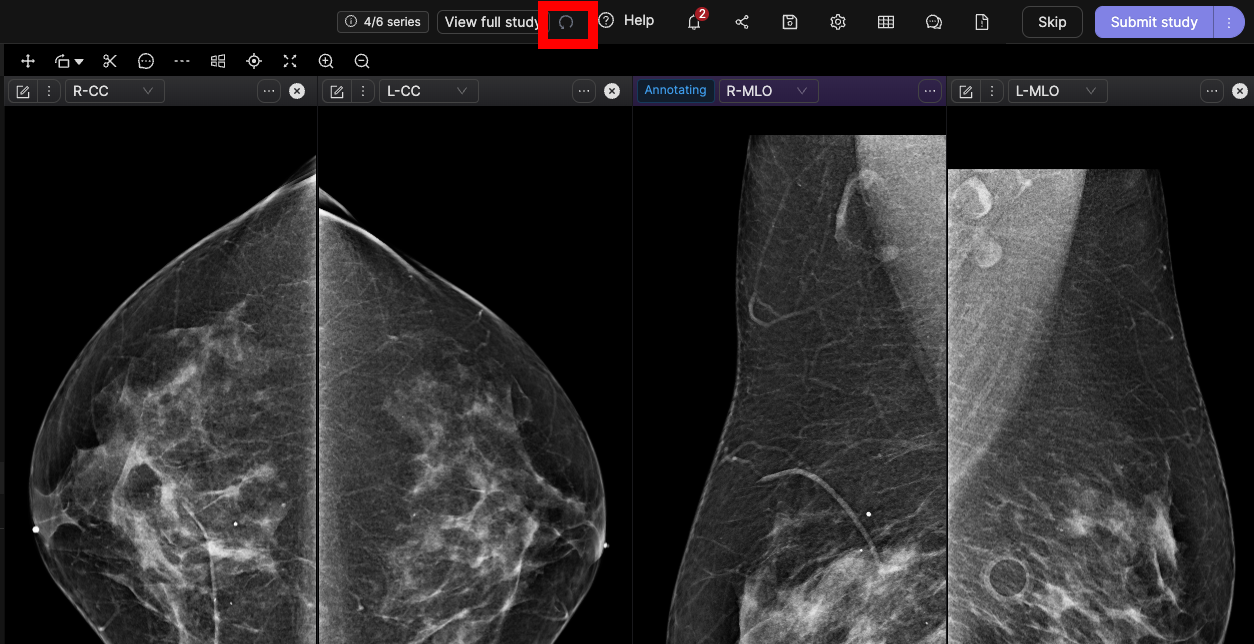
Auto layouts
Learn how to set the editor layout for the entire Project here.

- Off: Only the single mammography file that was opened is displayed in the Label Editor.
- 2x2: Shows MLO views in the top row, and the CC views in the bottom row.

- 4x1: Shows CC on the left, and MLO on the right.

Study-wise navigation
Encord supports navigation on a study and series-level. Click the three dots icon to the submit button to choose between them.- Submit series will submit the selected entity for review. For example - this means a single image for mammography, and a single volume for CT scans.
- Submit study will submit all series or entities in the study for review.
Mammography layout settings
The mammography layout settings are found in the DICOM editor settings of the DICOM Label Editor. The mammography layout settings determine the layout that mammography files are displayed in within the Label Editor.

- Off: Only the single mammography file that was opened is displayed in the Label Editor.
- 2x2: Shows MLO views in the top row, and the CC views in the bottom row.
- 4x1: Shows CC on the left, and MLO on the right.