- Data > Explore — for organizing files in the Index
- Project > Explore — for organizing data units and labels within a project
Collection types
The collection types available depend on where you are working:Create a collection
The creation flow is the same in both Data > Explore and Project > Explore.- Go to Data > Explore or open a project and navigate to the Explore tab.
- Search, sort, and filter your data until you have the subset you want to save.
- Select one or more data units by clicking the checkbox on each data card. To select everything matching your current filters, click Select all in the action ribbon at the bottom of the screen.
- Click Actions or press A.
- Select Add to collection.
- Click the + New Collection tab.
- Enter a Collection Title (required) and an optional Collection Description.
-
If working in a project, select the Collection Type:
- Data — for bulk workflow and task actions on frames.
- Label — for bulk label actions (not available in the prediction domain).
- Click Create & add or press ⌘Enter (Mac) / CtrlEnter (Windows).
Add items to an existing collection
- Select the data units you want to add.
- Click Actions or press A, then select Add to collection.
- On the Existing Collection tab, search for and select the target collection.
- Click Add.
Remove items from a collection
- Apply a collection filter so you are viewing items within that collection.
- Select the items you want to remove.
- Click Actions or press A, then select Remove from collection.
- Select the collection to remove the items from.
- Click Remove.
Manage a collection
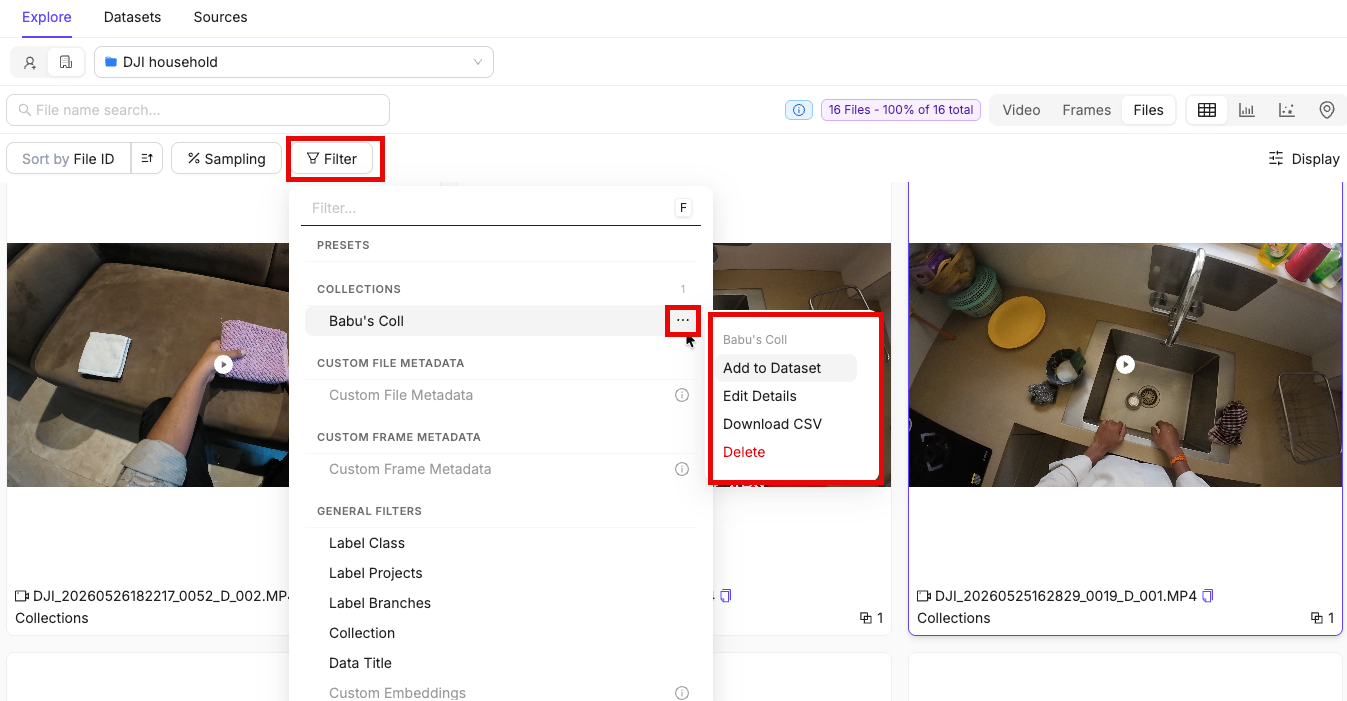
Once a collection exists, you can access management options from the Filter panel. Click the ellipsis icon (…) next to a collection name to open the collection actions submenu.Collection actions submenu
The submenu header displays the collection name in bold at the top, with the collection’s unique ID shown beneath it. Click the copy icon next to the ID to copy it to your clipboard.The copyable collection ID and grouped actions menu described here apply only to the collection actions submenu in the Explorer filter panel. The collections table row menu is unchanged.
- Navigate — jump to the collection’s filtered view
- Manage — rename or update the collection
- Data — add to a dataset or download as CSV
- Workflow — bulk task and label actions (project context only)
- Danger — permanently delete the collection
Actions available in both Data > Explore and Project > Explore
Project > Explore only
Copy a collection ID
You can copy a collection’s unique ID directly from the Explorer filter panel without navigating to the collections table. This is useful for API calls, support requests, or cross-referencing collections.- Click Filter or press F.
- Click the ellipsis icon (…) next to the collection.
- In the submenu header, click the copy icon next to the collection ID.
Edit collection details
- Click Filter or press F.
- Click the ellipsis icon next to the collection.
- Select Edit Details.
- Update the Collection Title or Collection Description.
- Click Submit.
Export a collection as CSV
- Click Filter or press F.
- Click the ellipsis icon next to the collection you want to export.
- Click Download CSV.
Delete a collection
- Click Filter or press F.
- Click the ellipsis icon next to the collection.
- Select Delete and confirm.