STEP 1: Import your Images
1
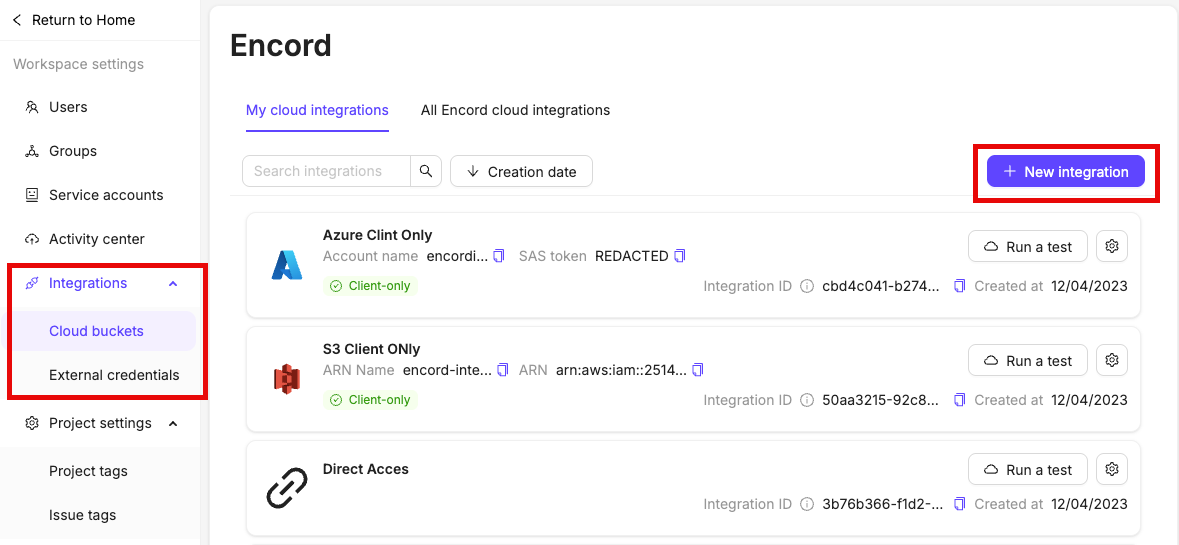
Set Up AWS
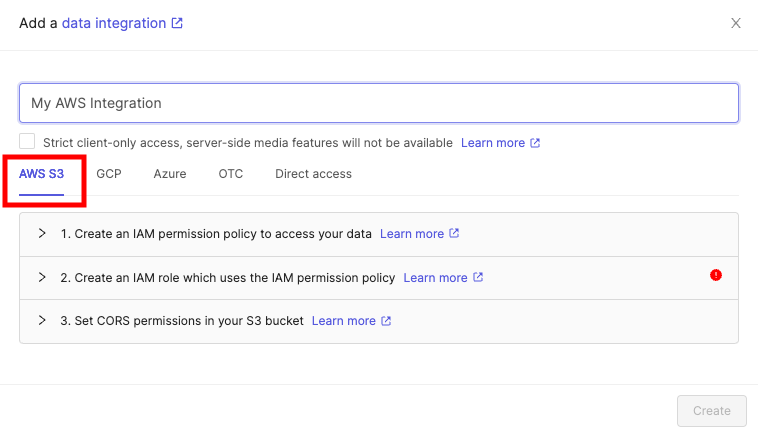
Before you can do anything with the Encord platform and cloud storage, you need to configure your cloud storage to work with Encord. Once the integration between Encord and your cloud storage is complete, you can then use your data in Encord.In order to integrate with AWS S3, you need to:
- Create a permission policy for your resources that allows appropriate access to Encord.
- Create a role for Encord and attach the policy so that Encord can access those resources.
- Activate Cross-origin resource sharing which allows Encord to access those resources from a web browser.
- Test the integration to make sure it works.
2
Create AWS Integration in Encord
Create an S3 bucket to store your files if you haven’t already. Your S3 bucket permissions should be set to be blocking all public access.
It is essential you do not close this tab or window until you have finished the whole integration process. If you use the AWS UI for integration, we advise opening the AWS console in a separate tab.
3
Create JSON file for Registration
Create a JSON file based on the templates provided below.
imageMetadata is optional unless you are using a client-only access integration.The title field is optional. If omitted, the image file path and name are used as the default title. For example, if the file is located at https://encord-solutions-bucket.s3.eu-west-2.amazonaws.com/path/to/my/bucket/image23.mp4, the title defaults to /path/to/my/bucket/image23.jpg.imageMetadata must be specified when a Strict client-only access integration is used. In all other cases, imageMetadata is optional, but including it significantly reduces import times.Keys / Flags that are not required can be omitted from the JSON file entirely.
4
Create a Folder to Store Your Images
All files in Encord must be stored within folders. Therefore, you need to create a folder before registering any data with Encord. To create a folder: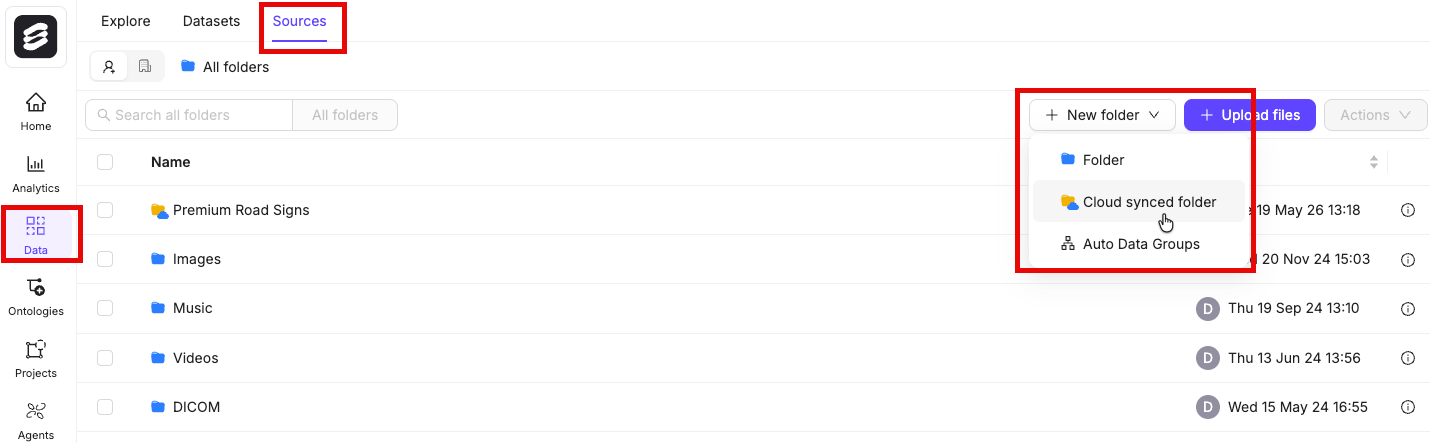
- Navigate to Data > Files & Folders
- Click the + New folder button to create a new folder. Select the type of folder you want to create.
- Give the folder a meaningful name and description.
- Click Create to create the folder. The folder is listed in Files & Folders.
5
Upload Your Images to Encord
- Navigate to Data > Files & Folders in the Encord platform.
-
Click + Upload files.
A dialog appears.
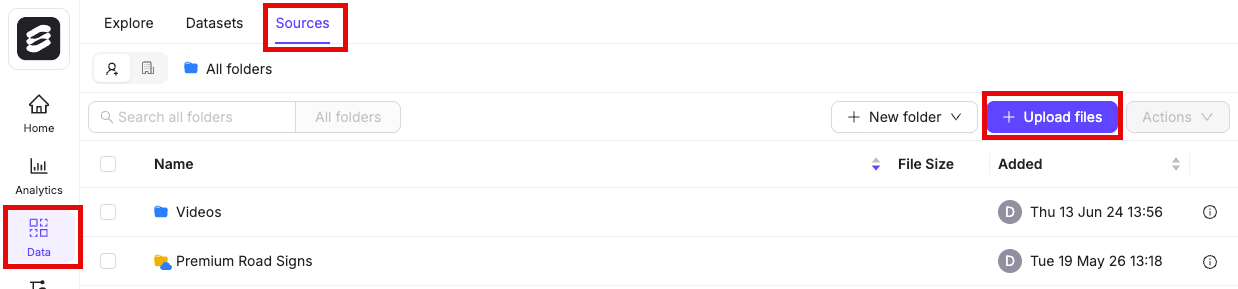
- Select the folder you previously created.
- Click the Import from private cloud option.
- Select the integration you previously created to add your cloud data.
-
Click Add JSON or CSV files to add a JSON or CSV file specifying cloud data that is to be added.

STEP 2: Set Up Your Project
1
Create a Dataset
- Click the New dataset button in the Datasets section in Annotate.
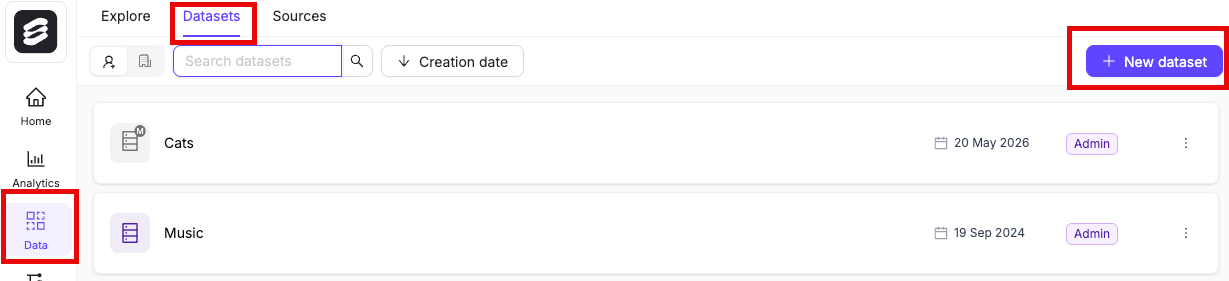
- Give your Dataset a meaningful title and description. A clear title and description keeps your data organized.
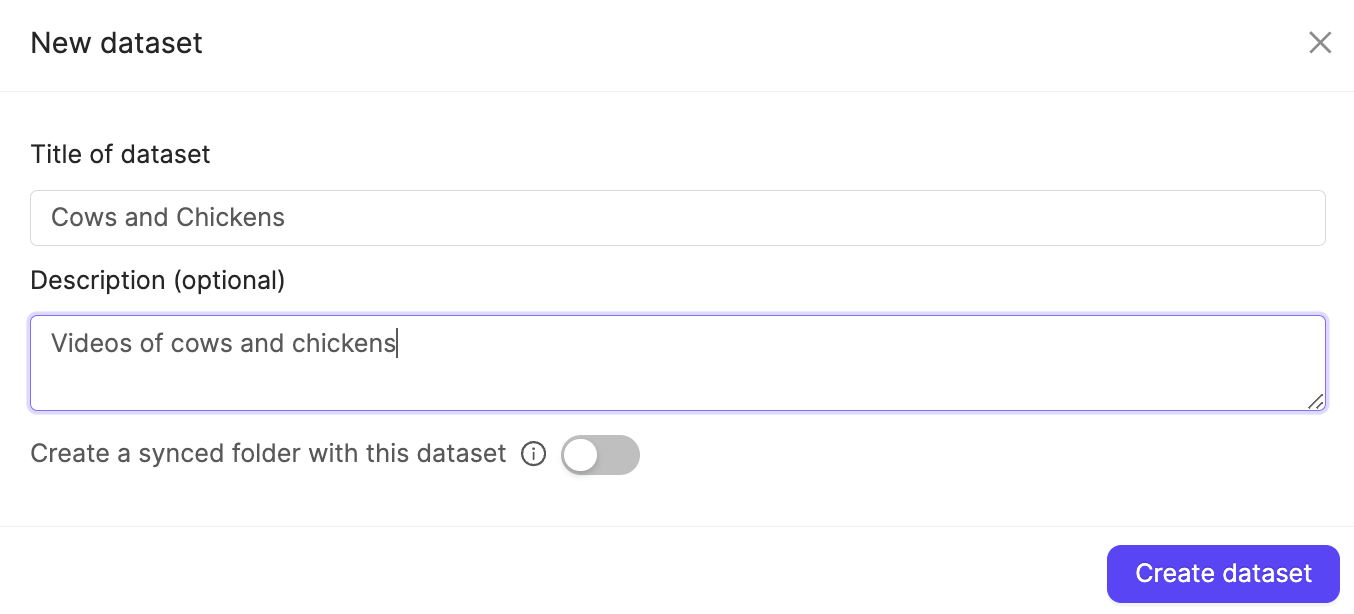
- Click Create dataset to create the Dataset.
Attach files
- Navigate to the Datasets section under the Annotate heading.
- Click the Dataset you want to attach data to.
- Click +Attach existing files.

- Select the folders containing the files you want to attach to the Dataset. To select individual files, double-click a folder to see its contents, and select the files you want to add to the Dataset.
- Click Attach data to attach the selected files to the Dataset.
2
Create an Ontology
Create a new Ontology that includes:
- A radio classification called “Animal” with two options: One called “Cat” the other called “Dog”.
- Any other Objects you want to include in your Ontology.
3
Create Your Workflow template
Create the following Workflow template by dragging the necessary components onto the canvas. For instructions on creating Workflows see our documentation here. Ensure your Agent node has the name “Agent 1”
4
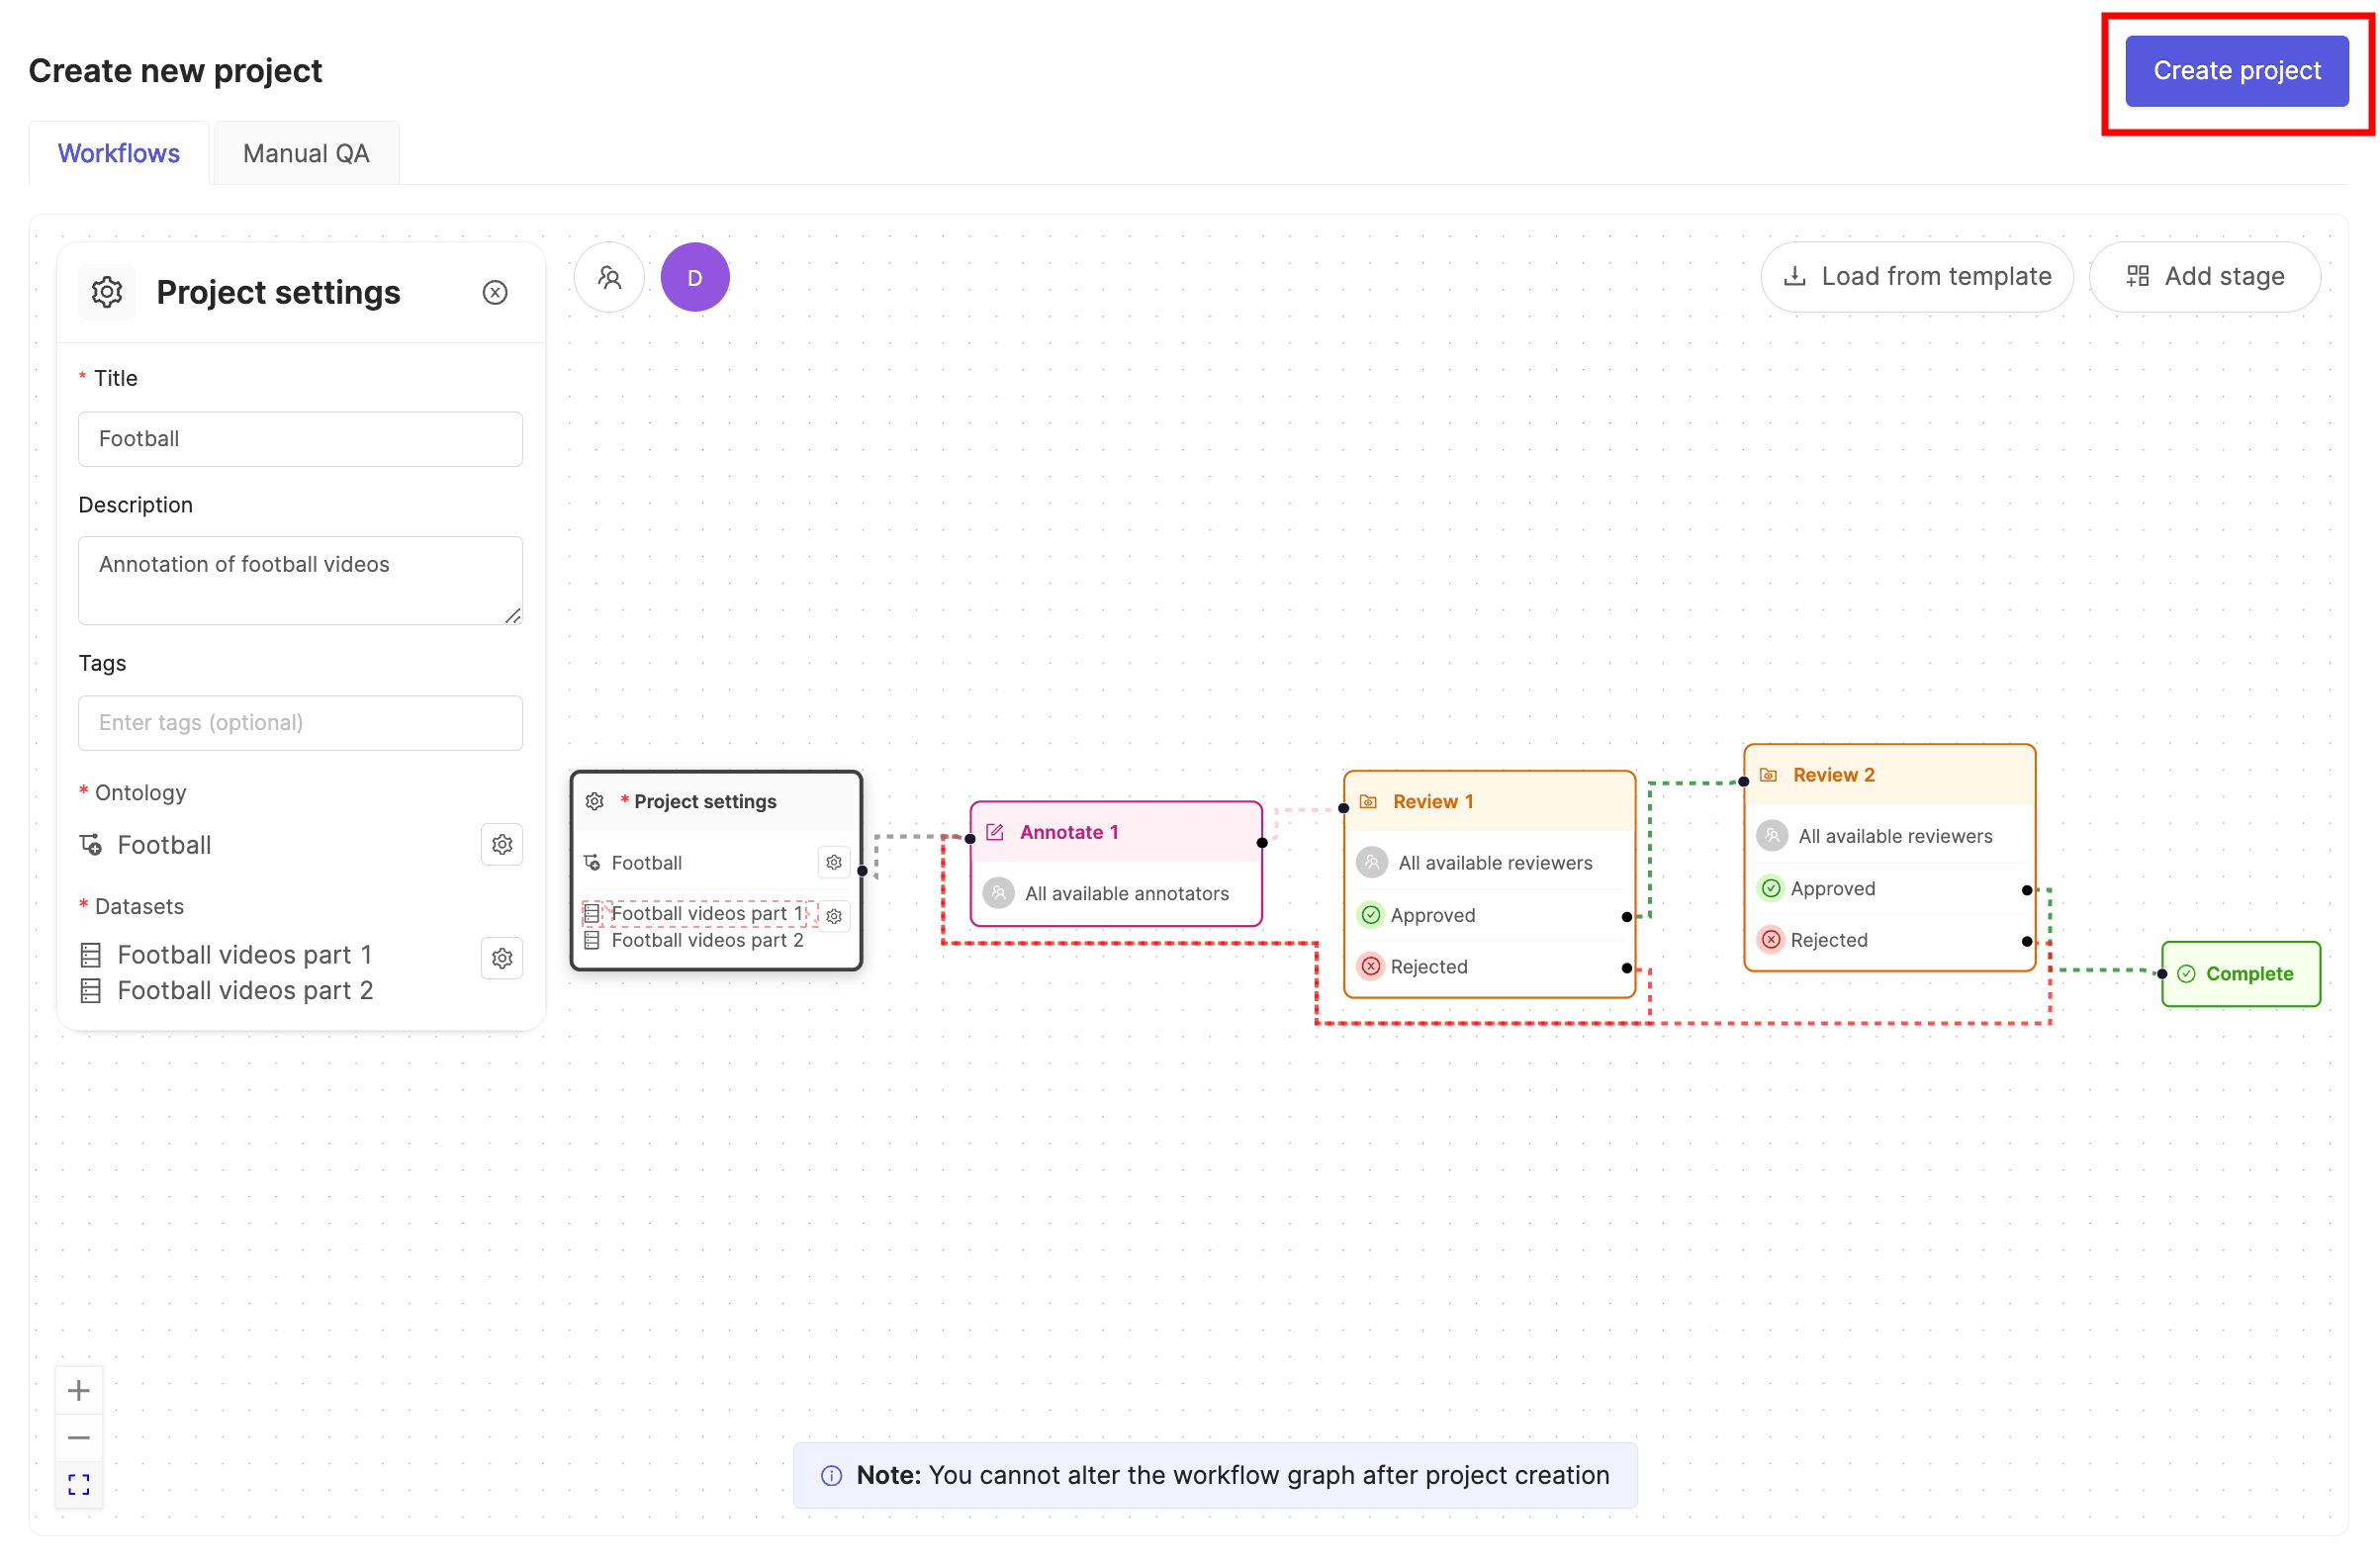
Create a Project
- In the Encord platform, navigate to Projects.
- Click the + New annotation project button to create a new Project.
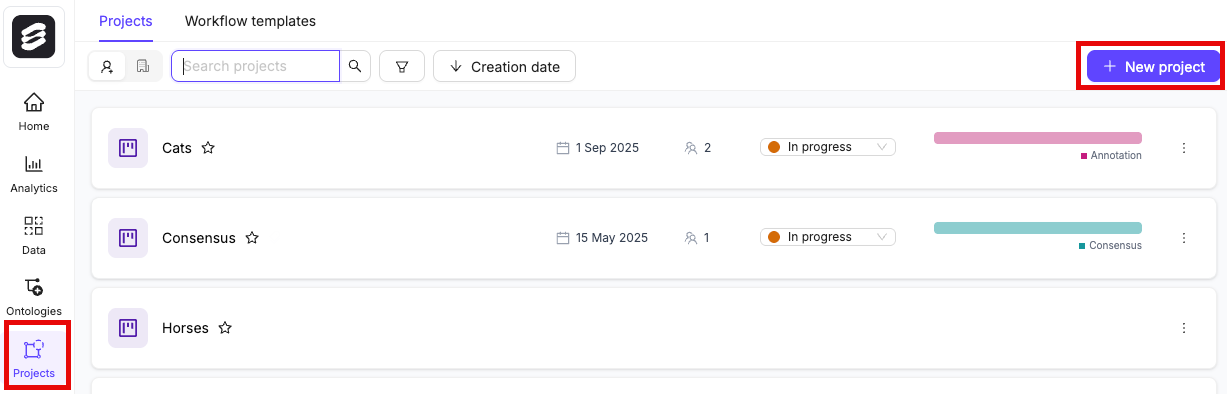
- Give the Project a meaningful title and description.
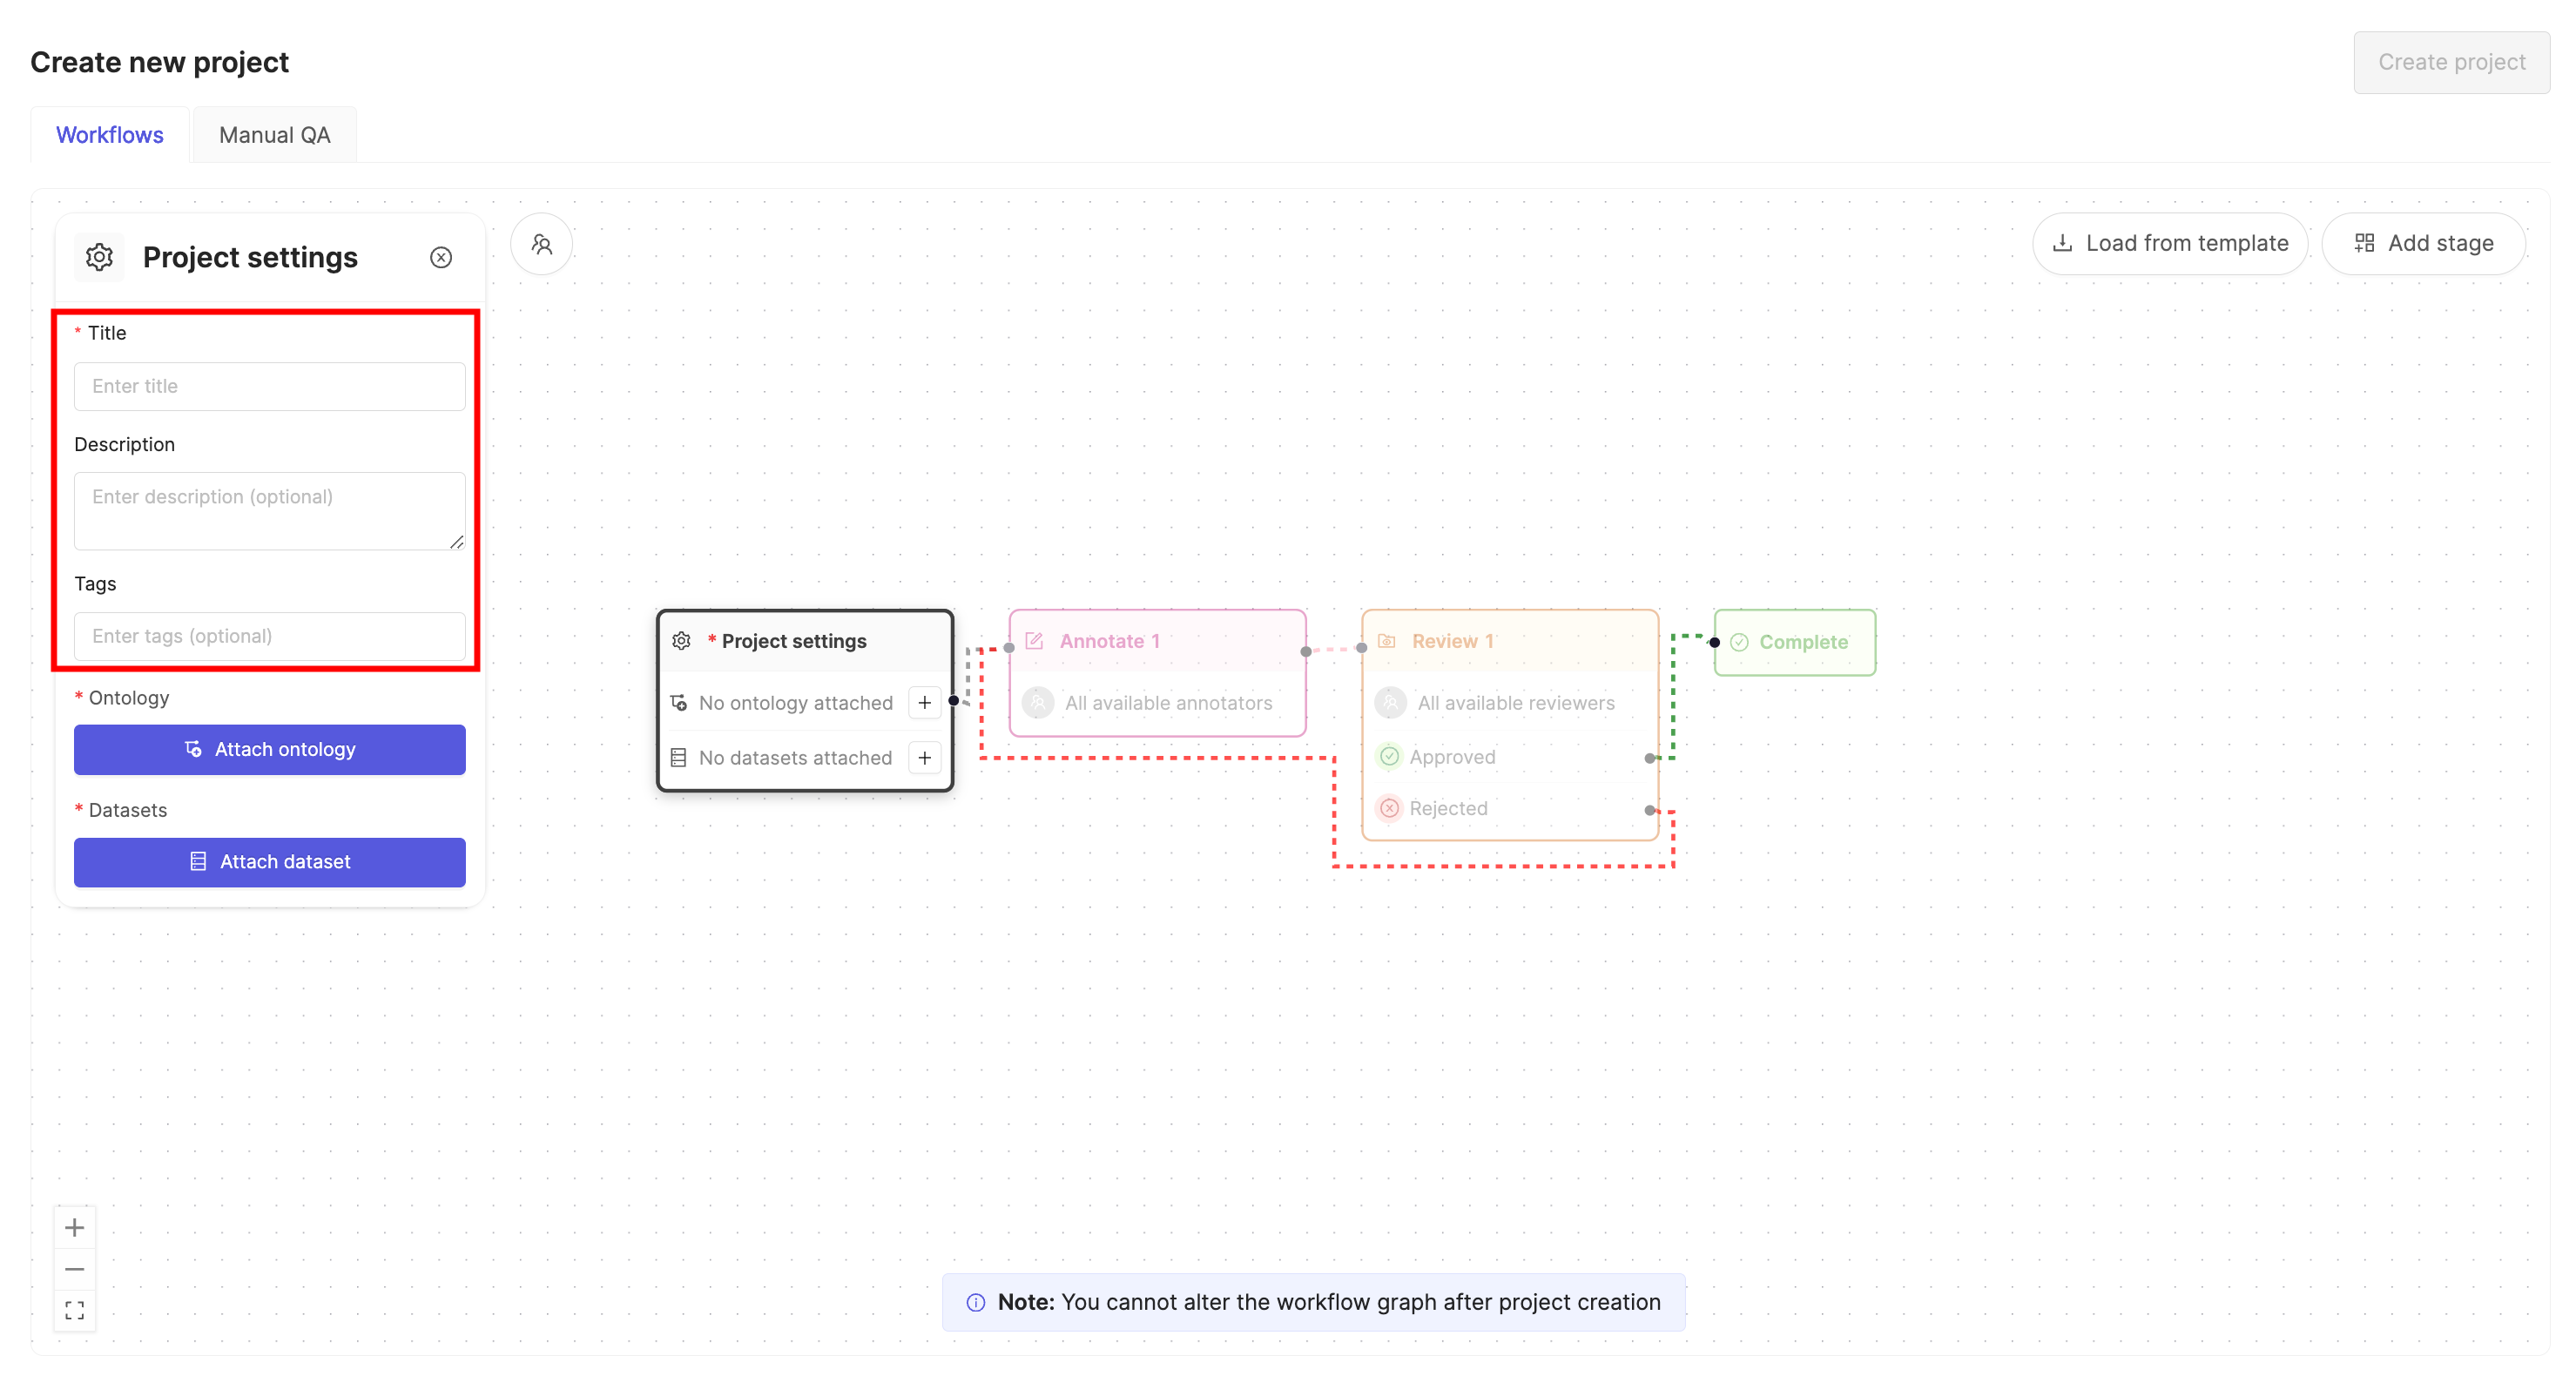
If you are part of an Workspace, an optional Project tags drop-down is visible. Project tags are useful for categorizing and finding your Projects. Select as many tags as are relevant for your Project.
- Click the Attach ontology button.
- Select the Ontology you created previously from the list using the Select button.
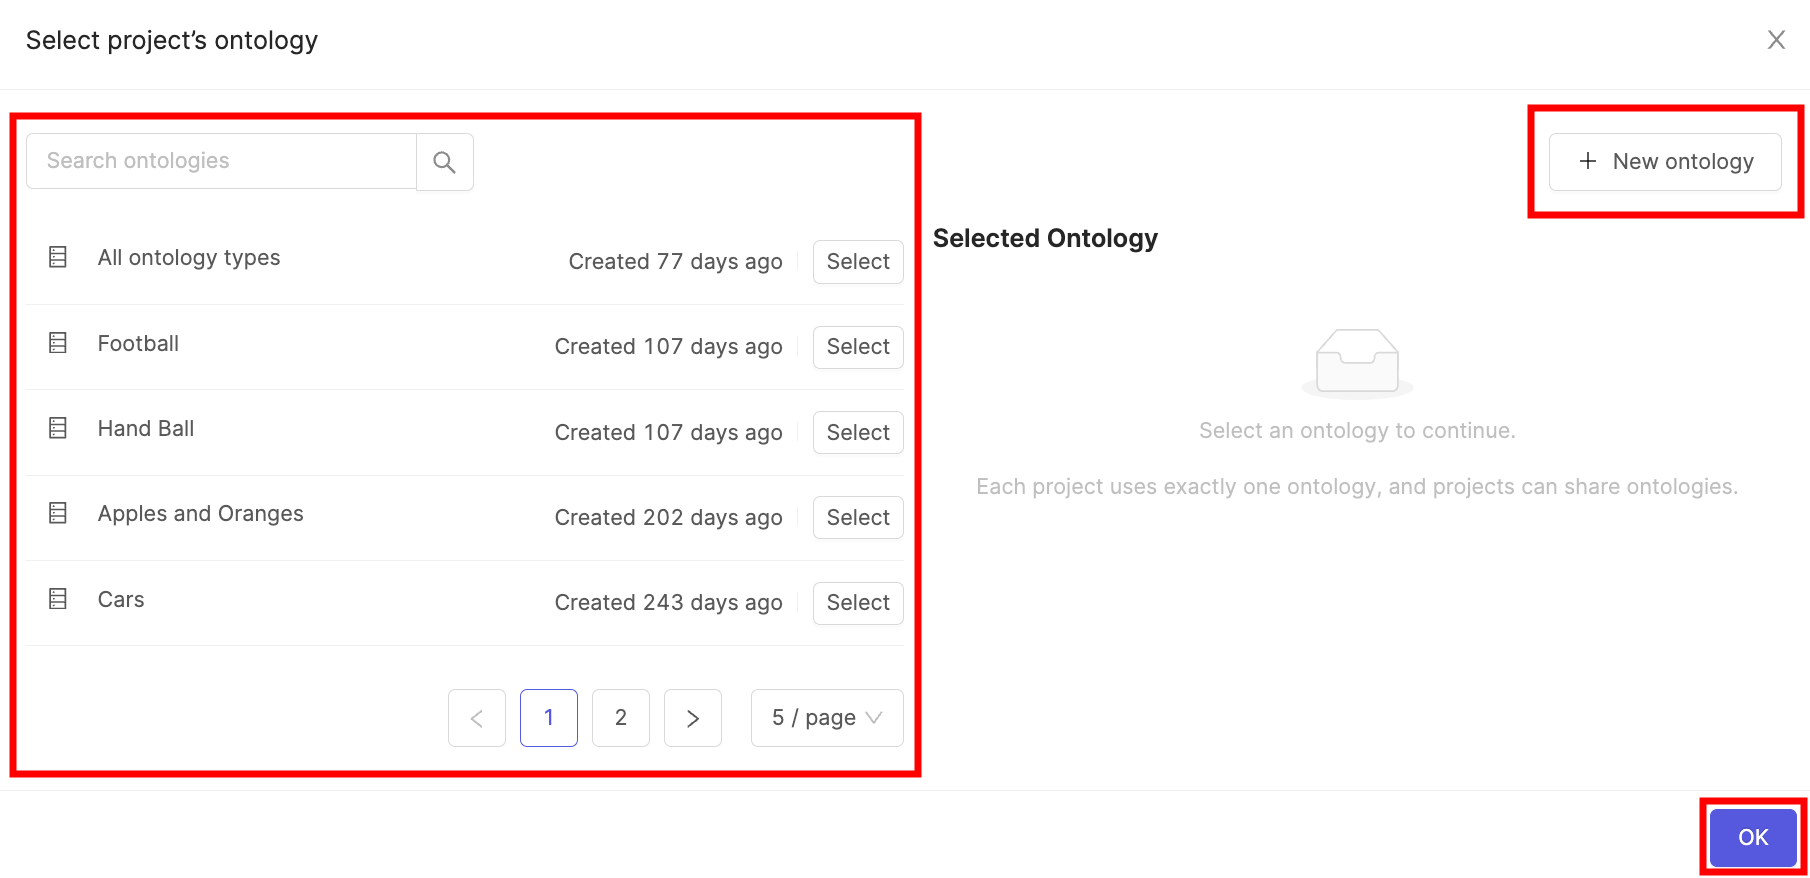
- Click OK to attach the Ontology to the Project.
- Click the Attach datasets button.
- Select the Dataset you created previously from the list using the Attach button.
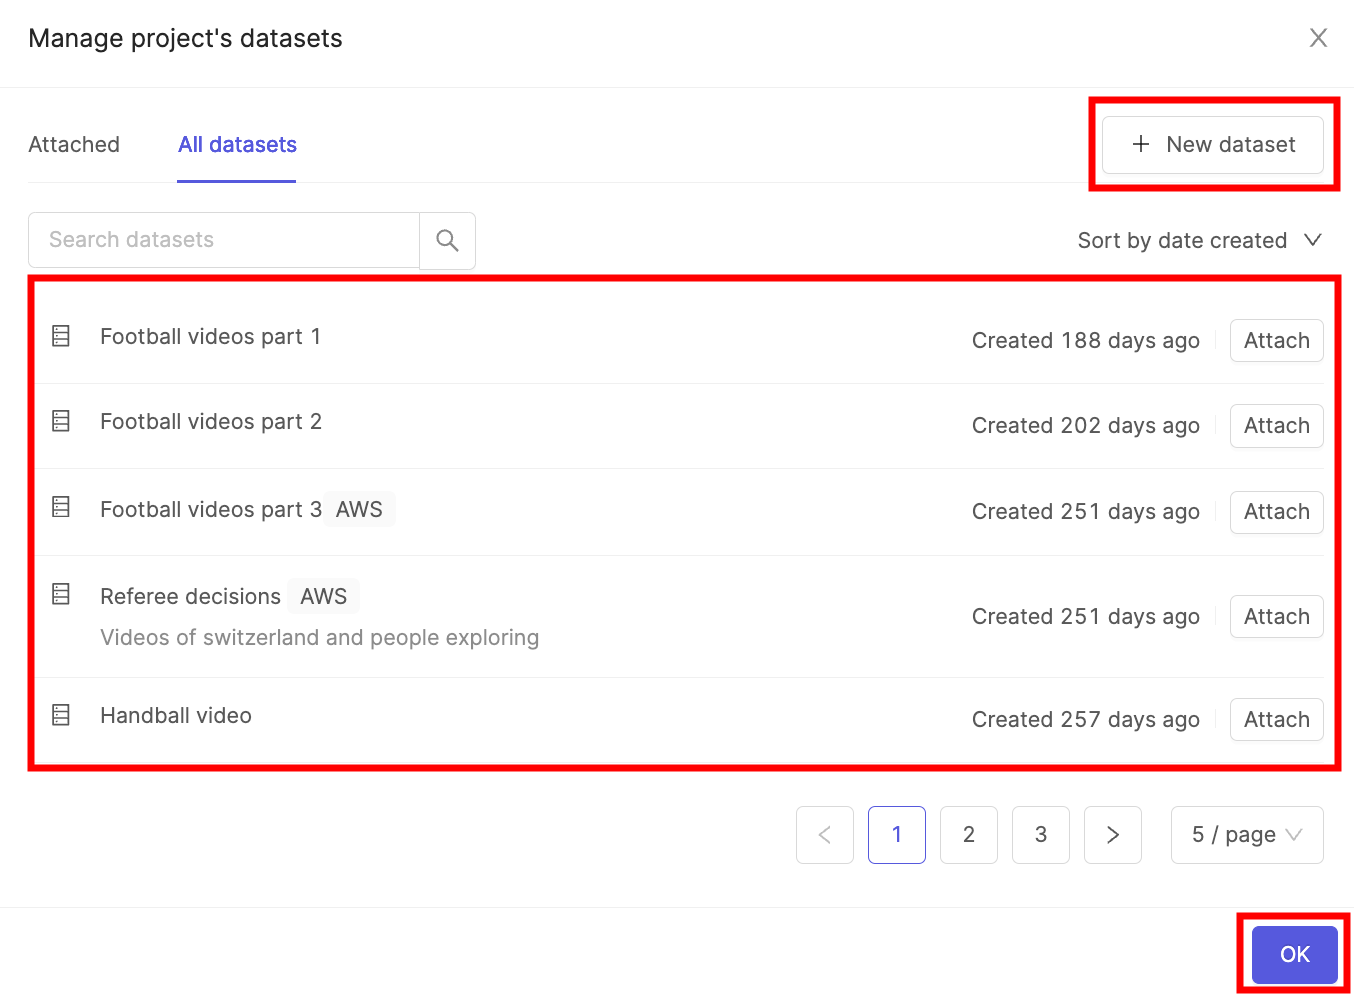
- Click OK to attach the Dataset(s) to the Project.
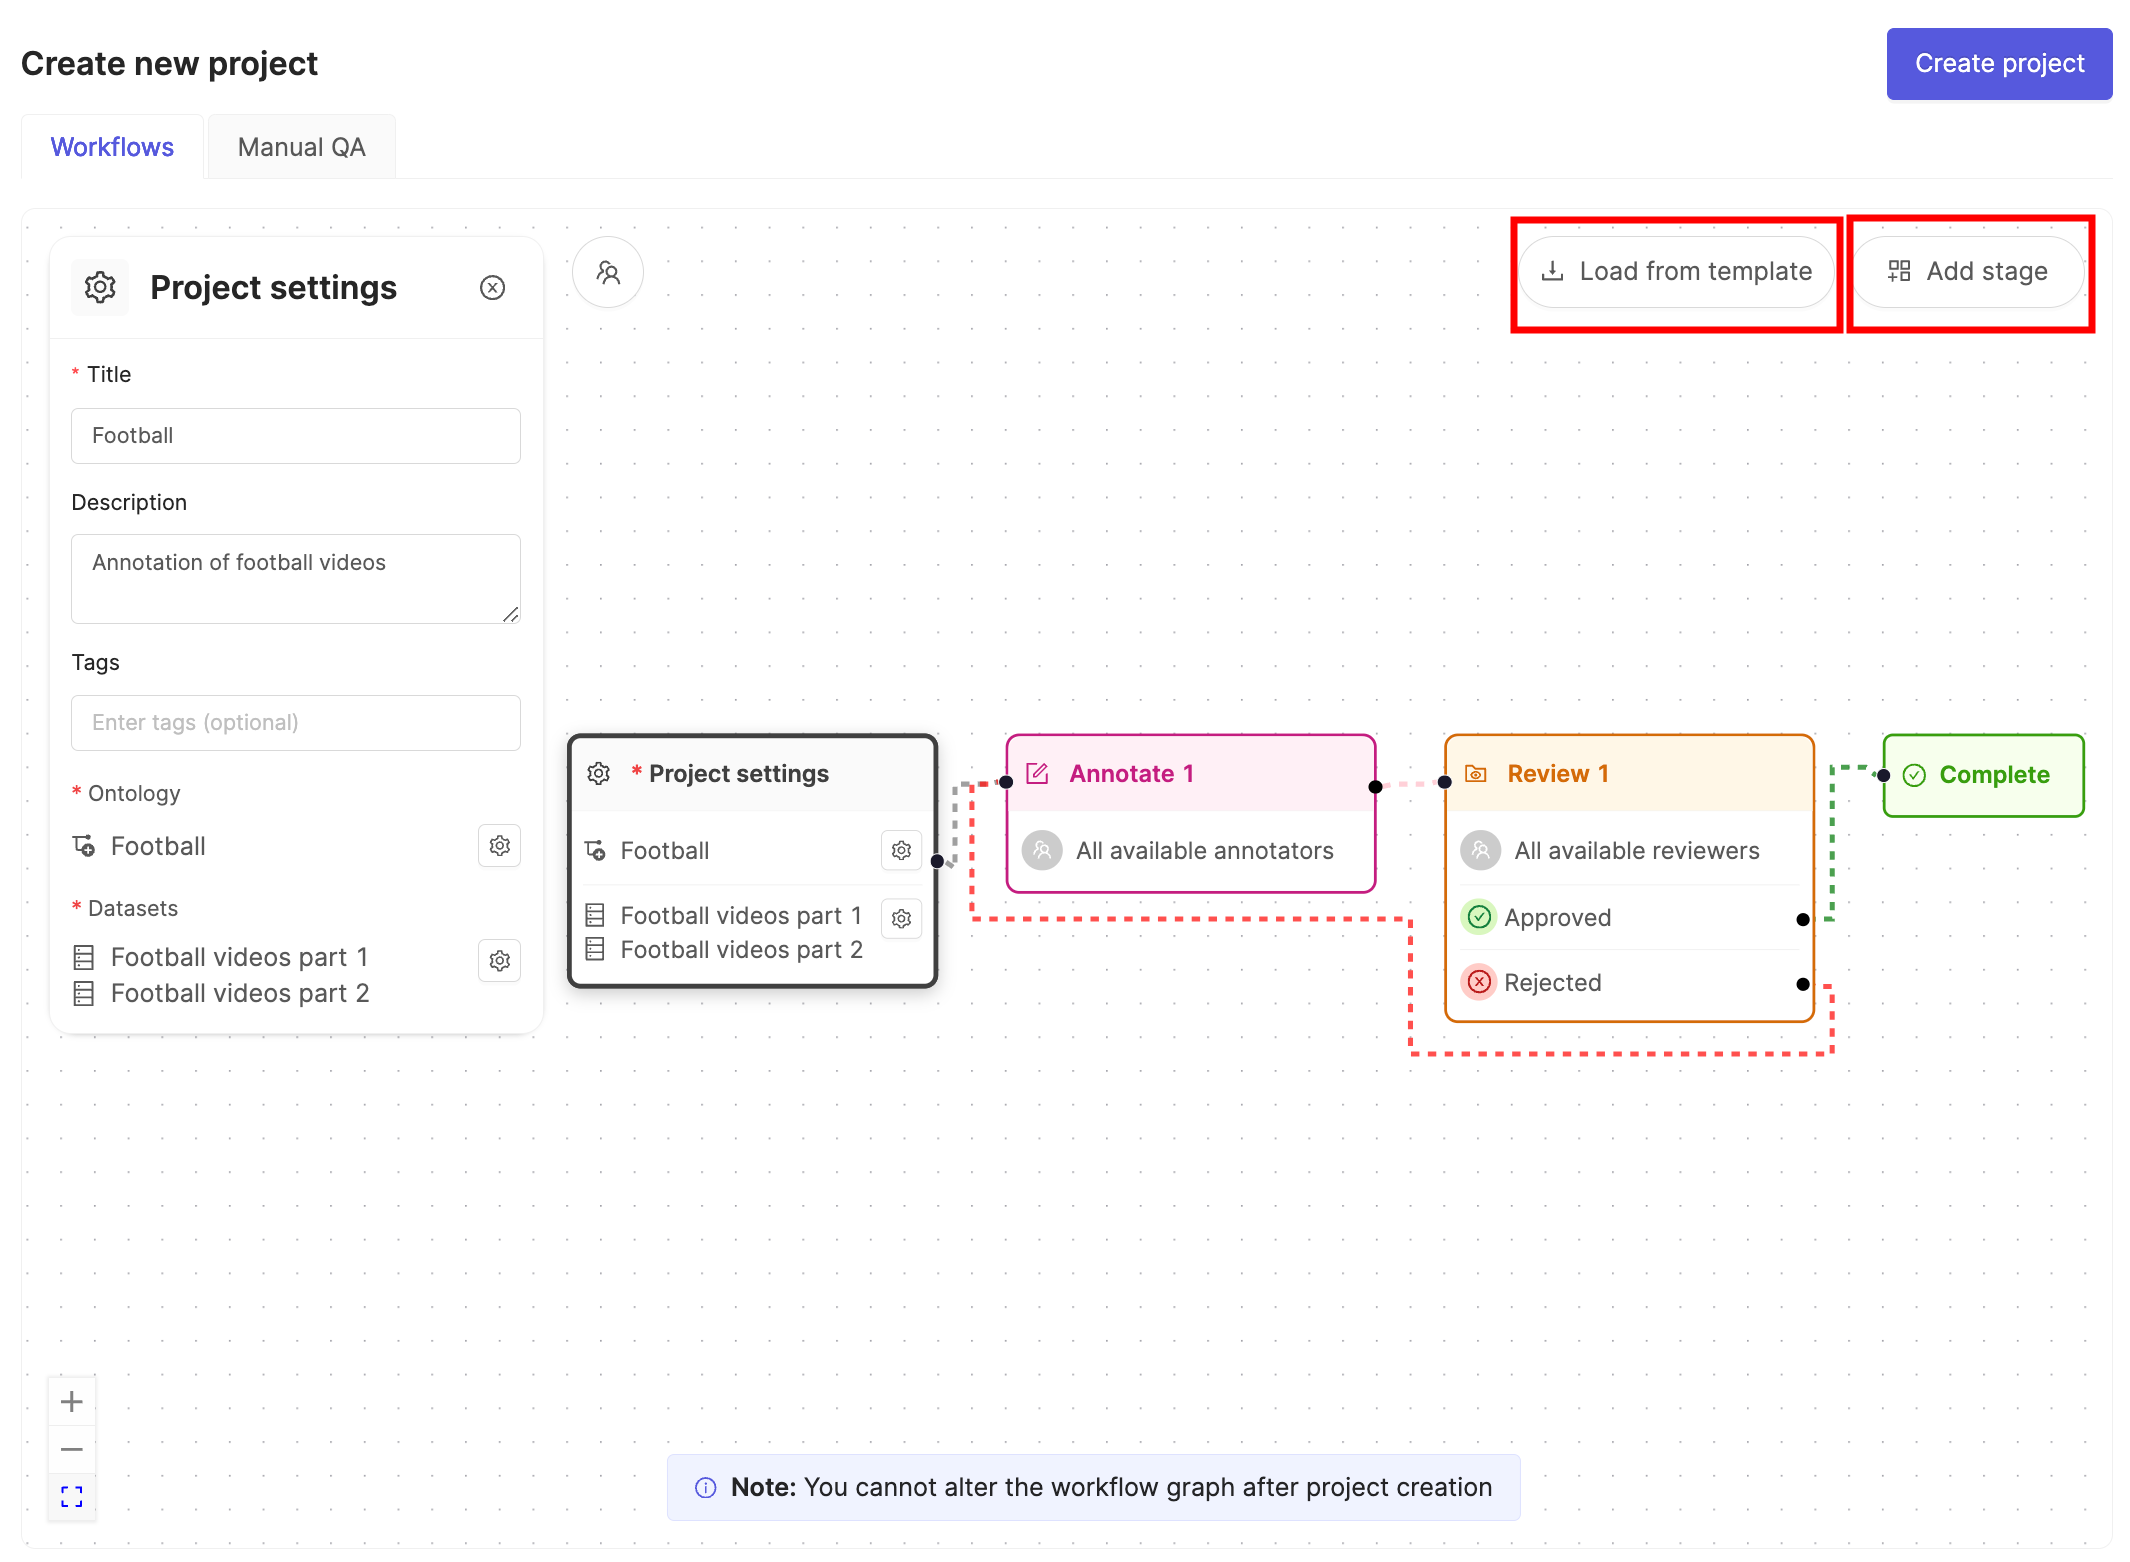
- Click the Load from template button to use a Workflow template.
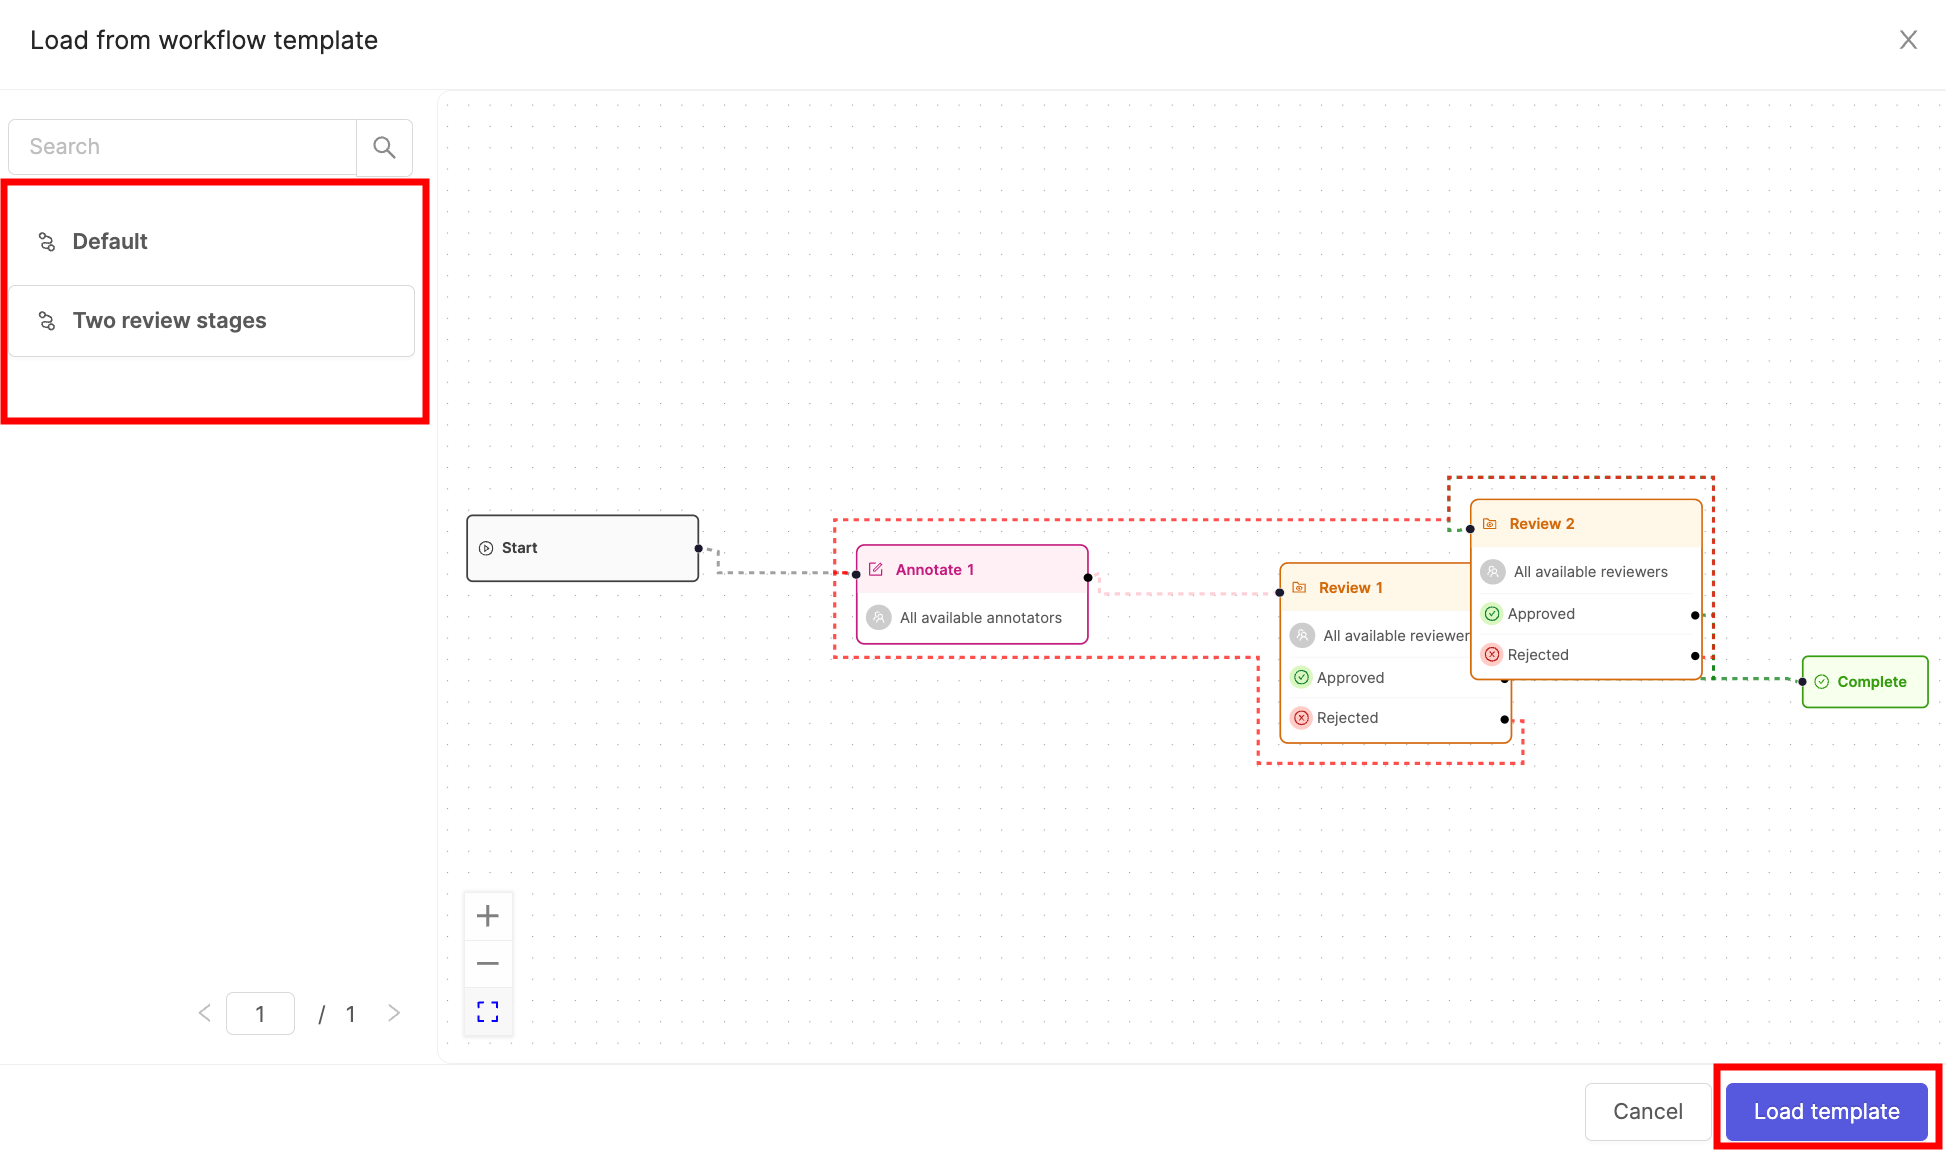
- Select the template you want to use and click Load template.
- Click Create project to finish creating the Project.
STEP 3: Configure Your Agent
-
Create a python file called
imagePreClassification.py. -
Paste the following script into
imagePreClassification.pyreplacing:<your_openai_api_key>with your OpenAI API key.<private_key_path>with the path to your private key.<project_hash>with the hash of the Project you created in STEP 2.
Pre-Classification for Images Example
- Save
imagePreClassification.py.
STEP 4: Run your Agent
RunimagePreClassification.py.
The script processes all images in the Dataset. If additional images are added, the script must be re-run to include them.