Follow the end to end walkthrough below to learn how to set up a custom Label Editor configuration based on DICOM tags. This End-to-end example assumes you configure the Label Editor so that two files are displayed at a given time.Documentation Index
Fetch the complete documentation index at: https://docs.encord.com/llms.txt
Use this file to discover all available pages before exploring further.
This end-to-end example assumes that your files are stored in cloud storage.
STEP 1: Create JSON File for Data Registration
Before registering your cloud data to Encord you must first create a JSON file specifying the files you want to register. The following JSON file registers 3 DICOM series consisting of 4 files each.DICOM
STEP 2: Register files with Encord
Create a Folder to Store Your Files
All files in Encord must be stored within folders. Therefore, you need to create a folder before registering any data with Encord. To create a folder:- Navigate to Data > Sources
- Click the + New folder button to create a new folder. Select the type of folder you want to create.
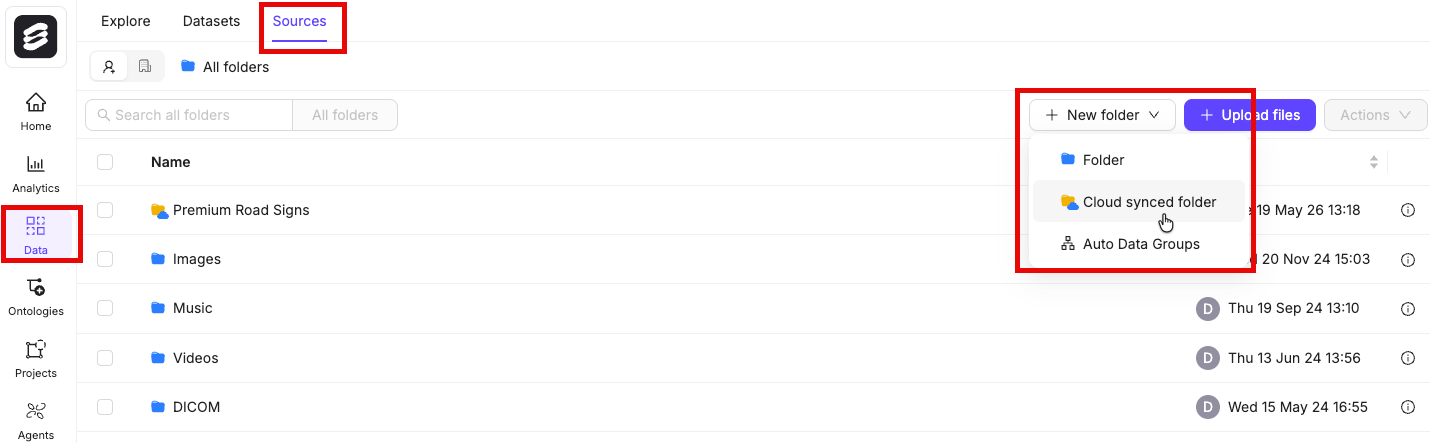
- Give the folder a meaningful name and description.
- Click Create to create the folder. The folder is listed in Sources.
Register Your Files
You can register your DICOM data using the JSON file you created, using the UI or the SDK.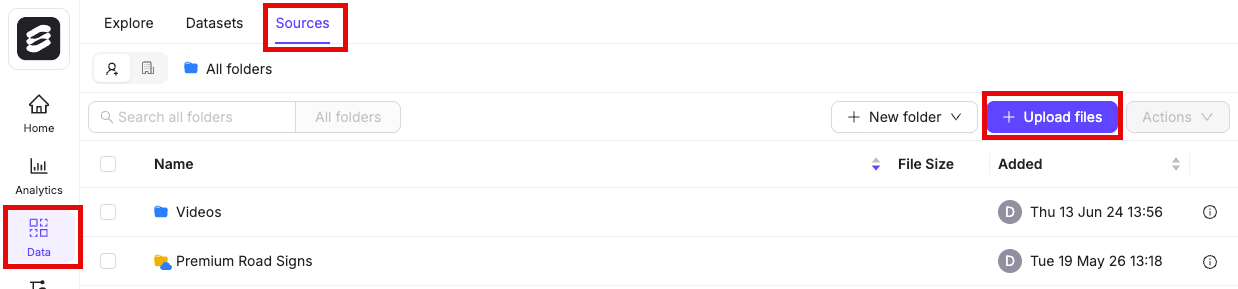

Register data using in the SDK
Register data using in the SDK
To use your data in Encord, it must be uploaded to the Encord Sources storage. Once uploaded, your data can be reused across multiple Projects and contain no labels or annotations themselves. Sources stores your data, while Projects store your labels. The following script creates a folder in Sources and uses your AWS integration to register data in that folder.The following script creates a new folder in Sources and initiates uploads from AWS. It works for all file types.Ensure that you:
- Replace
<private_key_path>with the path to your private key. - Replace
<integration_title>with the title of the integration you want to use. - Replace
<folder_name>with the folder name. The scripts assume that the specified folder name is unique. - Replace
path/to/json/file.jsonwith the path to a JSON file specifying which cloud storage files should be uploaded. - Replace
A folder to store my fileswith a meaningful description for your folder. - Replace
"my": "folder_metadata"with any metadata you want to add to the folder.
- “Upload is still in progress, try again later!”: The registration has not finished. Run this script again later to check if the data registration has finished.
- “Upload completed”: The registration completed. If any files failed to upload, the URLs are listed.
- “Upload failed”: The entire registration failed, and not just individual files. Ensure your JSON file is formatted correctly.
STEP 3: Set up Your Project
STEP 4: Create Custom Editor Layout
After creating your Project, import a custom layout for the Label Editor. Start by creating a JSON file that determines the layout.Create a JSON for the Layout
Common layouts mammography files are a 2x2 grid, and 4x1 showing all files in a horizontal row.A complete list of DICOM tags can be found here.
- 2x2 layout: https://raw.githubusercontent.com/encord-team/Annotate/refs/heads/main/editor-layouts/examples/mammo2x2.json
- 4x1 layout: https://raw.githubusercontent.com/encord-team/Annotate/refs/heads/main/editor-layouts/examples/mammo4x1.json
Import the custom layout
- Navigate to the Project settings.
- Click on Editor Layouts.
- Click Upload JSON.
- Select the JSON file containing the layout you want the Label Editor to have.

What do the Layouts Look Like?
2x2 Mammography Layout:
