

Why do this?
You want to guarantee correctness, completeness, or fairness in the predictions of your models. Quick way to get going with Data Groups in Encord using cloud data.Pros and Cons
| Pros | Cons |
|---|---|
|
|
Data Groups can include custom metadata, but for the purposes of this end-to-end example none are included.
Import/Register Data
We’re going to register our dataset of videos (portion of Nexar open source dataset) and text files (Events captured for the videos).1
Create Integration
Select your cloud provider.
2
Download Data
Download and extract the contents of nexar-first-100-osds.zip file.
3
Re-encode Videos
You can do this locally or in your cloud storage.
For more information on re-encoding videos, go here.
4
Import Data to Cloud Storage
Import the contents of
nexar-first-100-osds.zip into your cloud storage.5
Create Cloud-synced Folder
Syncing the data registers the data in Encord. Your data stays in your cloud storage.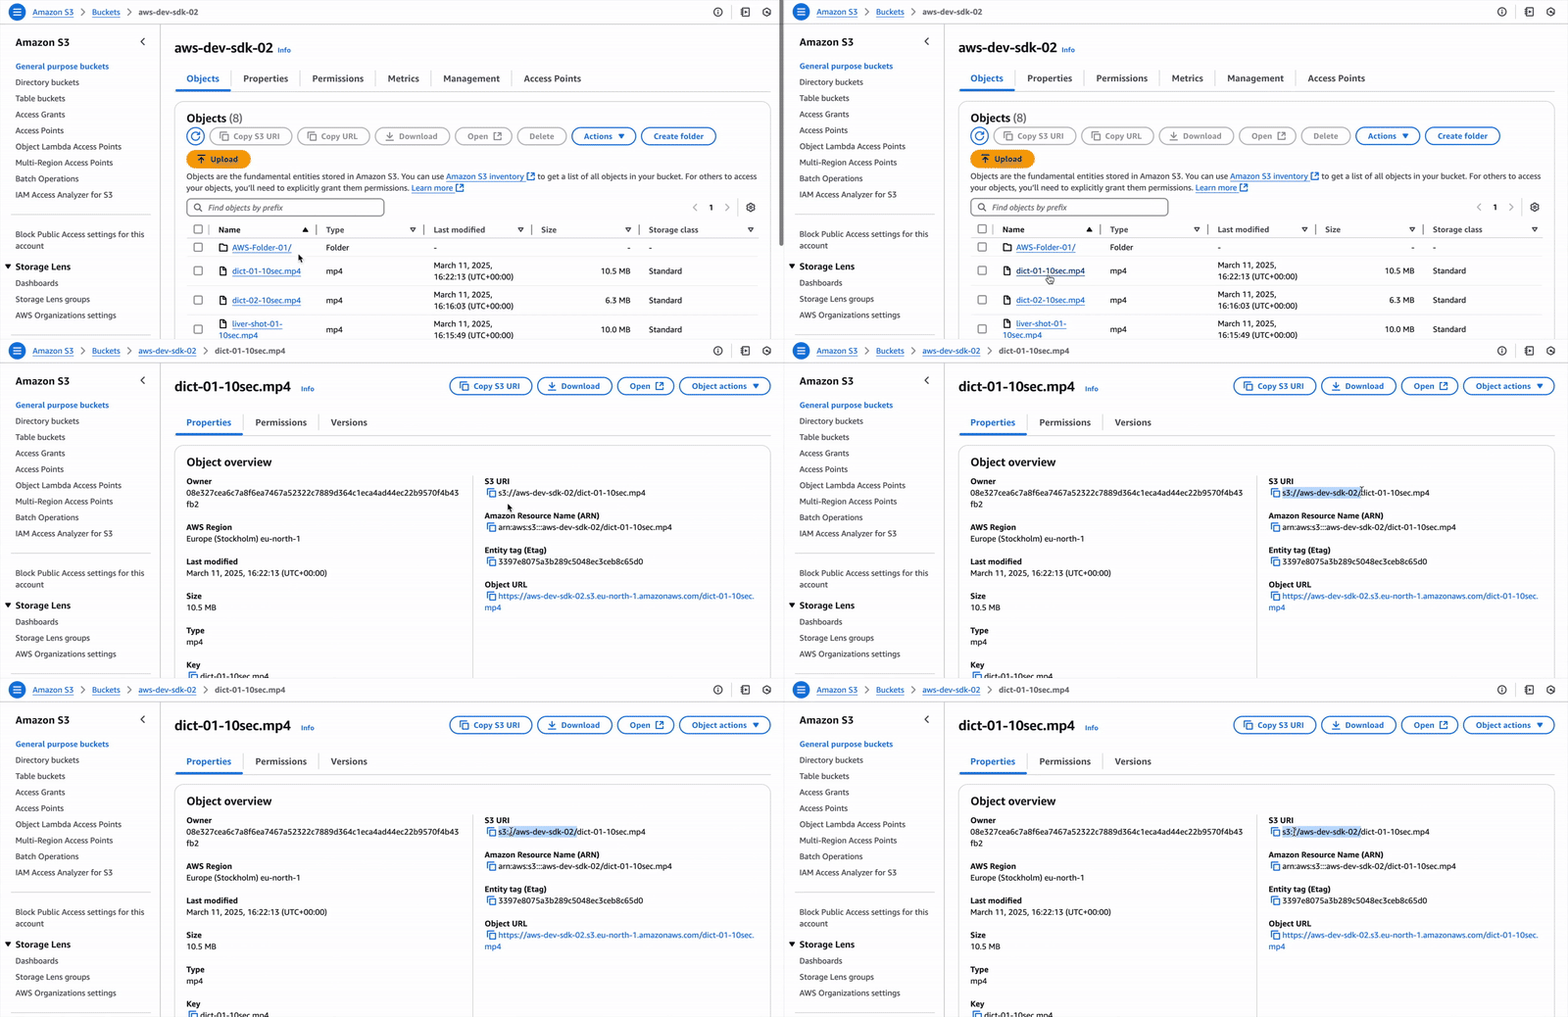 GCP
GCP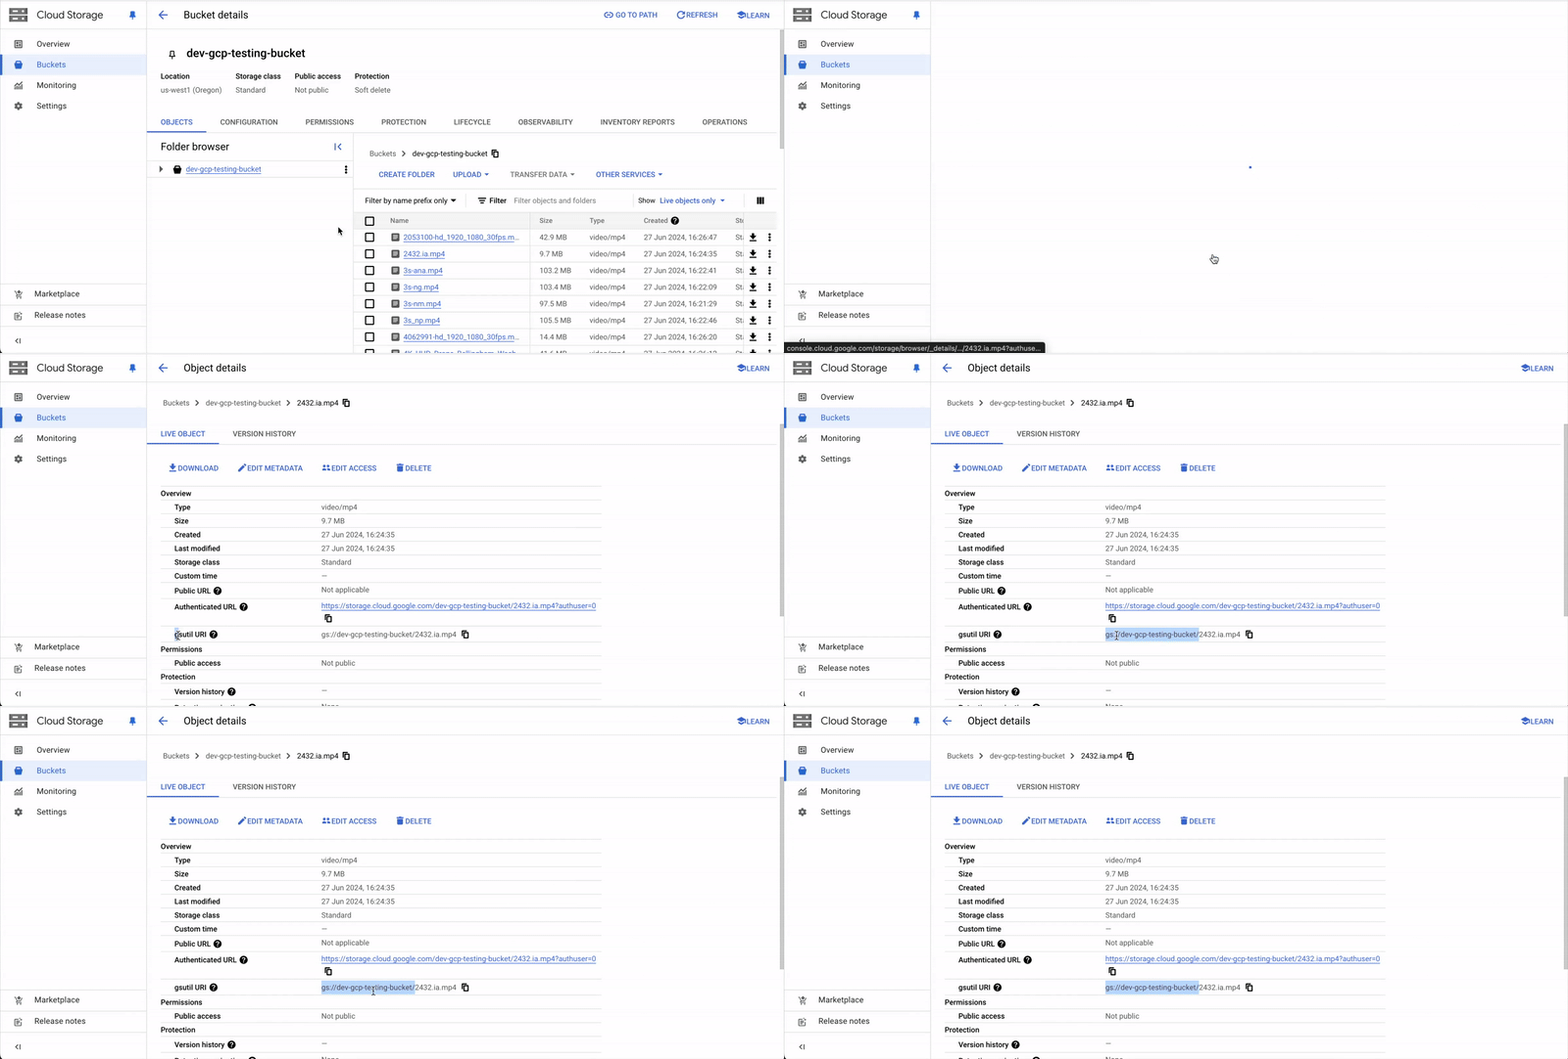
- Navigate to Data > Files & Folders.
- Click New folder > Cloud-synced folder. The New Cloud-synced folder dialog appears.
-
Provide the following:
- Title:
E2E - Data Groups - Cloud-synced Folder. - Description: OPTIONAL - Provide a meaningful description for the Cloud-synced folder.
- Select your integration: Select the integration to use from the drop down.
- Storage path: Specify the storage/file path to your cloud storage. For example:
gs://encord-gcp-bucket/CloudSync/ors3://encord-aws-bucket/CloudSync.
- Title:
- Click Test to verify that Encord can communicate with your cloud storage.
- Click Create. The page for the new Cloud-synced folder appears.
Find Storage Path
Finding the Storage path for your folder or object varies across Cloud Storage platforms.AWSGCP6
Sync Data Between Encord and Cloud Storage
- Go to Data > Files & Folders.
- Click into your cloud-synced folder.
- Click Initiate sync. The sync between the folder and your cloud storage begins.
Create Ontology
Create the following Ontology for the Project. Ontology name:E2E - Ontology - Data Groups
Classifications
-
Prediction correct?YES!(Radio button)No(Radio button)What's wrong?(Text)
-
Summary correct?YES!(Radio button)No(Radio button)What's wrong?(Text)

Create Dataset
Create a Dataset for your Data Groups. Name:E2E - Dataset - Data Groups
Create Project
Once all the videos are re-encoded, and you created an Ontology and Dataset you are ready to create an Annotate Project. Once you create a Project you need to create your Data Groups and then your team will be ready to annotate your data. Name:E2E - Project - Data Groups
Mapping File for Data Units
Creating Data Groups requires mapping your data units to the layout, used during annotation and review. Currently mapping to the layout uses the File ID/UUID of the data unit Encord assigns the data unit. To find the File ID/UUID of your data units usestorage_folder.list_items. The following script provides a way to get the file name and ID of your data units. The output saves to a JSON and CSV file.
List File Name and File ID
Create Data Groups
Use the output file from the
Map Data Units for Data Groups section to map File IDs to their corresponding layout for Data Groups.Annotate Data Groups
Annotation of videos depends on your Ontology. Our OntologyE2E Data Groups uses classifications.
In this section, you’ll see the following Collaborators:
- Annotators labeling data
- Reviewers reviewing labels created by Annotators
- Team Manager managing the Annotators and Reviewers
- Project Admin managing the Project and exporting labels
1
Prepare to Label
Team Manager or Project Admin
Team Manager or Project Admin
The Team Manager or Project Admin can prioritize certain data to be labeled and reviewed first. Let’s prioritize a few Data Groups to be labeled first by setting the priority for those files to
75.Set Priority to 75Annotators
Annotators
Annotators can configure the Annotate Label Editor so they can more effectively and efficiently label data.
2
Label Data
Team Manager or Project Admin
Team Manager or Project Admin
The Team Manager or Project Admin can monitor the performance and progress of the annotation team.
Annotators
Annotators
Annotators use the text file to determine if the
Prediction and Summary for each video are correct.Use hotkeys to speed up your annotation process.
3
Review Labels
Team Manager or Project Admin
Team Manager or Project Admin
The Team Manager or Project Admin can monitor the performance and progress of the review team.
Review Labels
Review Labels
Reviewers verify that the labels are correct.
You can approve labels/classifications on a task one at a time (from the left panel) or all at once (using the Approval all button).
4
Export Labels
Only Project Admins can export labels from Encord.
Project Admin
Project Admin
Export the labels from the Project Labels page.