> ## Documentation Index
> Fetch the complete documentation index at: https://docs.encord.com/llms.txt
> Use this file to discover all available pages before exploring further.
# How to Label
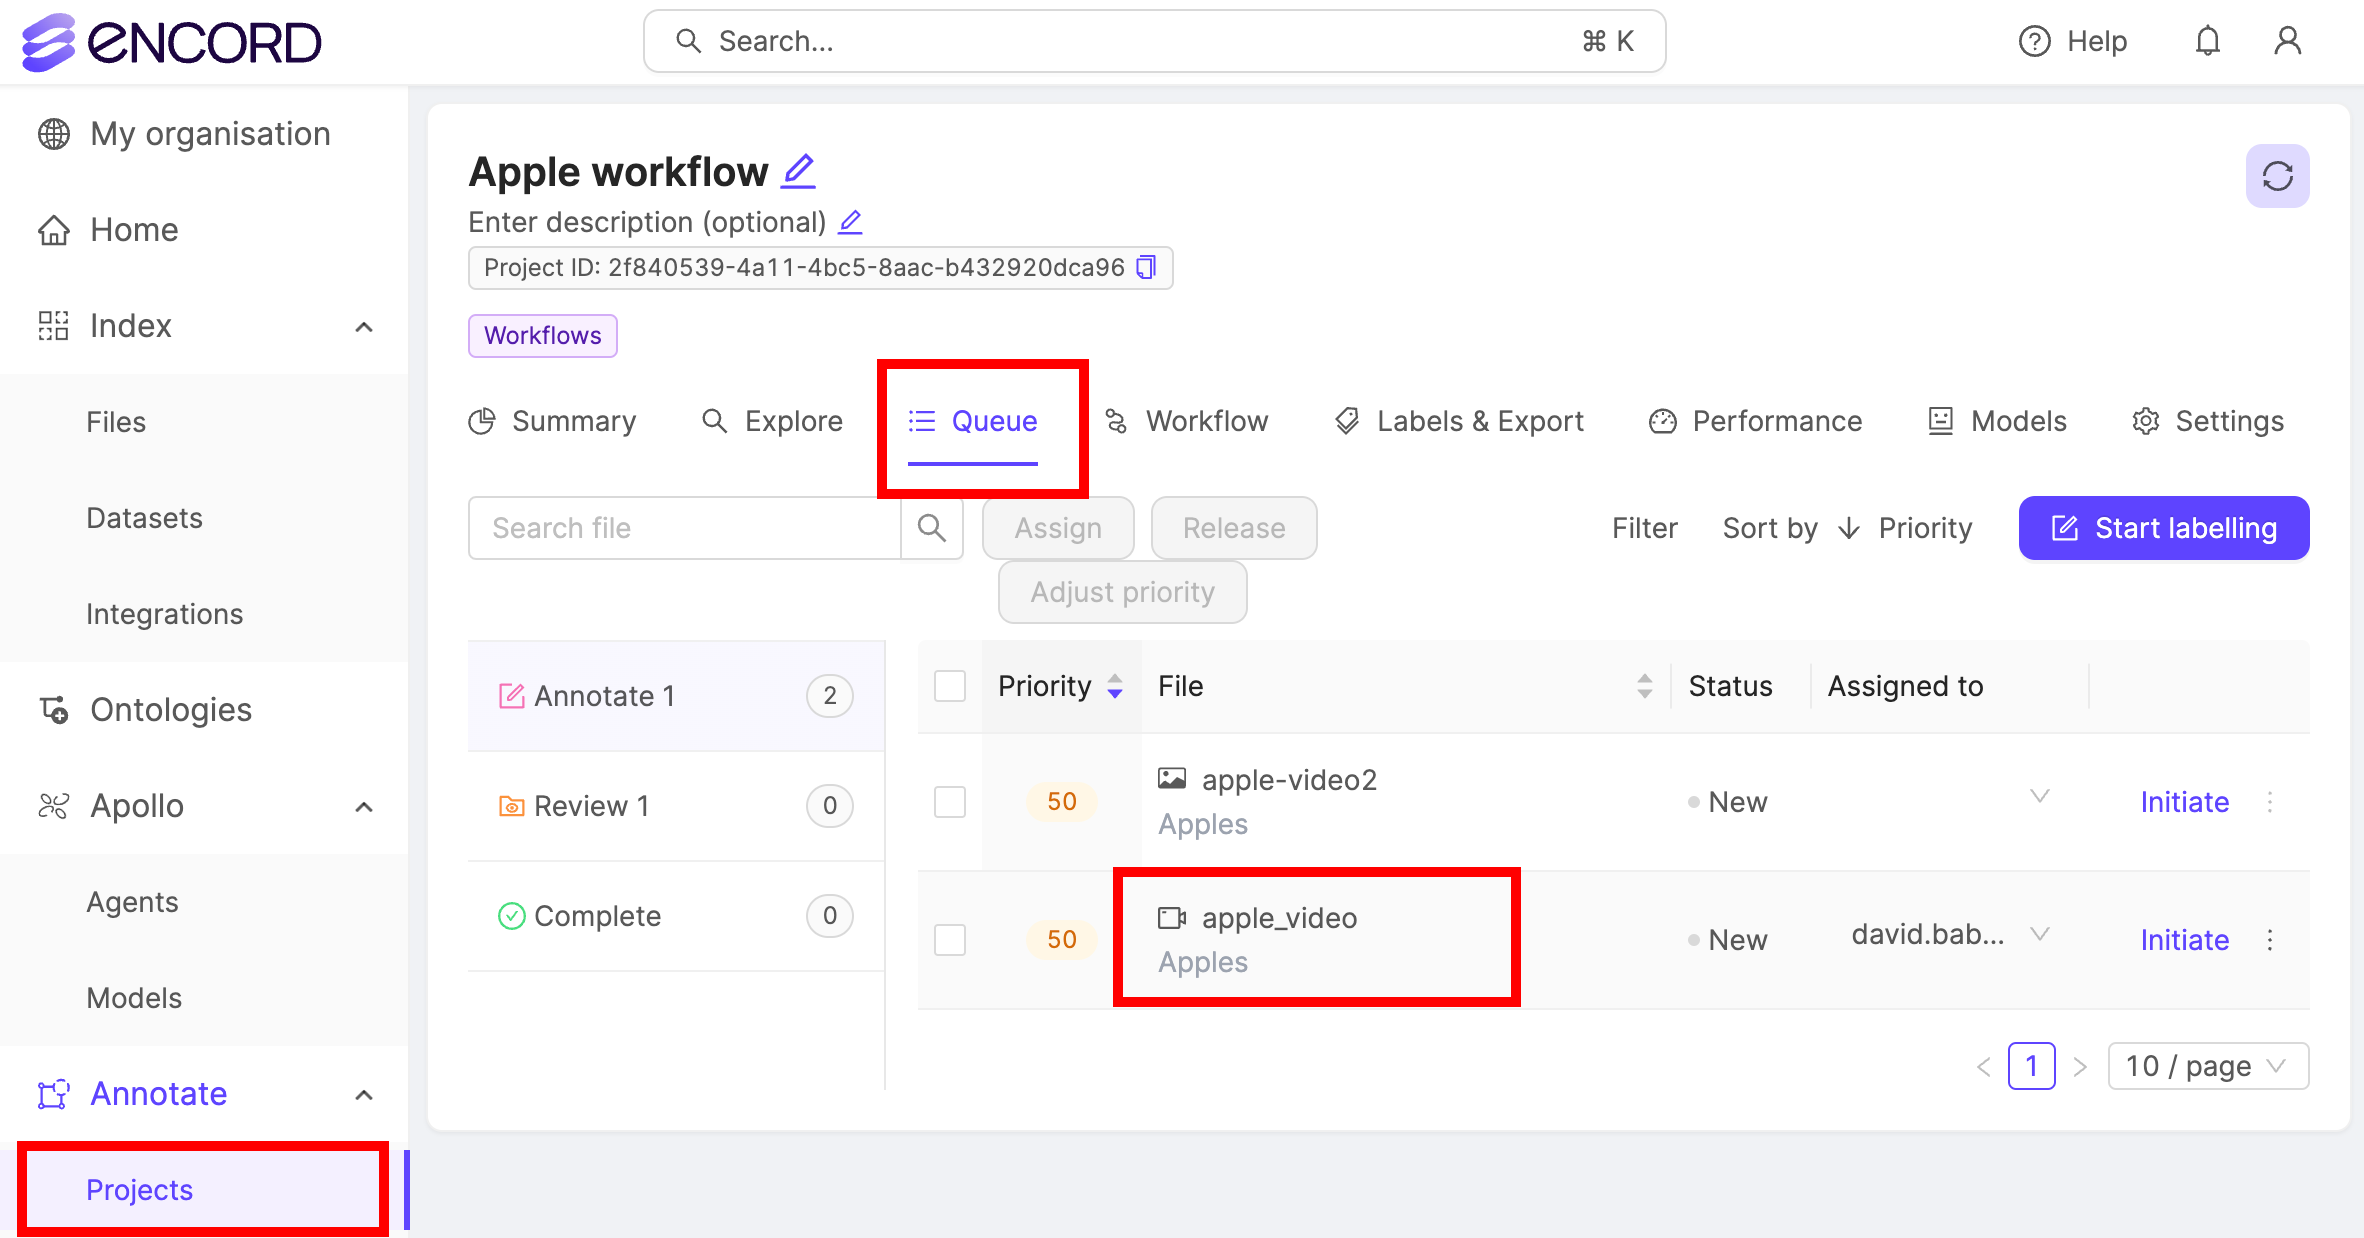
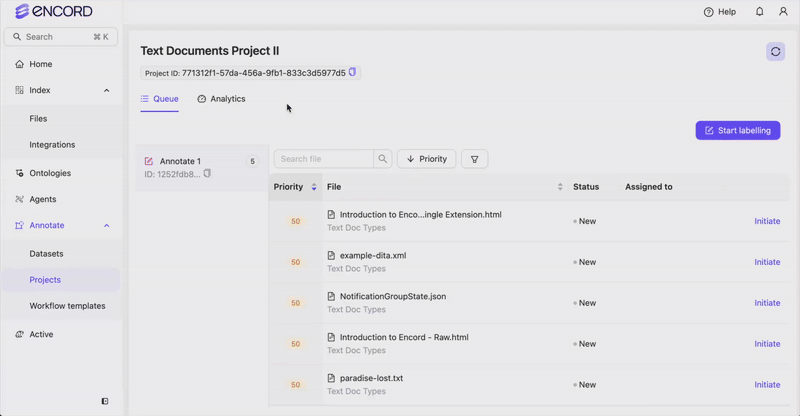
Labeling your data is what Encord Annotate is about. Labeling is initiated in the [*Queue* tab of your Project](/platform-documentation/Annotate/annotate-projects/annotate-manage-annotation-projects#task-queue-and-workflow). Annotators use the Project's Ontology to label data from Datasets that are attached to the Project.
Three types of annotation can be created:
* **Objects**: Label specific parts of the data unit using a specified shape. Objects are not supported for audio annotation.
* **Classifications**: Apply to a whole image or frame. They do not have a specific location.
* **Attributes**: Can be nested into objects and classifications to add more details to the annotation.
For more information on annotation types, see our documentation on [Ontology structure](/platform-documentation/Annotate/annotate-ontologies/annotate-ontologies).
## Images
***
## Videos
***
## DICOM
***
## Audio
You can only use *Audio Region* objects, and classifications to label audio files. See our [end-to-end guide on labeling audio files](/end-to-end/Modalities/audio) to learn how to set up audio specific Ontologies.
Navigate to the *Queue* tab of your Project and select the data unit you want to label.
**To label an audio region**:
1. Select a *Audio Region* class from the left side menu.
2. Click and drag your cursor along the waveform to apply the label between the desired start and end points. Repeat this as many times as necessary while the class is selected.
3. If required, apply any attributes to the region.
4. Repeat these steps for as many regions as necessary.
Audio regions can be copy-pasted using CMD / CTRL + C and CMD CTRL + V.
When assigning multiple *Audio Region* class labels to the same section of an audio file, hide overlapping labels.
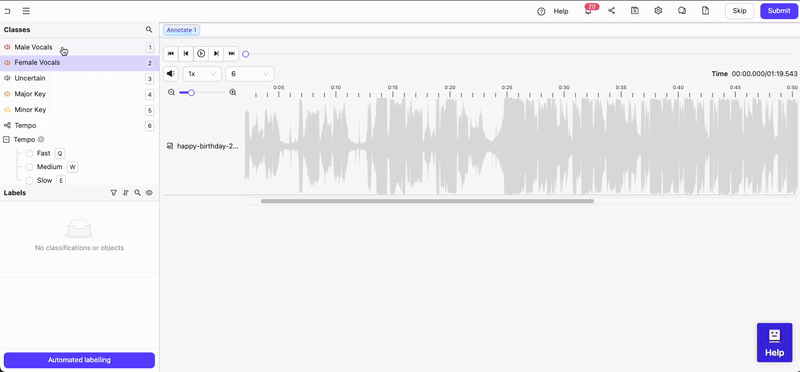
**To apply the classification to the entire audio file**:
1. Select the Classification from the left side menu.
2. For radio buttons and checklists, select the value(s) you want to classification to have. For text classifications, enter the desired text.
***
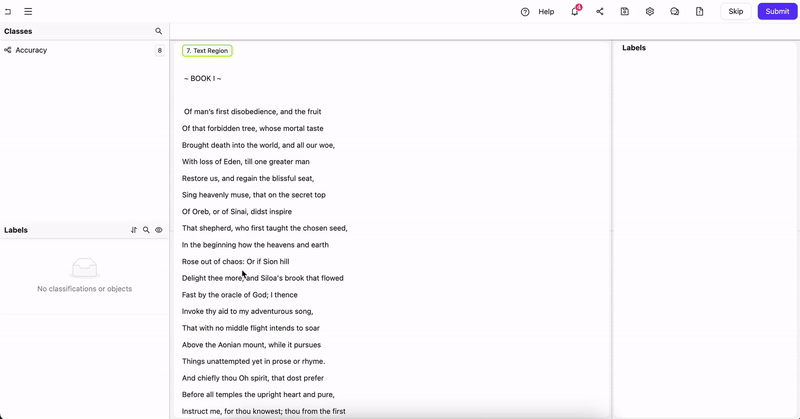
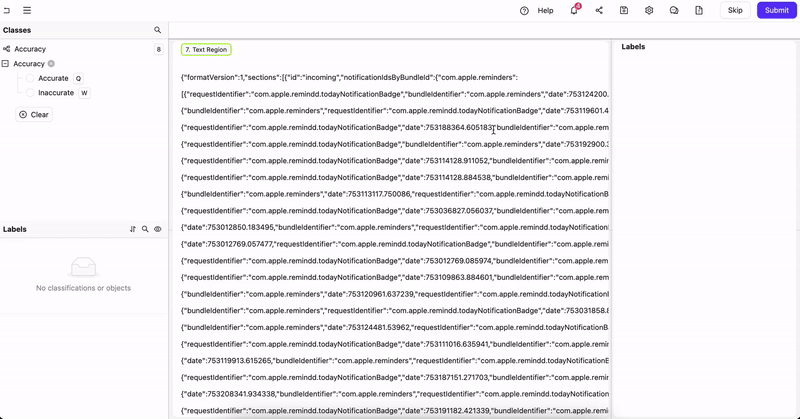
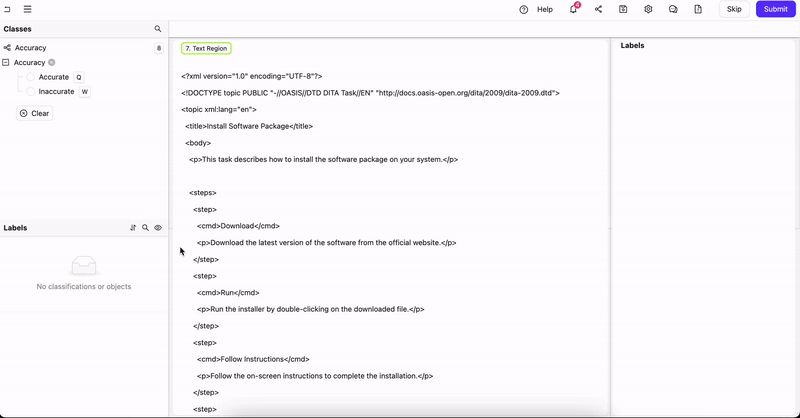
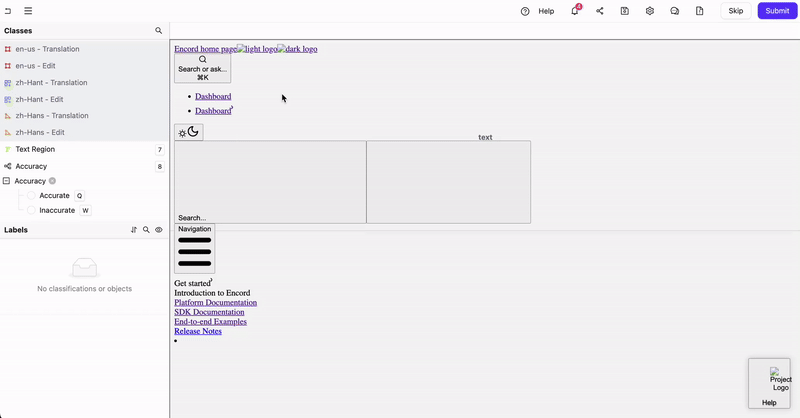
## Text and HTML Files
You can only use *Text Region* objects, and classifications to label text files including HTML.
### Text
Use `Ctrl+C` (Windows/Linux) or `Cmd+C` (Mac) to copy the selected text to your clipboard. and Use `Ctrl+V` (Windows/Linux) or `Cmd+V` (Mac) to paste.
#### Text
*Text Region* objects must be selected at the top of the editor. Only classifications are visible in the left side bar
1. Highlight the text to label.
2. Click a Text Region label type at the top of the Editor (or use the hotkey) to apply the label.
#### JSON
*Text Region* objects must be selected at the top of the editor. Only classifications are visible in the left side bar
1. Highlight the text to label.
2. Click a Text Region label type at the top of the Editor (or use the hotkey) to apply the label.
#### XML
*Text Region* objects must be selected at the top of the editor. Only classifications are visible in the left side bar
1. Highlight the text to label.
2. Click a Text Region label type at the top of the Editor (or use the hotkey) to apply the label.
### HTML
Encord supports both raw HTML files and single-extension HTML files. The key difference is that single-extension HTML files include all the necessary elements to render the webpage, such as CSS and JavaScript.
Use `Ctrl+C` (Windows/Linux) or `Cmd+C` (Mac) to copy the selected text to your clipboard. and Use `Ctrl+V` (Windows/Linux) or `Cmd+V` (Mac) to paste.
#### HTML - Single Extension
1. Click a *Text Region* label type (or use the hotkey)
2. Highlight the text you want to apply the label to.
#### HTML - Raw
1. Click a *Text Region* label type (or use the hotkey)
2. Highlight the text you want to apply the label to.
### Using Relation Text Attributes - Text and HTML
Relation text attributes link an object to another object. In images or videos this could be linking a chicken's body to its wing. In PDFs or text documents (text or HTML files) this could be linking words with measurements, or linking words with other words.
Your Ontology must MUST contain text attributes with the Relation feature enabled if you want to use relation text attributes.
While annotating, you can create a relationship between any object with a relation text attribute and any other object. After you create a relation between objects a workflow arrow points from the object with the relation text attribute to the other object.
***
## Classification Labels
1. Navigate to the *Queue* tab of your Project.
2. Select the data unit you want to label.
The task opens in the Label Editor.
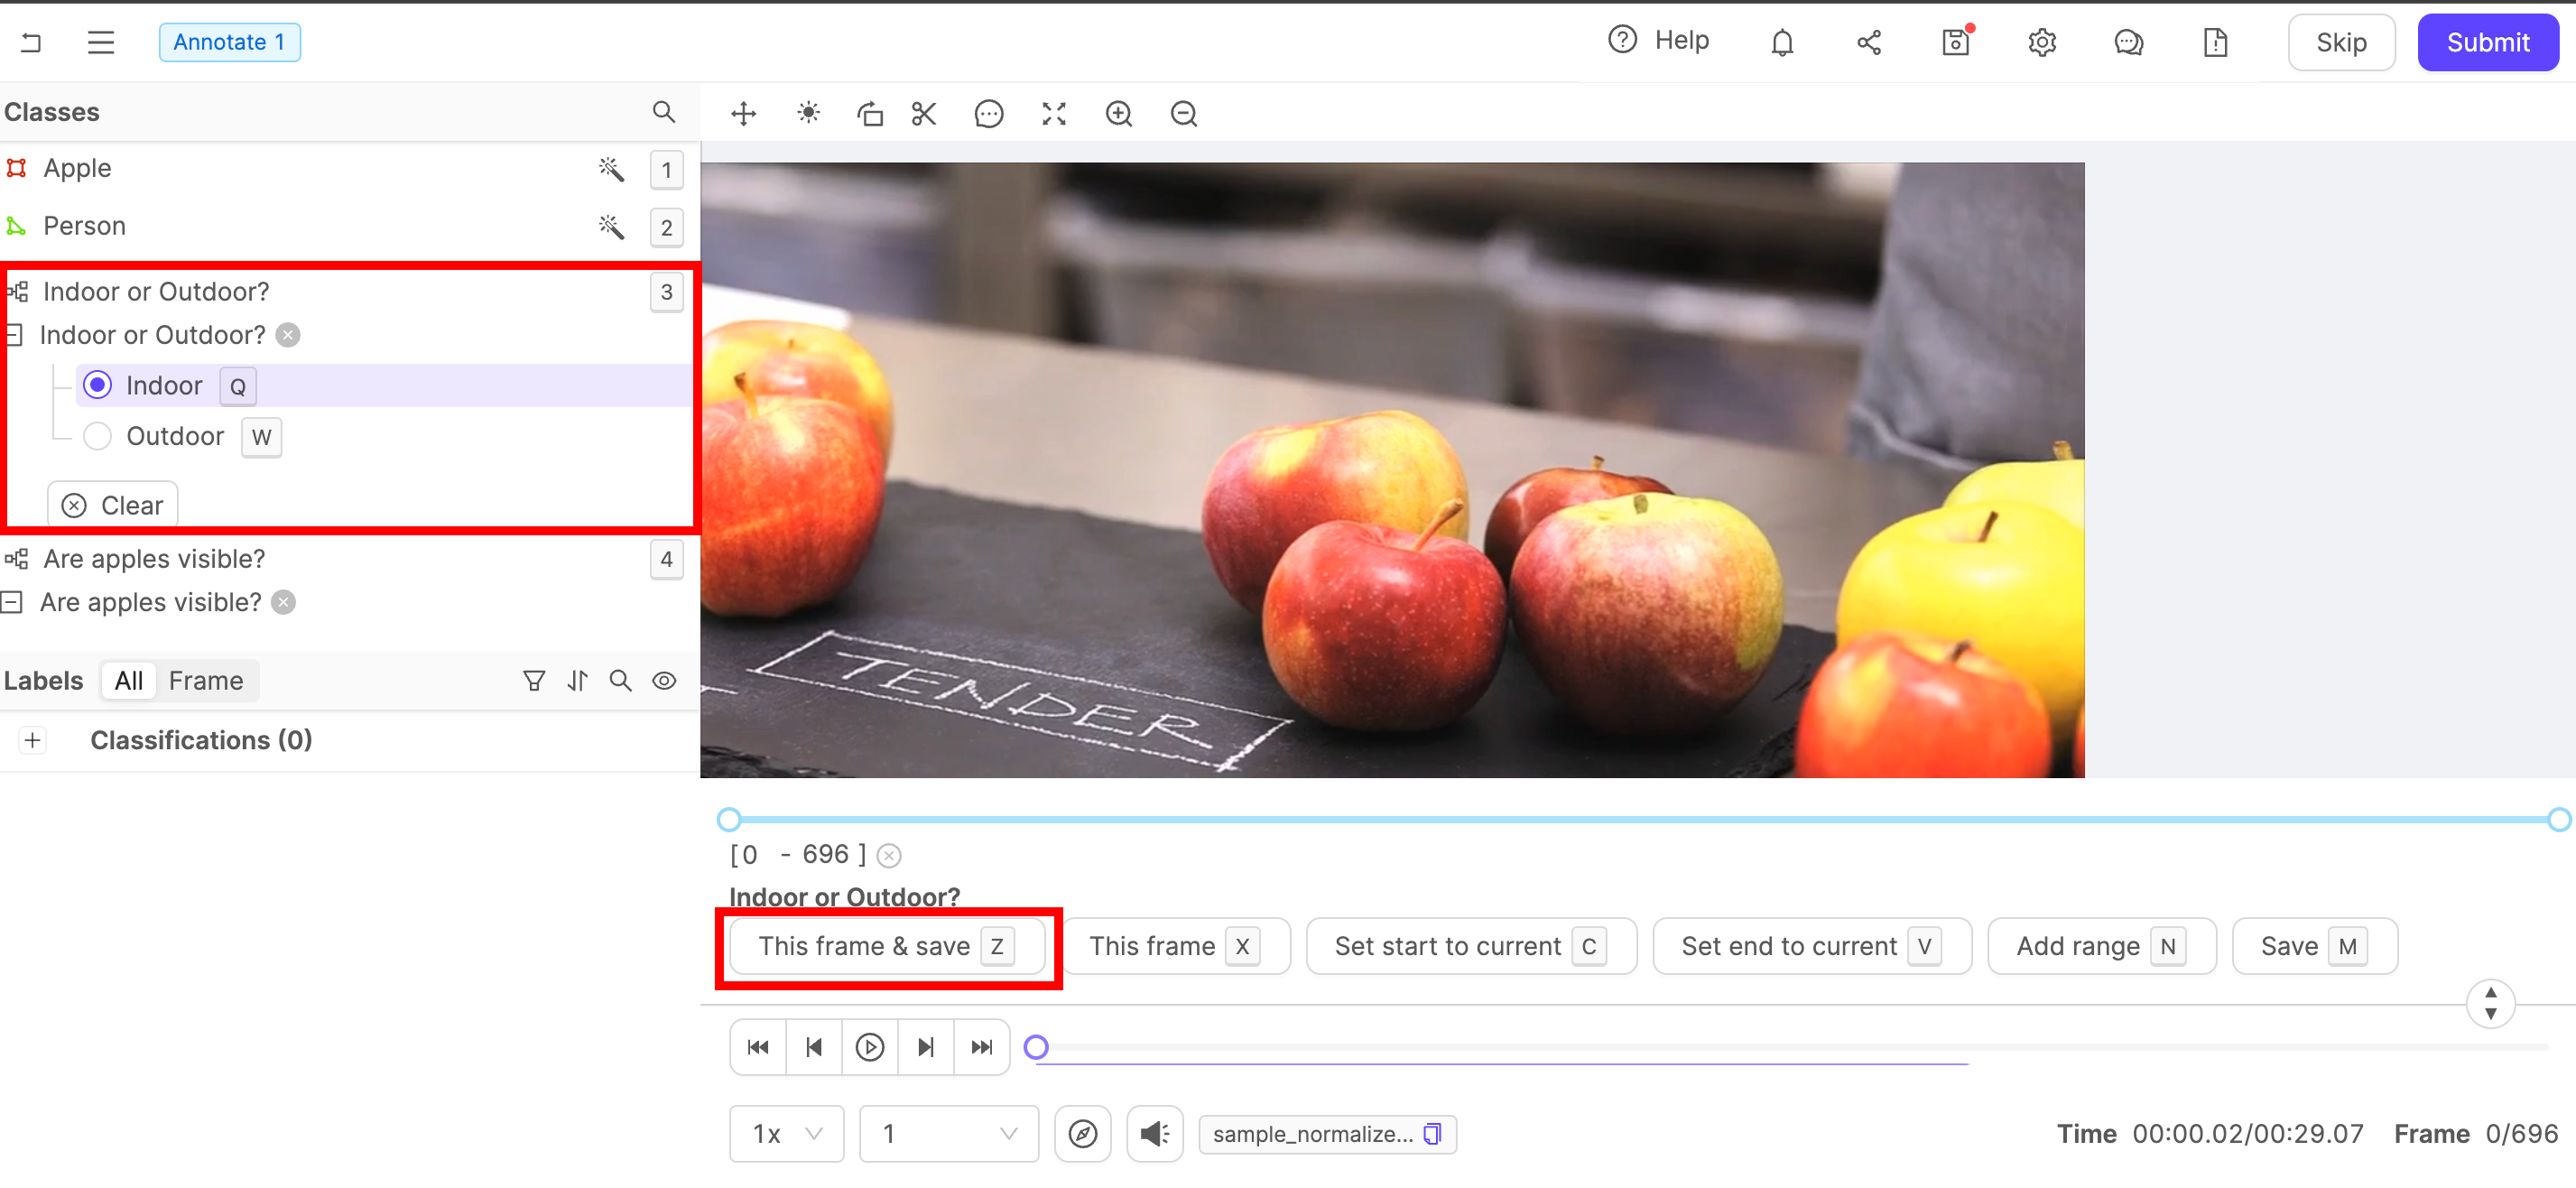
3. Select the classification you want to apply to the frame / image from the list of classes on the left side of the Label Editor.
4. Provide a classification answer.
* **Text classification**: Type the classification answer in the text field that appears.
* **Radio button**: Select one classification answer from the list of options. Radio buttons can have nested options.
* **Checklist**: Select all applicable classification answers.
5. If labeling a video, several options appear above the editor timeline.
* **This frame & save** (hotkey Z): Apply the classification to the current frame and save.
* **This frame** (hotkey X): Apply the classification to the current frame.
* **Set start to current** (hotkey C): Defines the current frame as the start of the range to which the classification is applied.
* **Set end to current** (hotkey V): Defines the current frame as the end of the range to which the classification is applied.
* **Add range** (hotkey N): Applies the classification to the range of frames defined in the bar above the buttons.
* **Save** (hotkey M): Saves the classification.
6. Ensure you save the classification.
The classification appears in the list of all labels on the left side of the Label Editor.
***
## Object Labels
Object labels are not supported for audio files.
1. Navigate to the *Queue* tab of your Project.
2. Select the data unit you want to label.
The task opens in the Label Editor.
3. Select the object you want to label from the list of classes on the left side of the Label Editor.
4. Apply the instance label.
We recommend creating automated labels using [SAM](/platform-documentation/Annotate/automated-labeling/annotate-sam) when drawing bounding boxes, bitmasks, and polygons.
* **Bounding box**: Click once to start drawing the shape. A second click completes the shape.
* **Rotatable bounding box**: Click once to start drawing the shape. A second click completes the shape. The box can be rotated.
* **Polygon**: Click once to start drawing the shape. Click again to add a vertex. Add as many vertices as necessary. To complete the shape, double-click or return to the first vertex.
* **Polyline**: Click once to start drawing the shape. Click again to add a vertex. Add as many vertices as necessary. Double-click to complete the shape.
* **Keypoint**: Click once to add a keypoint.
* **Bitmask**: Click and hold to draw a bitmask using the brush tool. For detailed information on using bitmasks, see our [documentation here](/platform-documentation/Annotate/annotate-label-editor/annotate-videos#segmentation-masks--bitmasks).
5. Save the label by clicking the **Save** icon on the [editor header](/platform-documentation/Annotate/annotate-label-editor#editor-header).
***
## Adding Attributes
After creating an object or a classification you can add any attributes defined in your [Ontology](/platform-documentation/Annotate/annotate-ontologies/annotate-ontologies).
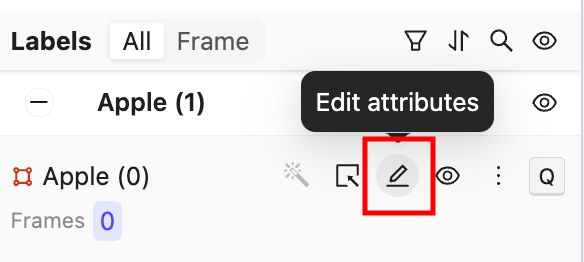
1. In the Labels section of the Label Editor, click the **Edit attributes** button to add an attribute to an object or classification label.
2. Add an attribute answer.
* **Text attribute**: Type the attribute answer in the text field that appears.
* **Radio button**: Select one attribute answer from the list of options. May have nested options.
* **Checklist**: Select all applicable attribute answers.
### Dynamic Attributes
Attributes marked as *Dynamic* can change value over the course of a data unit, and are therefore only applicable to videos, image sequences, and DICOM volumes.
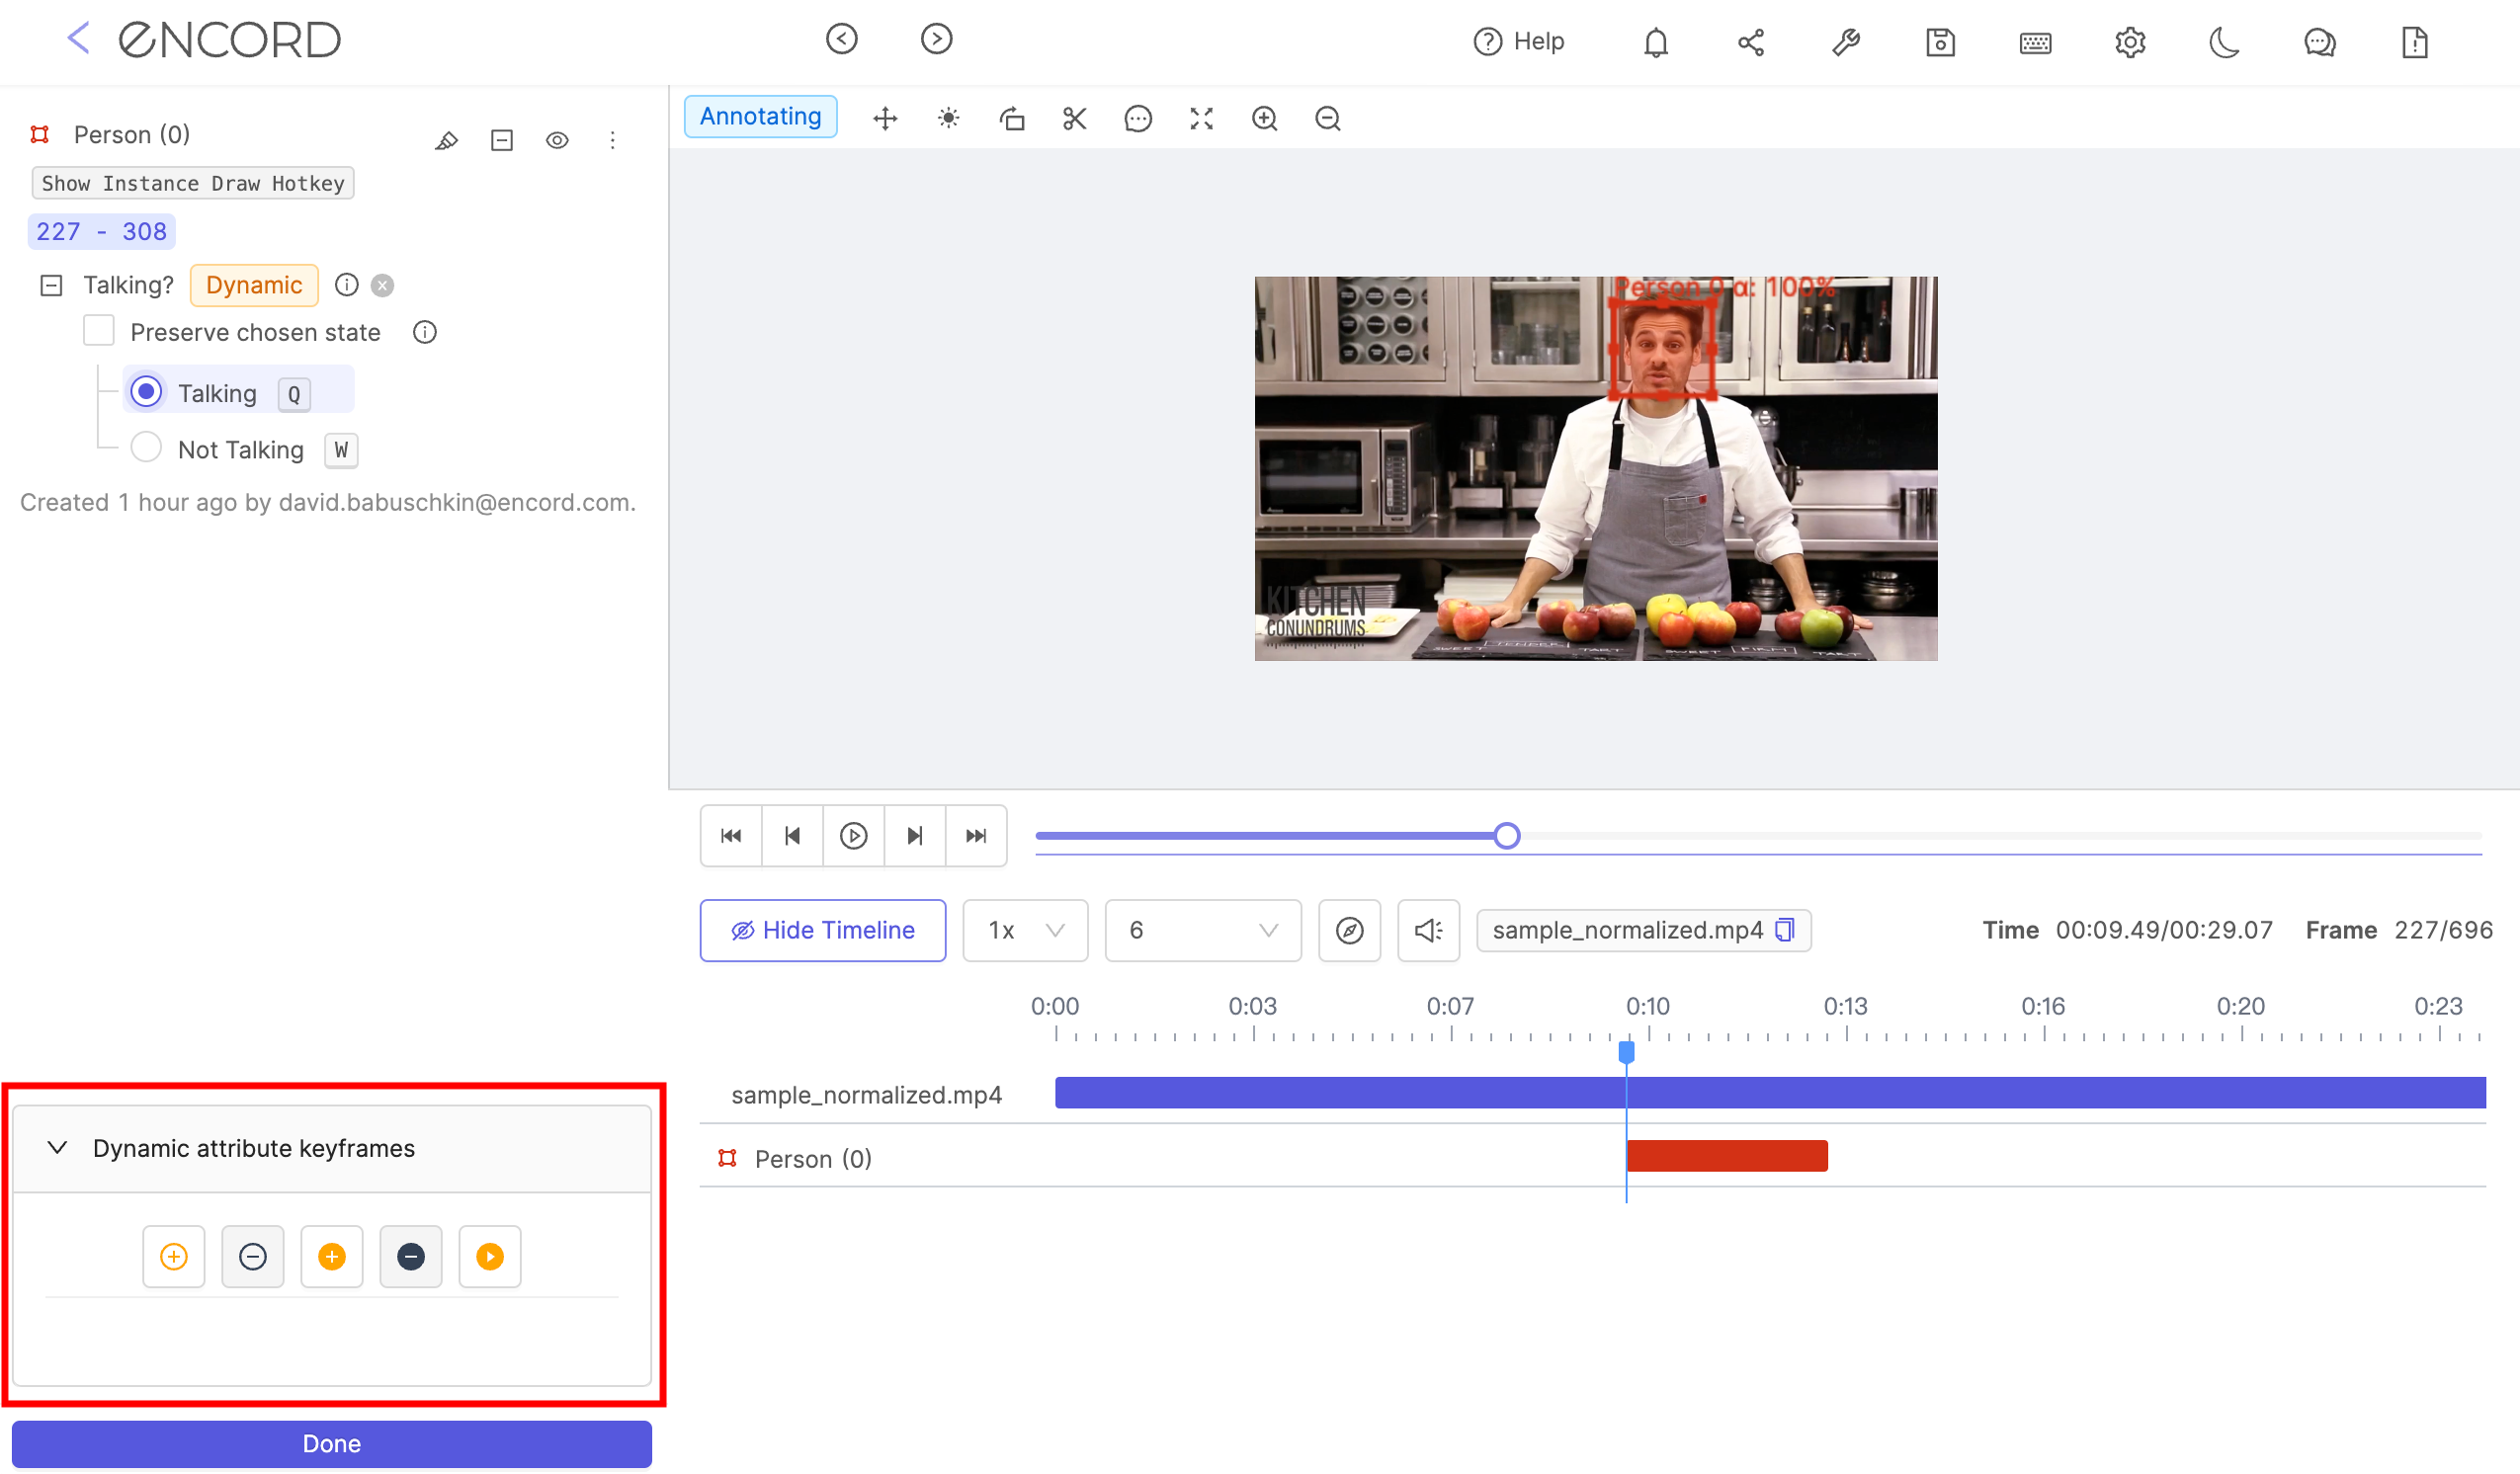
#### Bulk Apply
You can efficiently apply dynamic attributes in bulk to save time and effort. This is accomplished by identifying frames where the attribute changes value as "keyframes," and then applying attribute values between these keyframes.
1. Apply object labels to **all** relevant frames.
2. Add the [dynamic attribute](/platform-documentation/Annotate/annotate-ontologies/annotate-ontologies#dynamic-attributes) to the label in the first frame that the object appears in.
3. Navigate to the point of the video or image sequence where the dynamic attribute changes value, and apply the attribute to the object here.
4. Use the \*\*+\*\*\*\*, or the keyboard shortcut Shift + L to set *keyframes* on frames where the attribute changes value.
5. Use the *Play* icon, or the keyboard shortcut Shift + P to apply attribute values to all frames following a *keyframe*, matching the value set in the *keyframe*.
**Apply to new occurrences**:
The *Apply to new occurrences* checkbox in the Label Editor is available for the first instance of a label with a [dynamic attribute](#dynamic-attributes). Selecting this option propagates the attribute to all future instance labels, meaning all labels created for this instance share the attribute value of the initial instance label.
The 'Apply to new occurrences' functionality also holds for instance labels created automatically using [interpolation](/platform-documentation/Annotate/automated-labeling/annotate-interpolation).
### Relation Attributes
The *Relation* attribute allows you link objects, and specify the relationship between them using text regardless of the annotation type used.
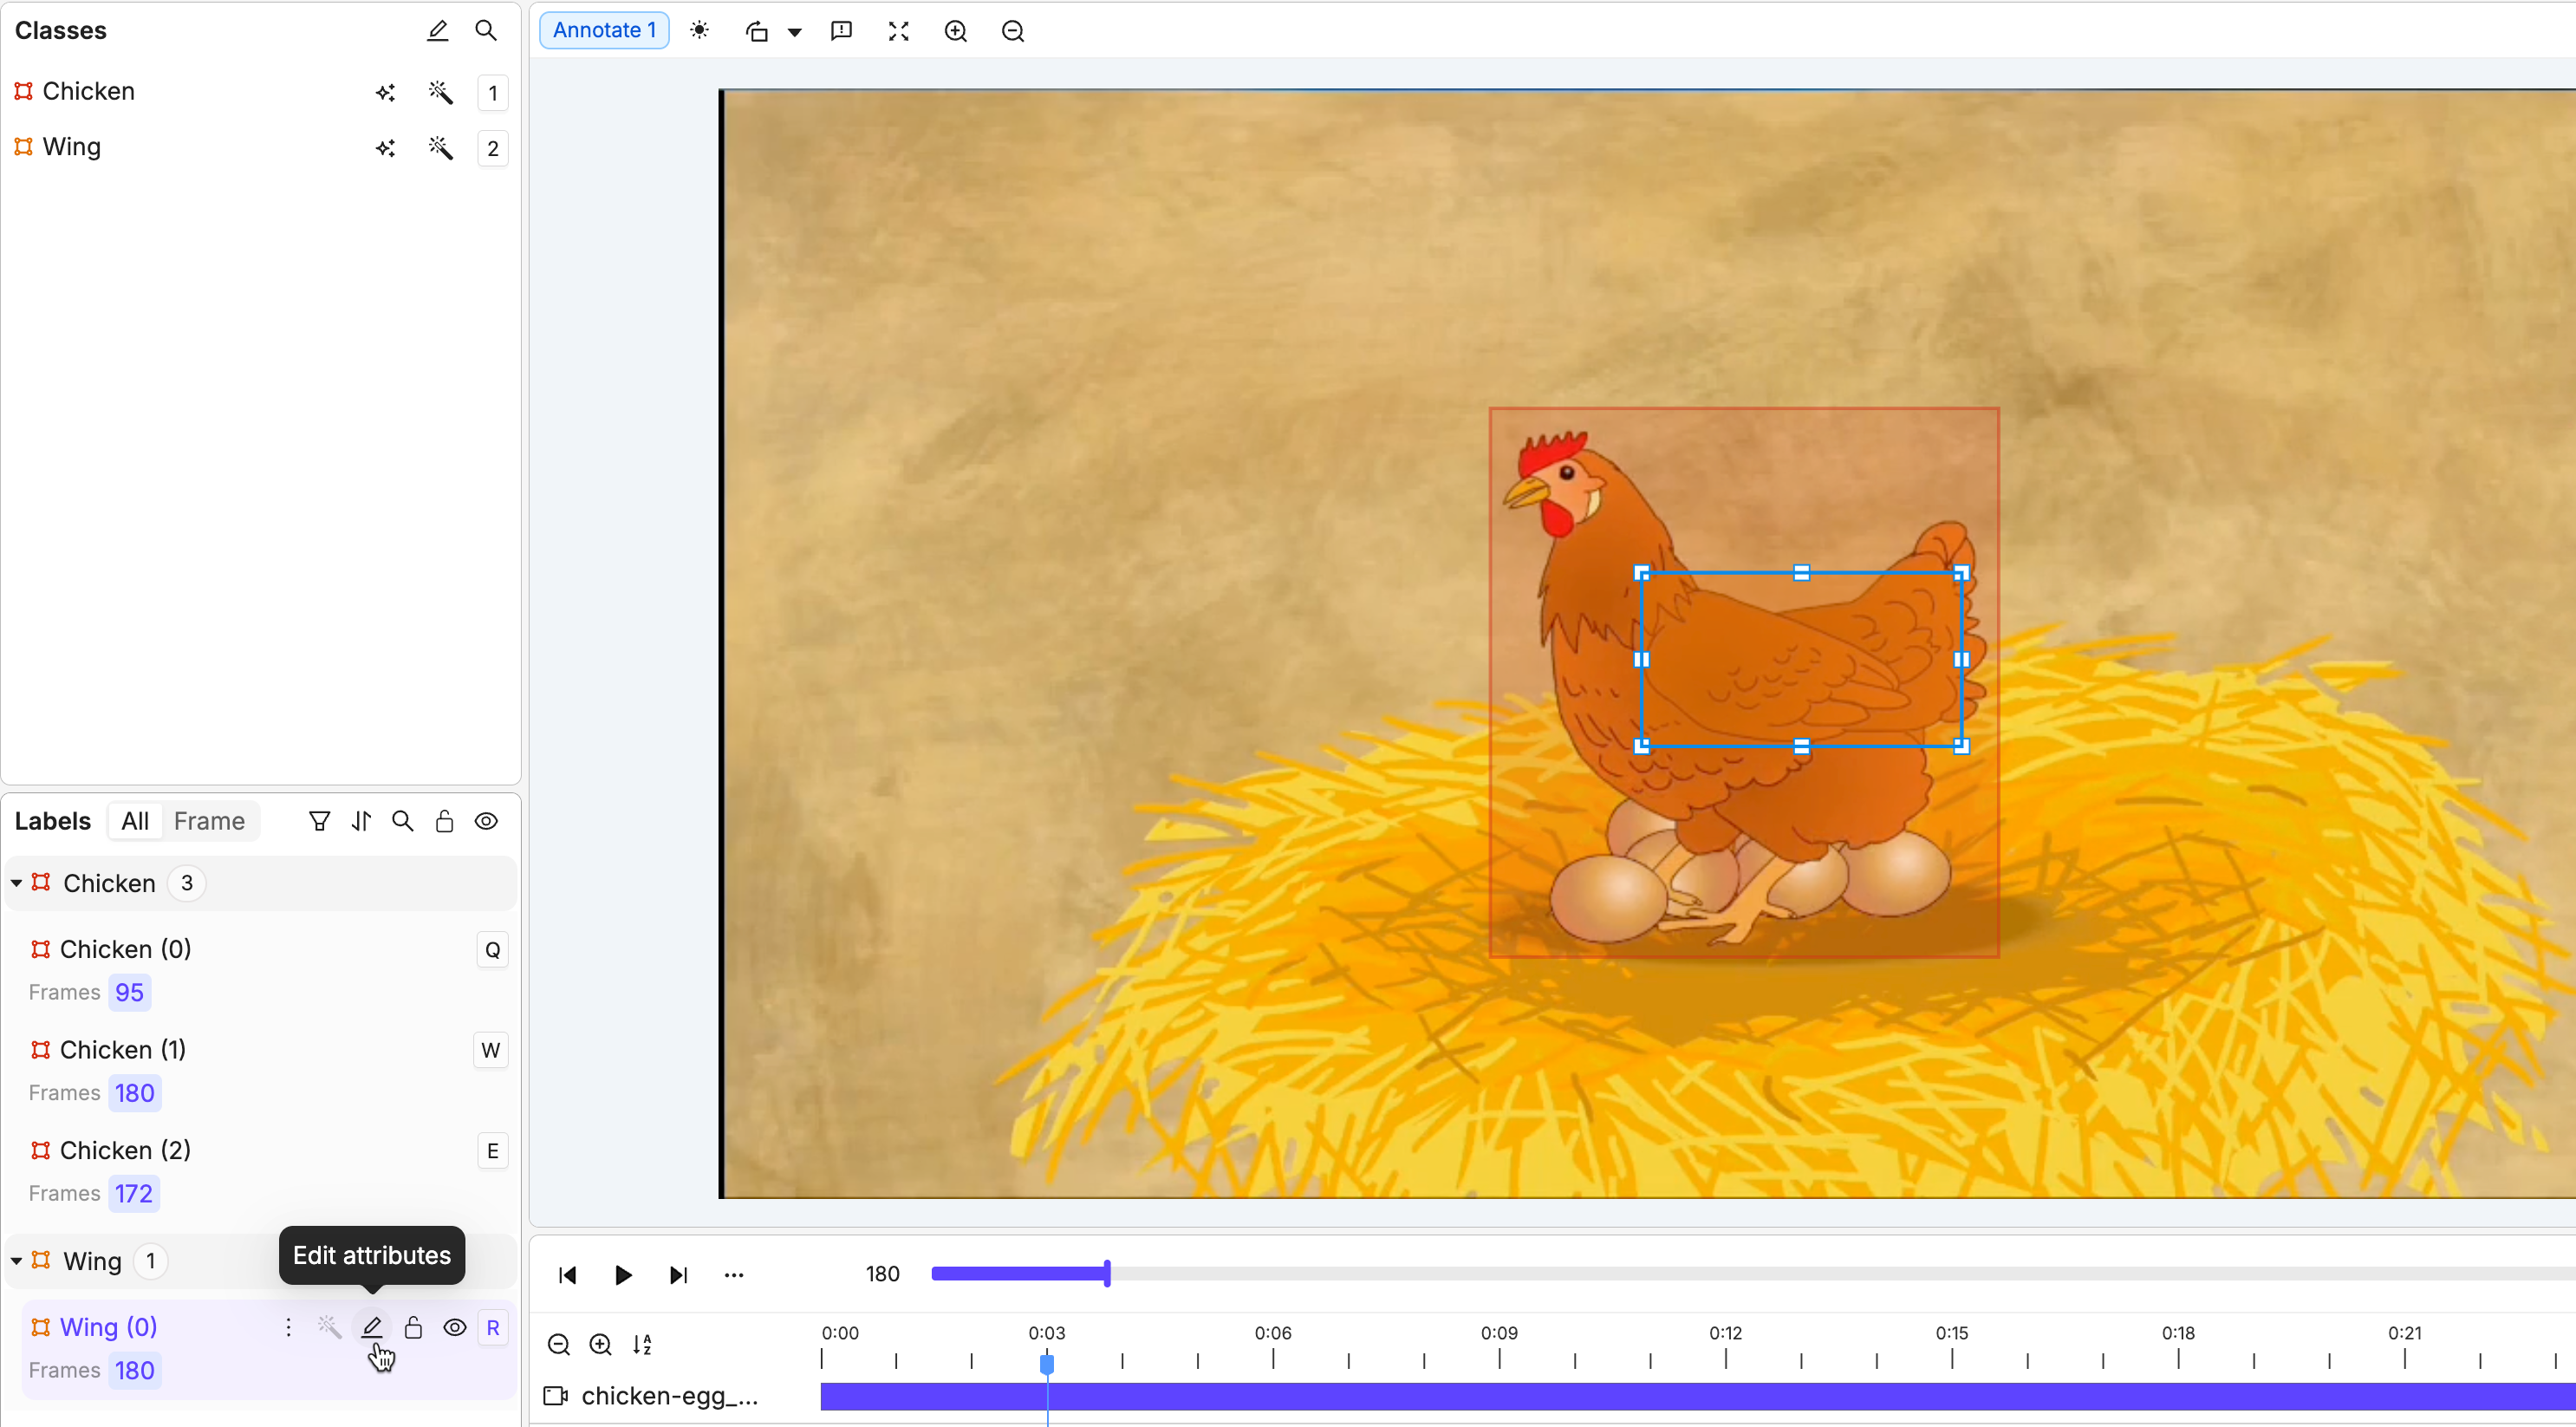
Only one of the linked objects need a *Relation* attribute for the objects to be considered linked. For example, consider 2 Ontology objects: a chicken, and a chicken wing. To allow these objects to be linked, a *Relation* attribute must be created for the chicken **or** the chicken wing, while setting up the Ontology.
All *Relation* attributes must be text fields. They cannot be radio buttons or checklists. *Relation* attributes can be applied to object labels of any kind, but not classifications.
To create a *Relation* attribute, enable the *Relation* feature when creating an attribute during Ontology creation. The default name for all *Relation* attributes is *#relation*.
Objects are linked in the Label Editor during annotation, not during Ontology creation.
**Using *Relation* attributes in the Label Editor**:
Once an Ontology with *Relation* attributes has been set up, instances can be linked in the Label Editor during annotation.
1. Create both instance labels.
For example, a chicken and its wing are labeled using bounding boxes.
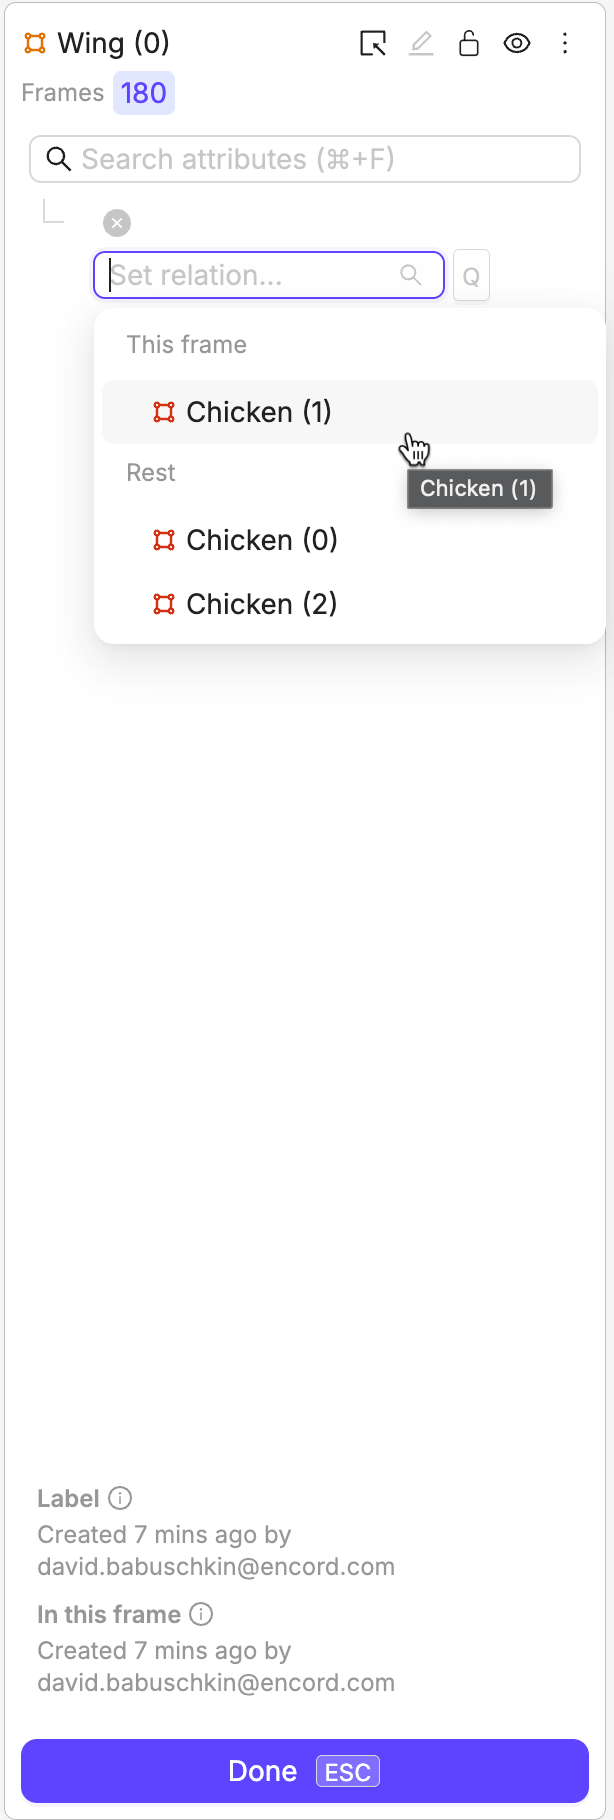
2. Click the *Edit attributes* button for the object with the *Relation* attribute.
3. Click the **Set relation...** bar and select the instance you want to link the selected instance to. In this example the chicken and the wing appear on the same frame, and therefore appear under the *This frame* heading. Instances in different frames appear under the heading *Rest*.
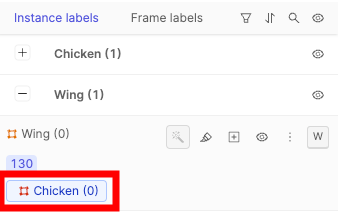
4. Click **Done**. The instances are now linked.
This is shown in the *Instance labels* section with the name of the linked instance being displayed.
***
## Object Primitives & Skeletons
The following tutorial covers creating Object Primitives and labeling using skeletons.
**To label using Skeletons**:
1. Select your Skeleton class from the left-hand menu.
2. Click on the canvas to place points one by one. The currently active point is highlighted in the left sidebar.\
Once the final point is placed, the Skeleton is automatically completed.
Alternatively, you can drag and drop the Skeleton onto the canvas and adjust each point individually by dragging them into position.
3. Use the toggle next to each point to mark it as *visible*, *invisible*, *occluded*, or *self-occluded*. By default, all points are set to ***visible***.
***
## Automated labeling
Encord provides several automated labeling techniques to accelerate your labeling. See our documentation on automated labeling [here](/platform-documentation/Annotate/automated-labeling/annotate-interpolation).