> ## Documentation Index
> Fetch the complete documentation index at: https://docs.encord.com/llms.txt
> Use this file to discover all available pages before exploring further.
# Wasabi
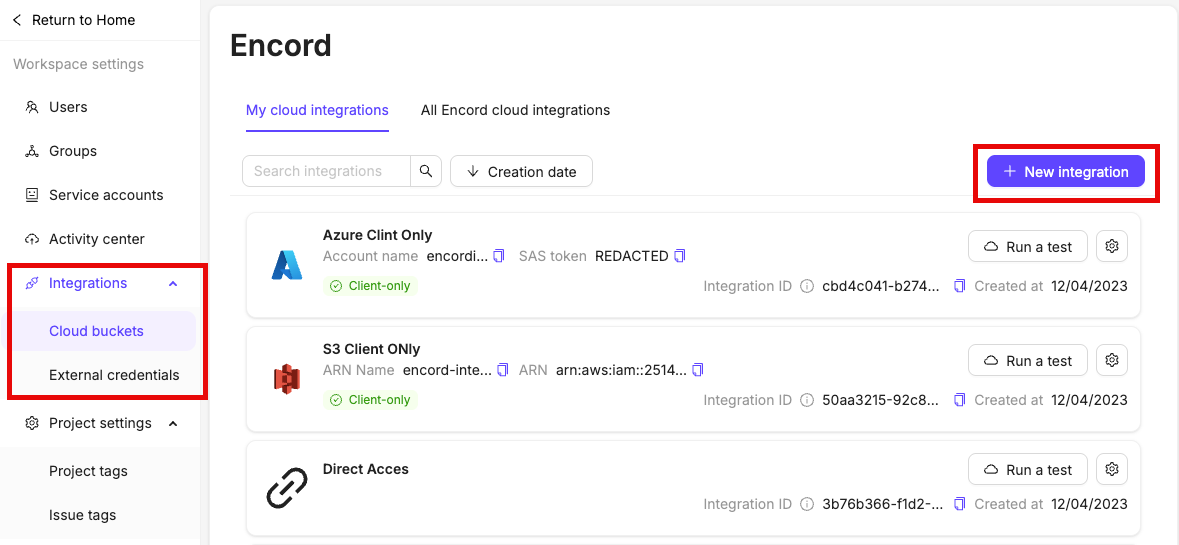
In the *Integrations* section of the Encord platform, click **+New integration** to create a new integration.
The integration dialog appears.
## 1: Create an IAM Policy
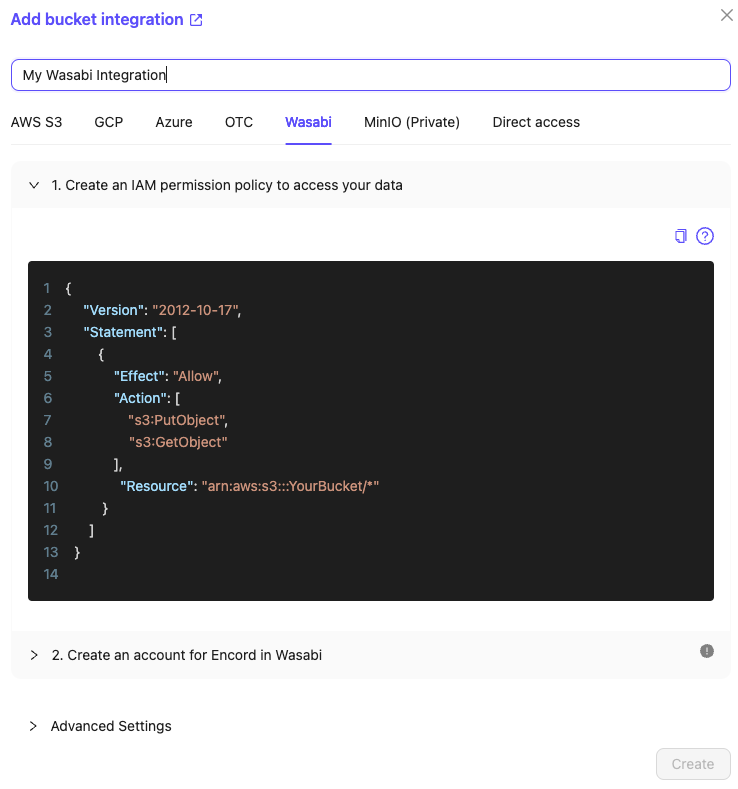
1. In the Encord platform click *Wasabi* at the top of the integration dialog.
2. Give your integration a meaningful name.
3. Copy the JSON from step 1 of the integration.
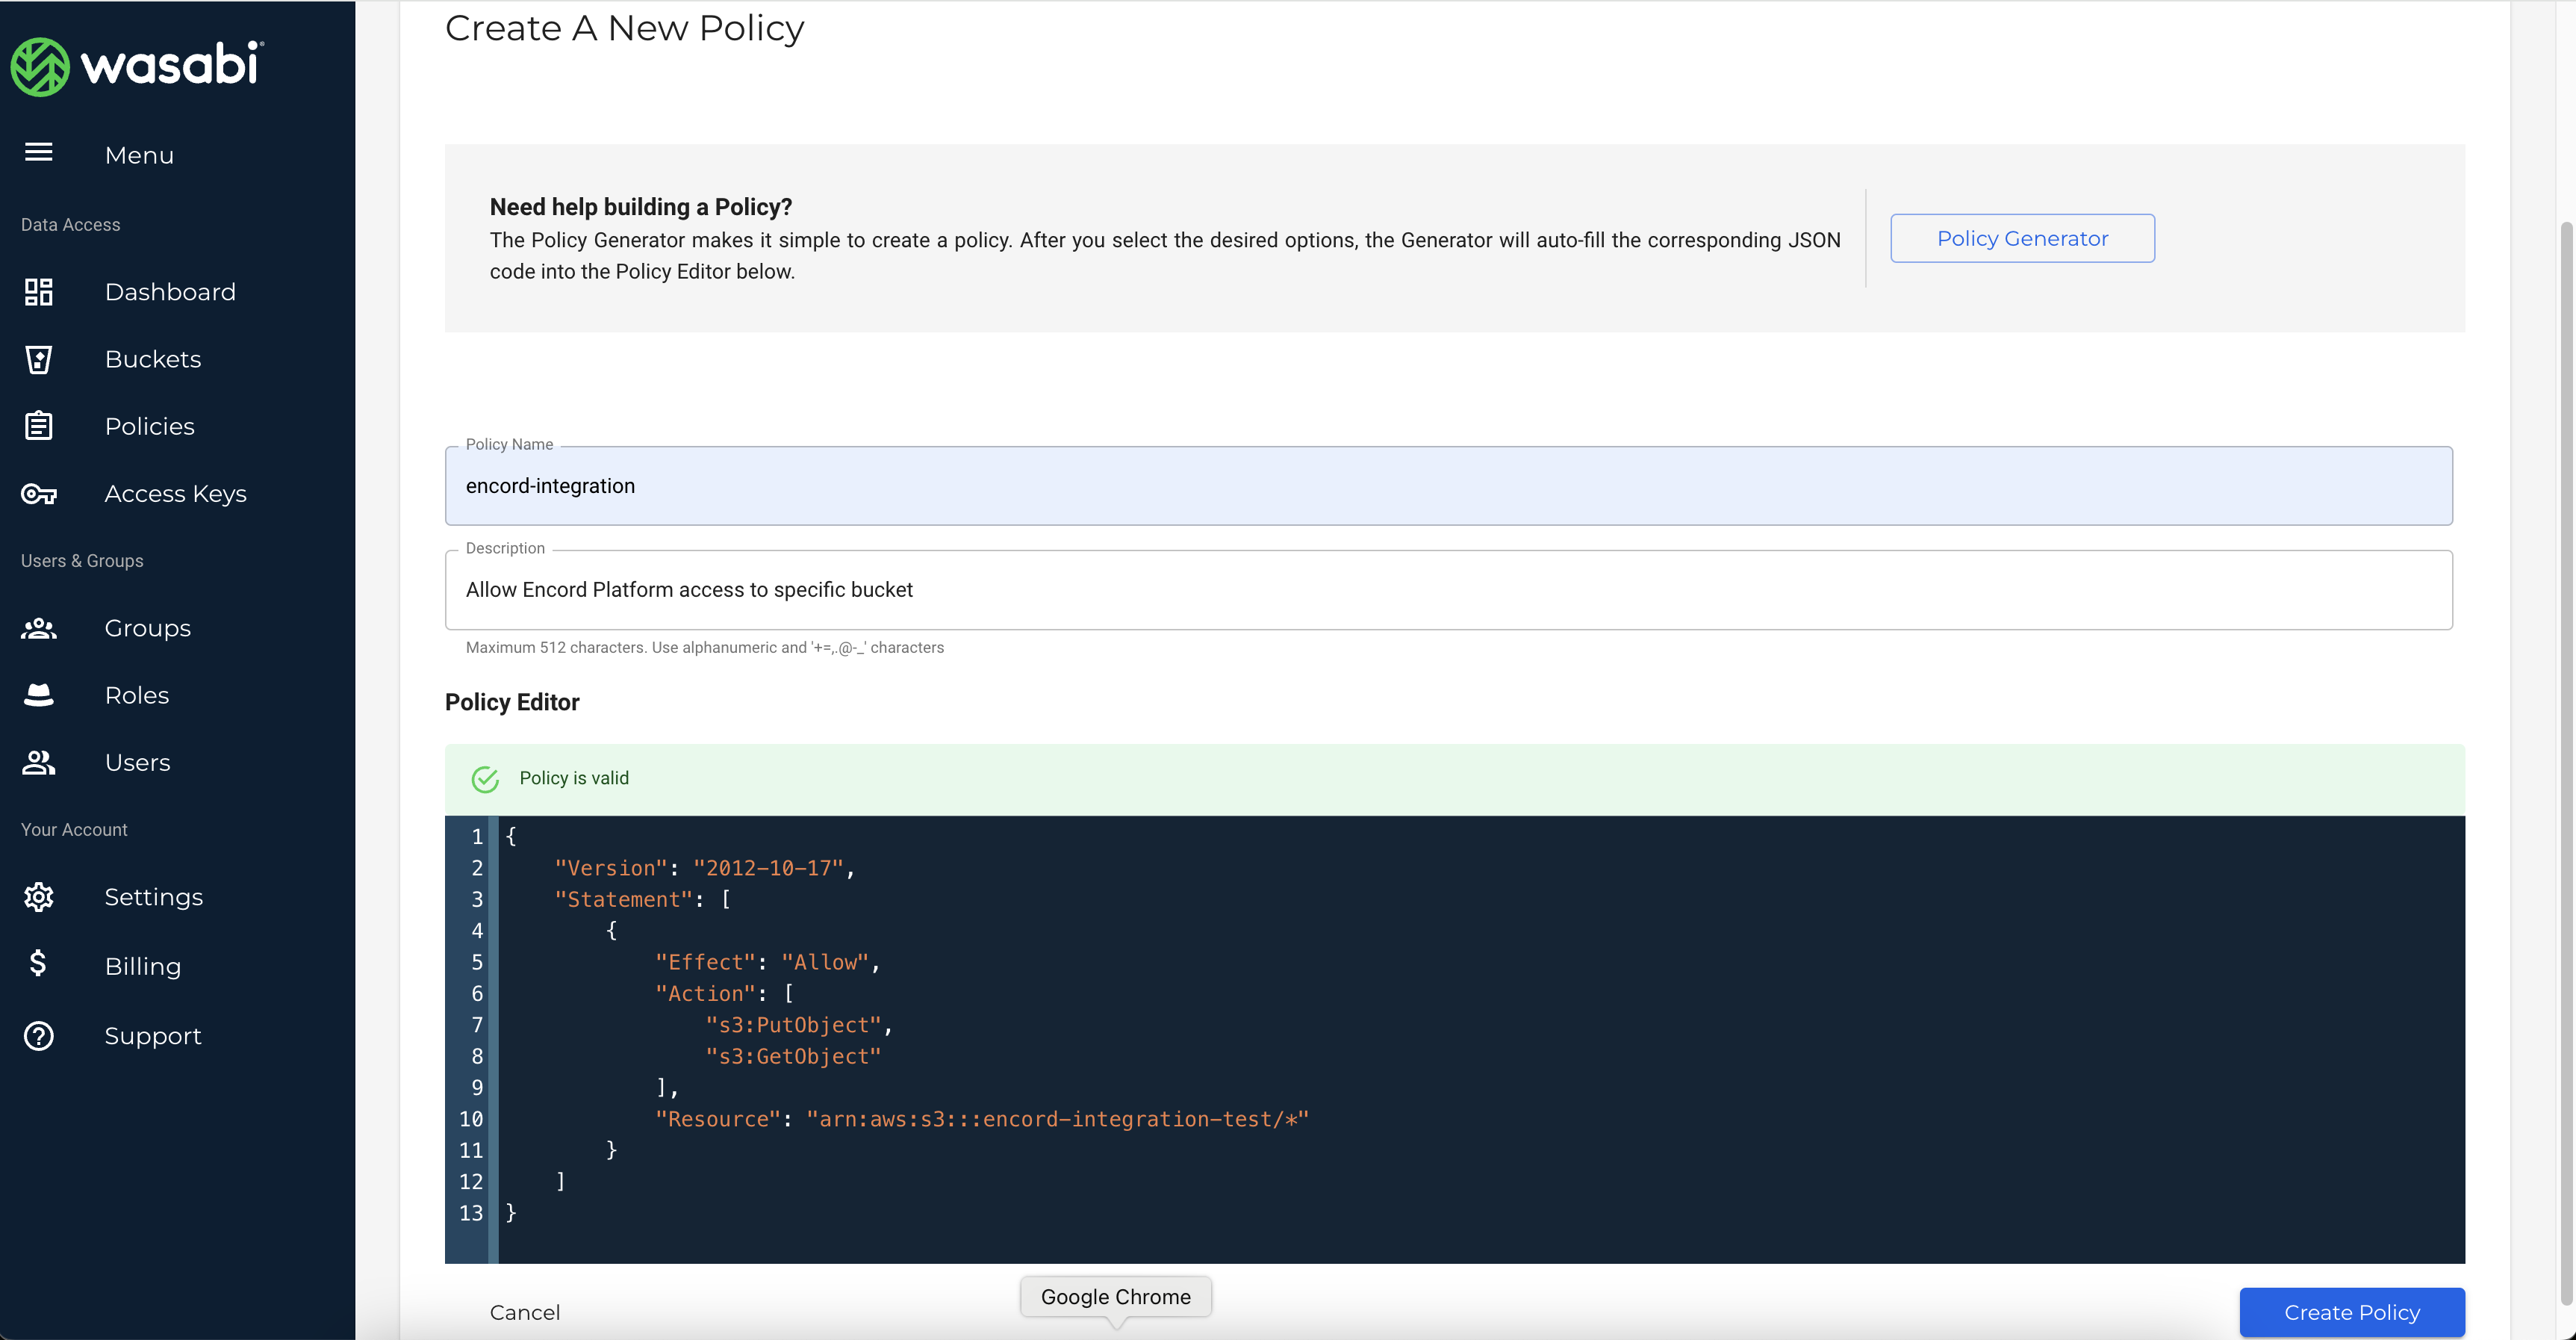
4. In Wasabi, navigate to *Policies* and create a new policy.
5. Paste the JSON you copied from the Encord platform into the *Policy Editor*, replacing the `YourBucket` with the name of your bucket. Ensure that the Resource value ends in /\*.
If you do not plan on using features that require write permissions, such as [re-encoding data](/platform-documentation/General/general-supported-data#re-encode-videos) and creating [image sequences](/platform-documentation/General/general-supported-data#image-sequences), `s3:PutObject` can be omitted.
6. Click **Create policy**.
## 2. Create Users for Encord Integration Access
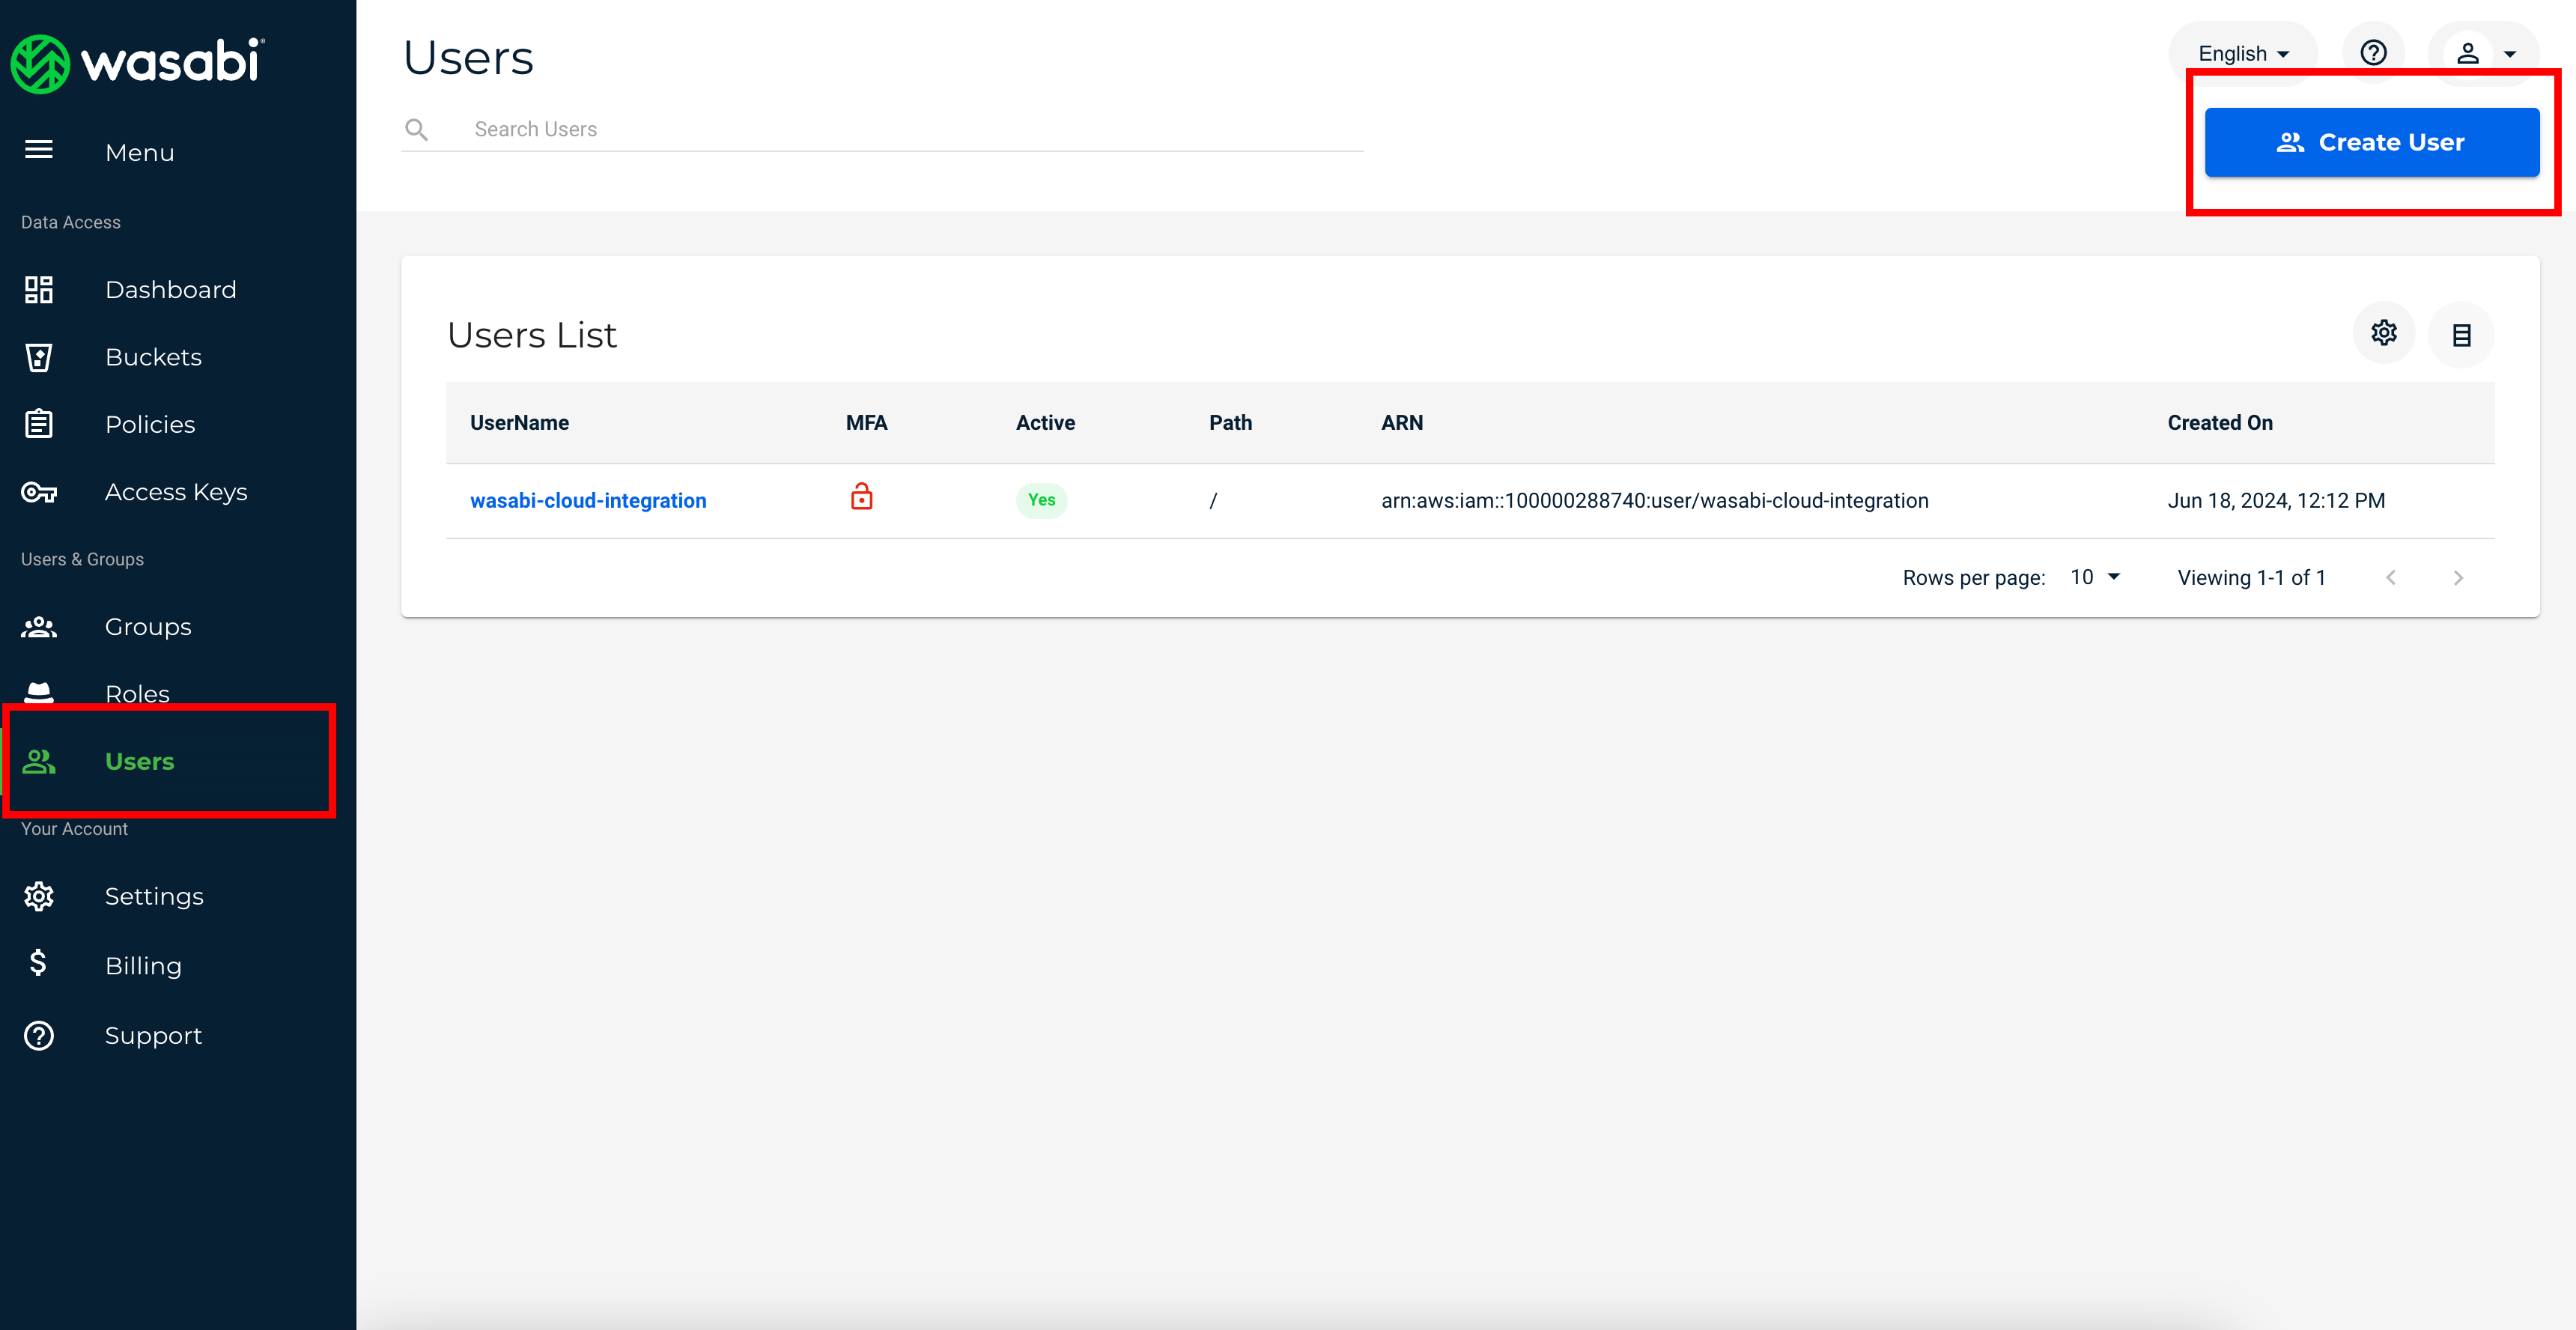
1. In Wasabi, navigate to the *Users* section and click **Create user**.
2. Make sure to select the *Programmatic* access type. This will generate an API Access Key for the newly created user.
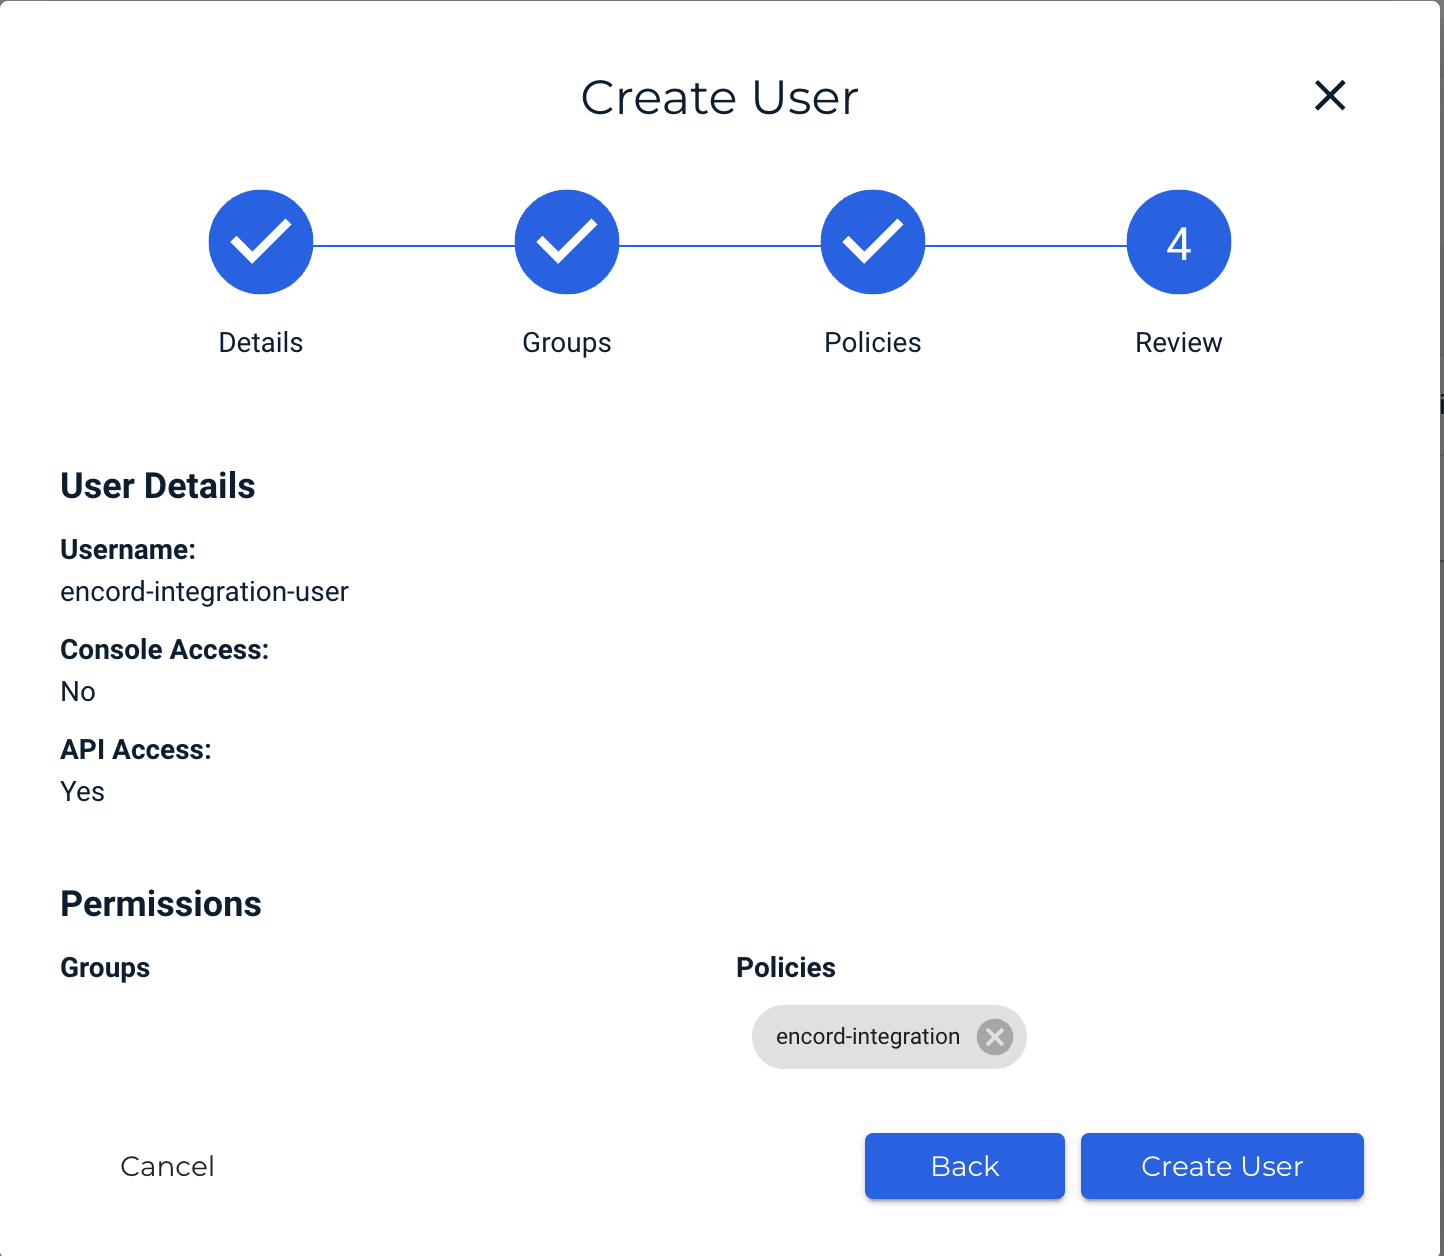
3. Assign the policy created in step 1 to the user.
4. Click **Create user**.
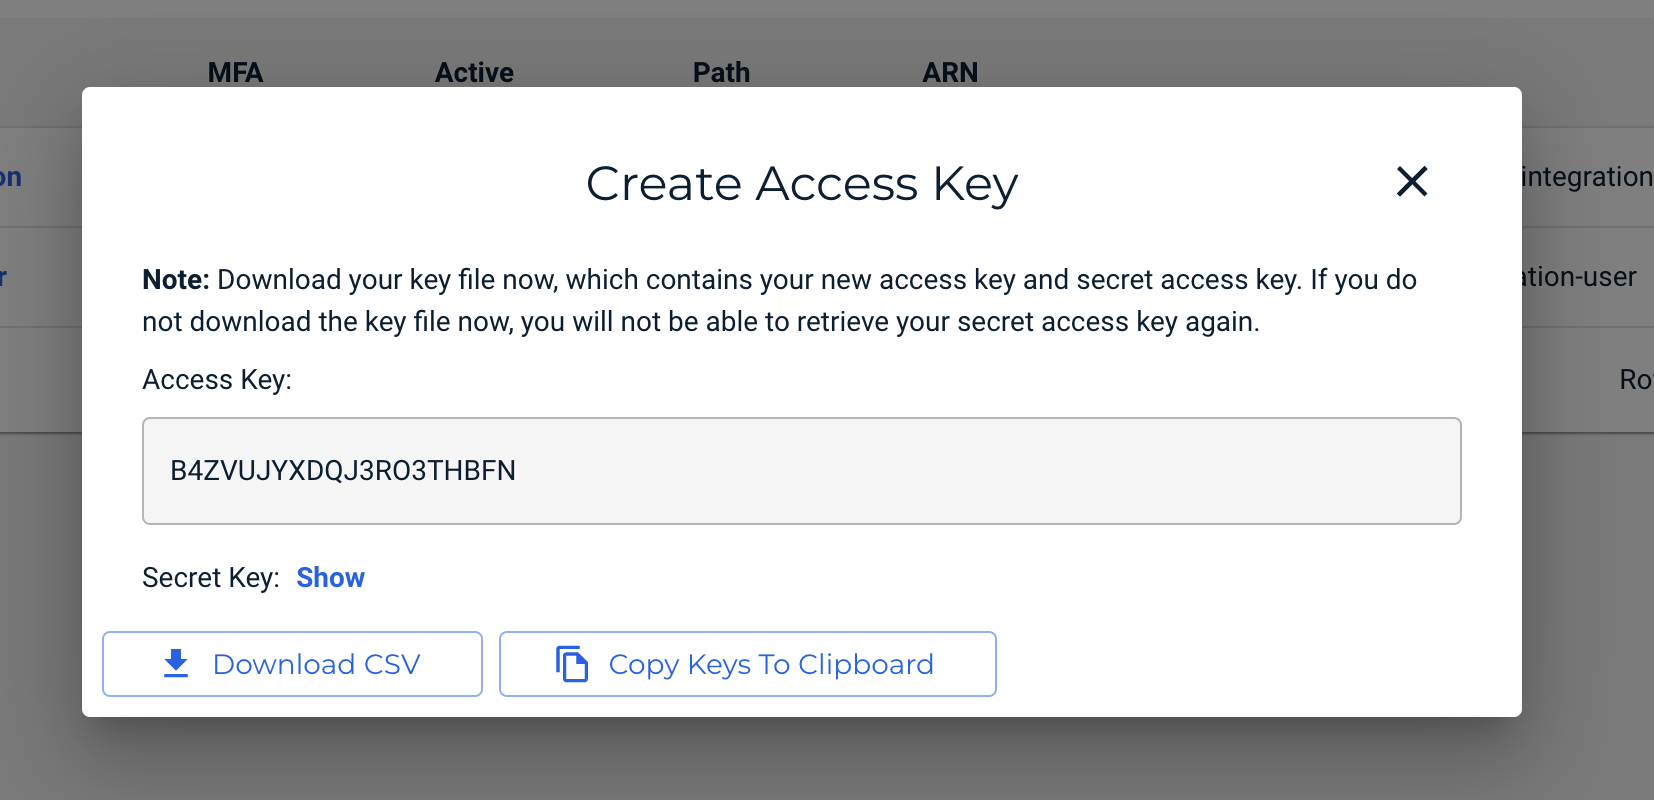
5. Download the Access Key as a CSV and save it in a secure location.
The CSV contains the *Account access key ID* and *Account secret access key*.
## 3. Add the Access Key to Encord
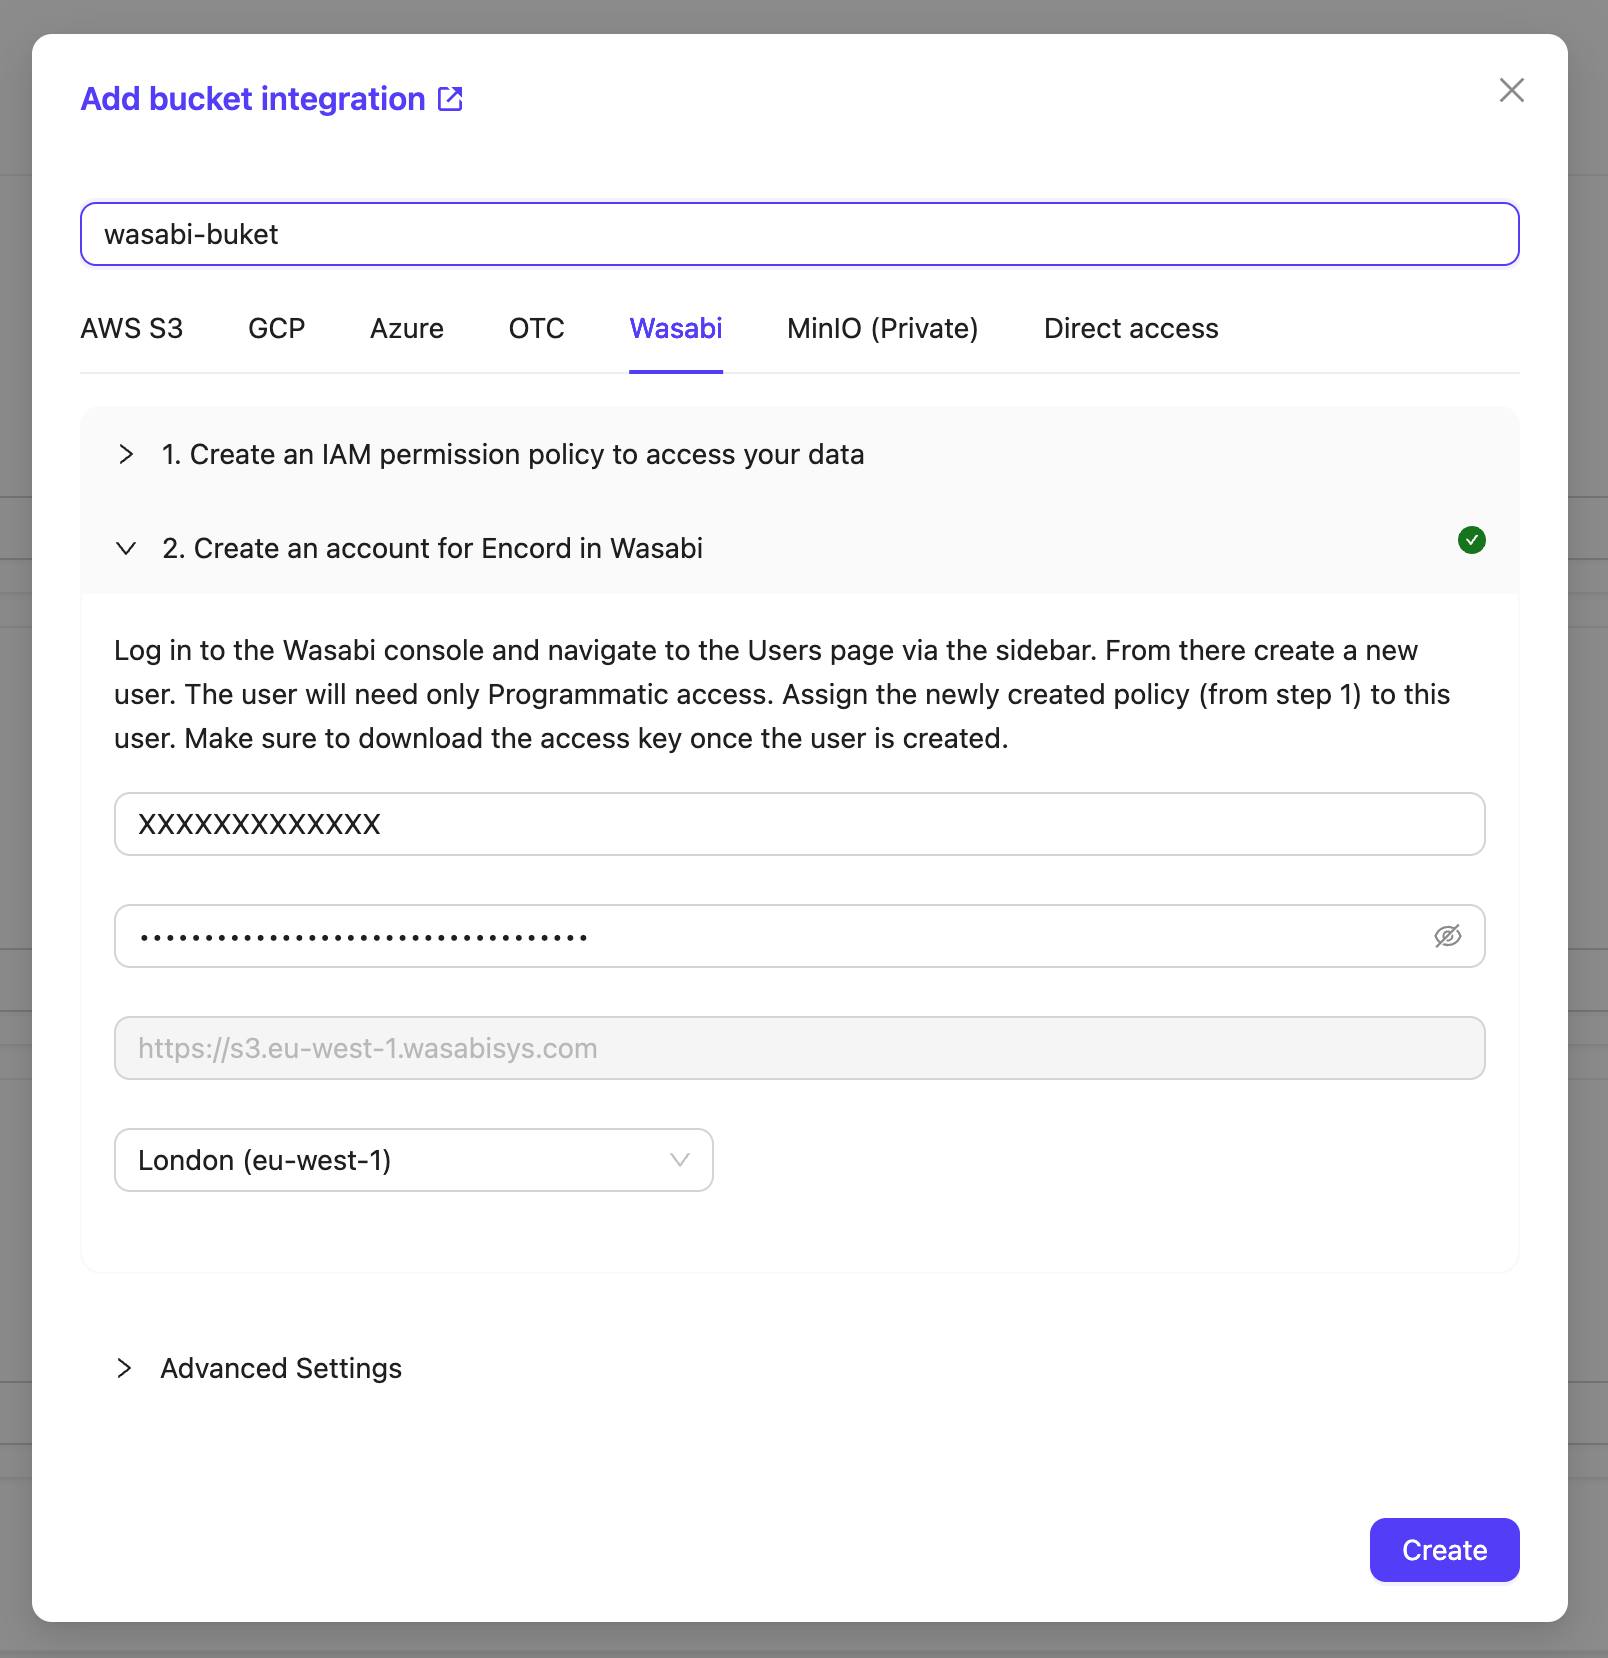
1. In the Encord platform, paste the *Account access key ID* and *Account secret access key* into Step 2 of the Wasabi integration window.
2. Select the region in which you created your bucket.
3. Click **Create** to create your Wasabi integration.