> ## Documentation Index
> Fetch the complete documentation index at: https://docs.encord.com/llms.txt
> Use this file to discover all available pages before exploring further.

# DICOM - E2E

<span className="inline-block rounded-full border border-sky-600/40 px-2 py-0.5 text-xs font-medium text-sky-700 mr-2">
  DICOM
</span>

## Import Data

In this section we're going to download and register our data.

<Steps>
  <Step title="Download Sample Data">
    Download and extract the [`DICOM-Lung-Lesion.zip` sample DICOM dataset](https://storage.googleapis.com/docs-media.encord.com/E2E%20Artifacts/DICOM-Lung-Lesion.zip).
  </Step>

  <Step title="Create a Mirrored Dataset">
    You’ll need to create a Mirrored Dataset before registering any data. Navigate to the **Datasets** section of the platform.

    <div
      style={{
height: '0',
paddingBottom: '50.847457627118644%',
position: 'relative'
}}
    >
      <iframe
        allowFullScreen
        frameBorder="0"
        mozallowfullscreen=""
        src="https://www.loom.com/embed/2252b6182bdd418d91b80b37ab20390a?sid=9e044bdd-4b87-4b5b-85a7-12a901b6338c"
        style={{
  height: '100%',
  left: '0',
  position: 'absolute',
  top: '0',
  width: '100%'
}}
        webkitallowfullscreen=""
      />
    </div>
  </Step>

  <Step title="Import DICOM Series">
    <Info>
      This step assumes you want to import DICOM files from your local machine. To learn how to register cloud data [click here](/platform-documentation/Curate/add-files/index-register-cloud-data-cloud-sync).
    </Info>

    Now import the sample data from `DICOM-Lung-Lesion.zip` into the Dataset `E2E - Dataset - DICOM`. The platform automatically detects that all files belong to the same DICOM series and groups them into a single data unit.

    <div
      style={{
height: '0',
paddingBottom: '50.847457627118644%',
position: 'relative'
}}
    >
      <iframe
        allowFullScreen
        frameBorder="0"
        mozallowfullscreen=""
        src="https://www.loom.com/embed/5176bb281ac54a5eaecf5b3c66618980?sid=892bf5e3-dfe4-458e-a1bb-f04ce13fe99b"
        style={{
  height: '100%',
  left: '0',
  position: 'absolute',
  top: '0',
  width: '100%'
}}
        webkitallowfullscreen=""
      />
    </div>
  </Step>
</Steps>

## Create Ontology

<Tip>We recommend learning about [Ontology structure](/platform-documentation/Annotate/annotate-ontologies/annotate-ontologies) in Encord before creating Ontologies. </Tip>

1. Click the **+ New ontology** button in the **Ontologies** section.

<div class="flex justify-center">
  <img src="https://storage.googleapis.com/docs-media.encord.com/static/img/new-ontology-new.png" width="700" />
</div>

2. Name your Ontology `DICOM - E2E - Ontology` and provide an optional description.
3. Click **Next** to continue.
4. Define your Ontology structure.
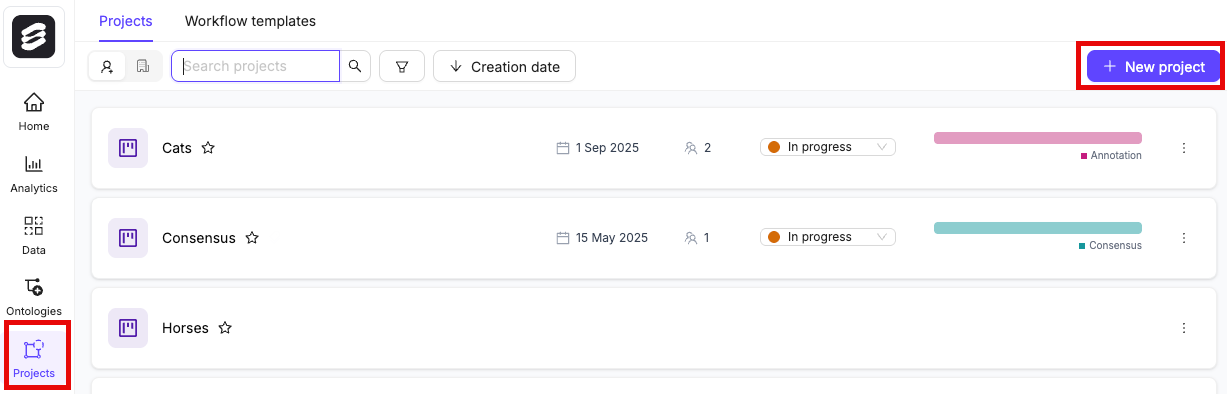
<div
  style={{
height: '0',
paddingBottom: '50.847457627118644%',
position: 'relative'
}}
>
  <iframe
    allowFullScreen
    frameBorder="0"
    mozallowfullscreen=""
    src="https://www.loom.com/embed/3a3501e8435044358420231636682eda?sid=a9fc2f0f-d55f-439e-bee7-8cf2e2a6b084"
    style={{
  height: '100%',
  left: '0',
  position: 'absolute',
  top: '0',
  width: '100%'
}}
    webkitallowfullscreen=""
  />
</div>

## Create Project

1. Click the **+ New annotation project** button in the **Projects** section.

<div class="flex justify-center">
  <img src="https://storage.googleapis.com/docs-media.encord.com/static/img/create-project-new.png" width="600" />
</div>

2. Name your Project `DICOM - E2E - Project` and provide an optional description.
3. Attach your Ontology and Dataset.
4. Click **Create project**.

<div
  style={{
height: '0',
paddingBottom: '50.847457627118644%',
position: 'relative'
}}
>
  <iframe
    allowFullScreen
    frameBorder="0"
    mozallowfullscreen=""
    src="https://www.loom.com/embed/60a44118db9e4b0f8205d1446288d3f9?sid=d8a56d97-2f09-479f-933c-daea04d8cb87"
    style={{
  height: '100%',
  left: '0',
  position: 'absolute',
  top: '0',
  width: '100%'
}}
    webkitallowfullscreen=""
  />
</div>

## Annotate DICOM

<div
  style={{
height: '0',
paddingBottom: '50.847457627118644%',
position: 'relative'
}}
>
  <iframe
    allowFullScreen
    frameBorder="0"
    mozallowfullscreen=""
    src="https://www.loom.com/embed/73abadbd4f474e1e93f545b8ff9fb4f0?sid=39b2558d-c0f9-4c03-adb8-e2a768194698"
    style={{
  height: '100%',
  left: '0',
  position: 'absolute',
  top: '0',
  width: '100%'
}}
    webkitallowfullscreen=""
  />
</div>

## Export Labels

<div
  style={{
height: '0',
paddingBottom: '50.847457627118644%',
position: 'relative'
}}
>
  <iframe
    allowFullScreen
    frameBorder="0"
    mozallowfullscreen=""
    src="https://www.loom.com/embed/708cb13939294a049f4f1ed18fa6e67c?sid=118a9d01-df62-4bb4-b8da-54fba66a4f59"
    style={{
  height: '100%',
  left: '0',
  position: 'absolute',
  top: '0',
  width: '100%'
}}
    webkitallowfullscreen=""
  />
</div>

1. Click **Export** while in your Project.
   The *Export labels* dialog appears.
2. Specify the following:
   * **Format:** Specify the format to export the labels (JSON or COCO).
   * **Stage:** Specify the Workflow stage to export the labels from.
   * **Generate signed URLs:** Specify whether to generate signed URLs for the data units that have labels.
   <Note>
     Enabling this option can significantly increase export times.
   </Note>
   * **Save as new version:** Specify to version the labels.
   * **Labels to include:** Specify the labels to include. You can export all labels or select specific object or classification labels to export.
3. Click **Export**.
   A *Labels export in progress* toast message appears.
